Intro
Here’s a quick update on the PiArtFrame. I already posted an update in the old post, so to keep things organized, I decided to write a new one.
As reference you can read the old post
Basically, GitHub user kevlol has ported the Python code by runezor (the original PiArtFrame) to C++. This is awesome because:
- The system is more stable.
- You can choose the exact refresh time.
- You can adjust the “black level” of the generated image.
- The Raspberry Pi is less stressed and uses less power.
Explanation:
- C++ is a precompiled language, so it doesn’t need an interpreter.
- With Python, rendering a new zoom on the fractal could last 15 minutes or 4 hours, depending on the image’s complexity (and the RPi CPU power). With C++, rendering is much faster (few seconds), enabling the ability to set a refresh intervals like 1, 20, 60, whatever, minutes, with new images appearing exactly on time.
- You can easily adjust the “black level” (correct term should be ‘uniformity’) of the displayed image by tweaking two values.
- Since C++ uses significantly less CPU time, it reduces power consumption and heat.
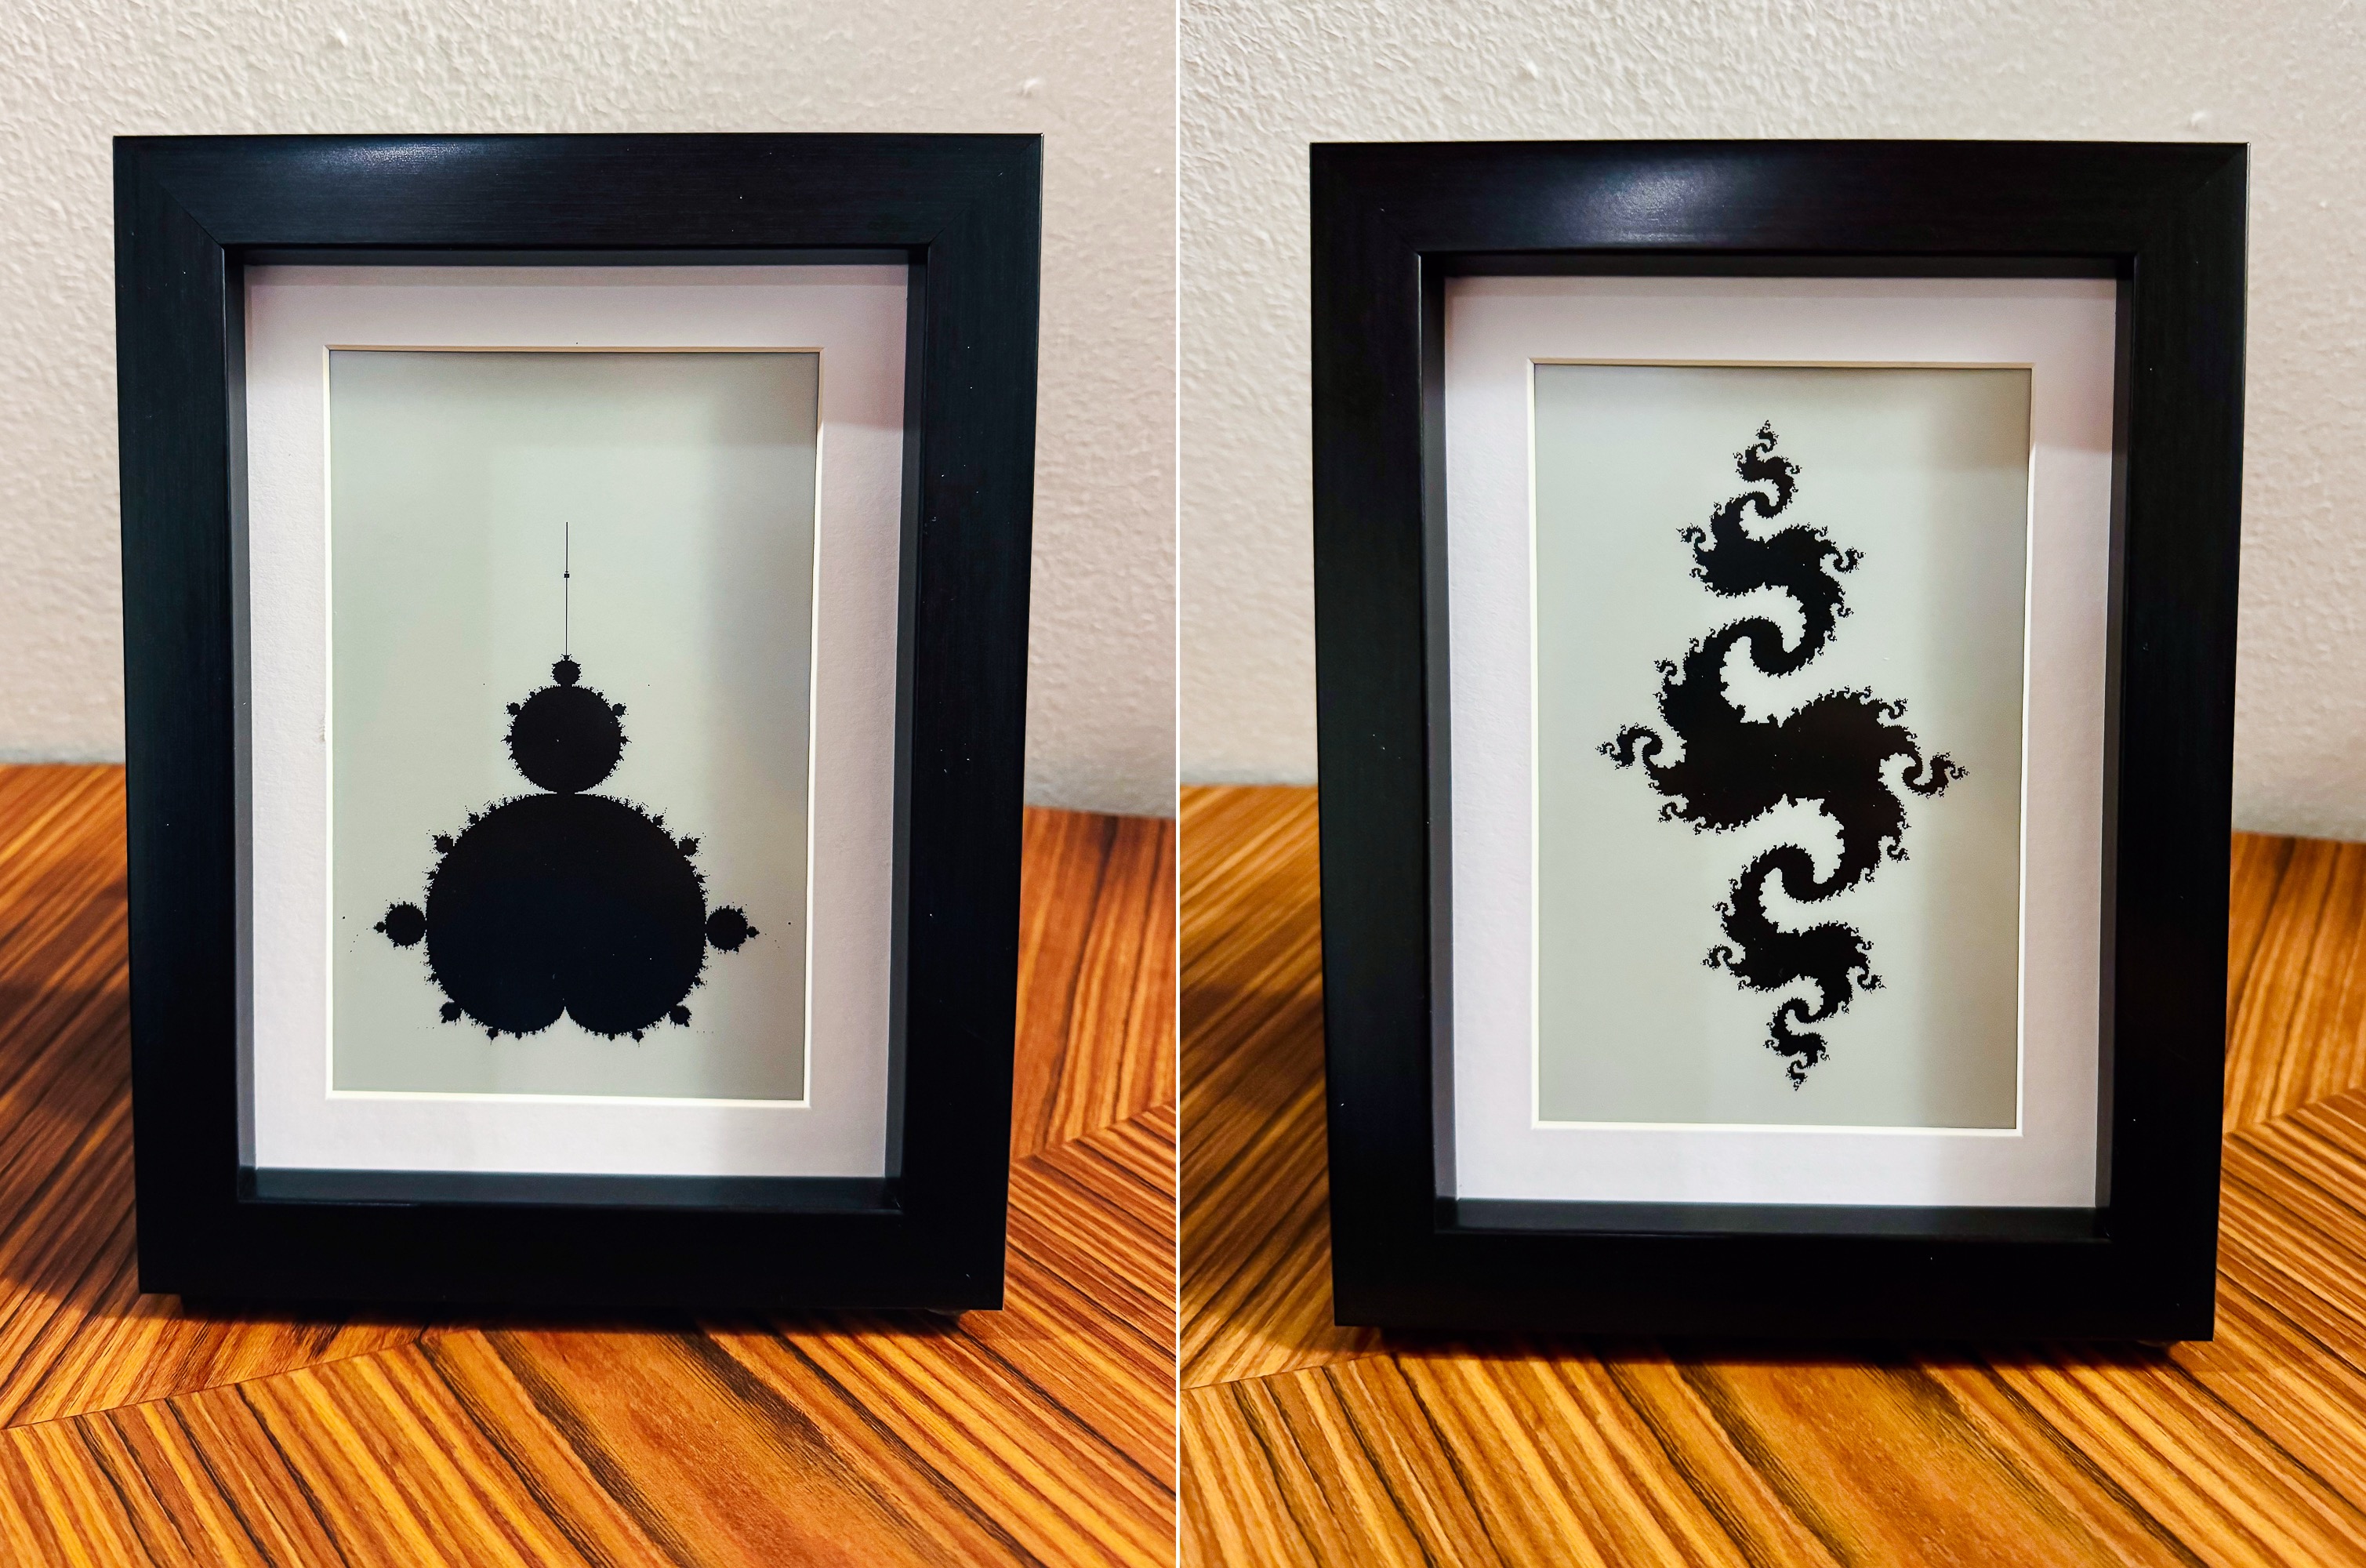
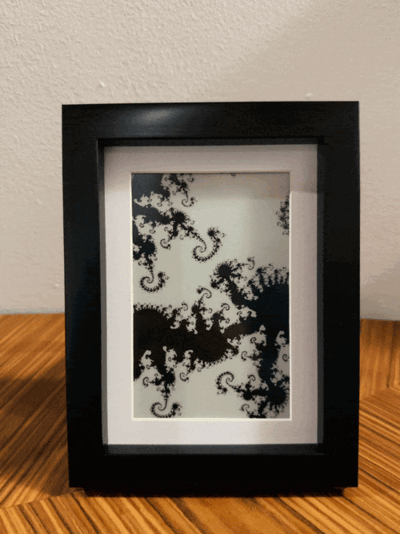
Thanks to these new features, I felt inspired to rebuild the PiArtFrame. I tweaked the rendering algorithm, added the Julia set fractal, and created a guide to help others make it.
Why again?
Few months ago I thougt that my e-paper display was broken, because it was display weird vertical lines. So I put the PiArtFrame project inside a drawer and left it there, until a few days ago, when I decided to buy a new e-paper display and build again the PiArtFrame.
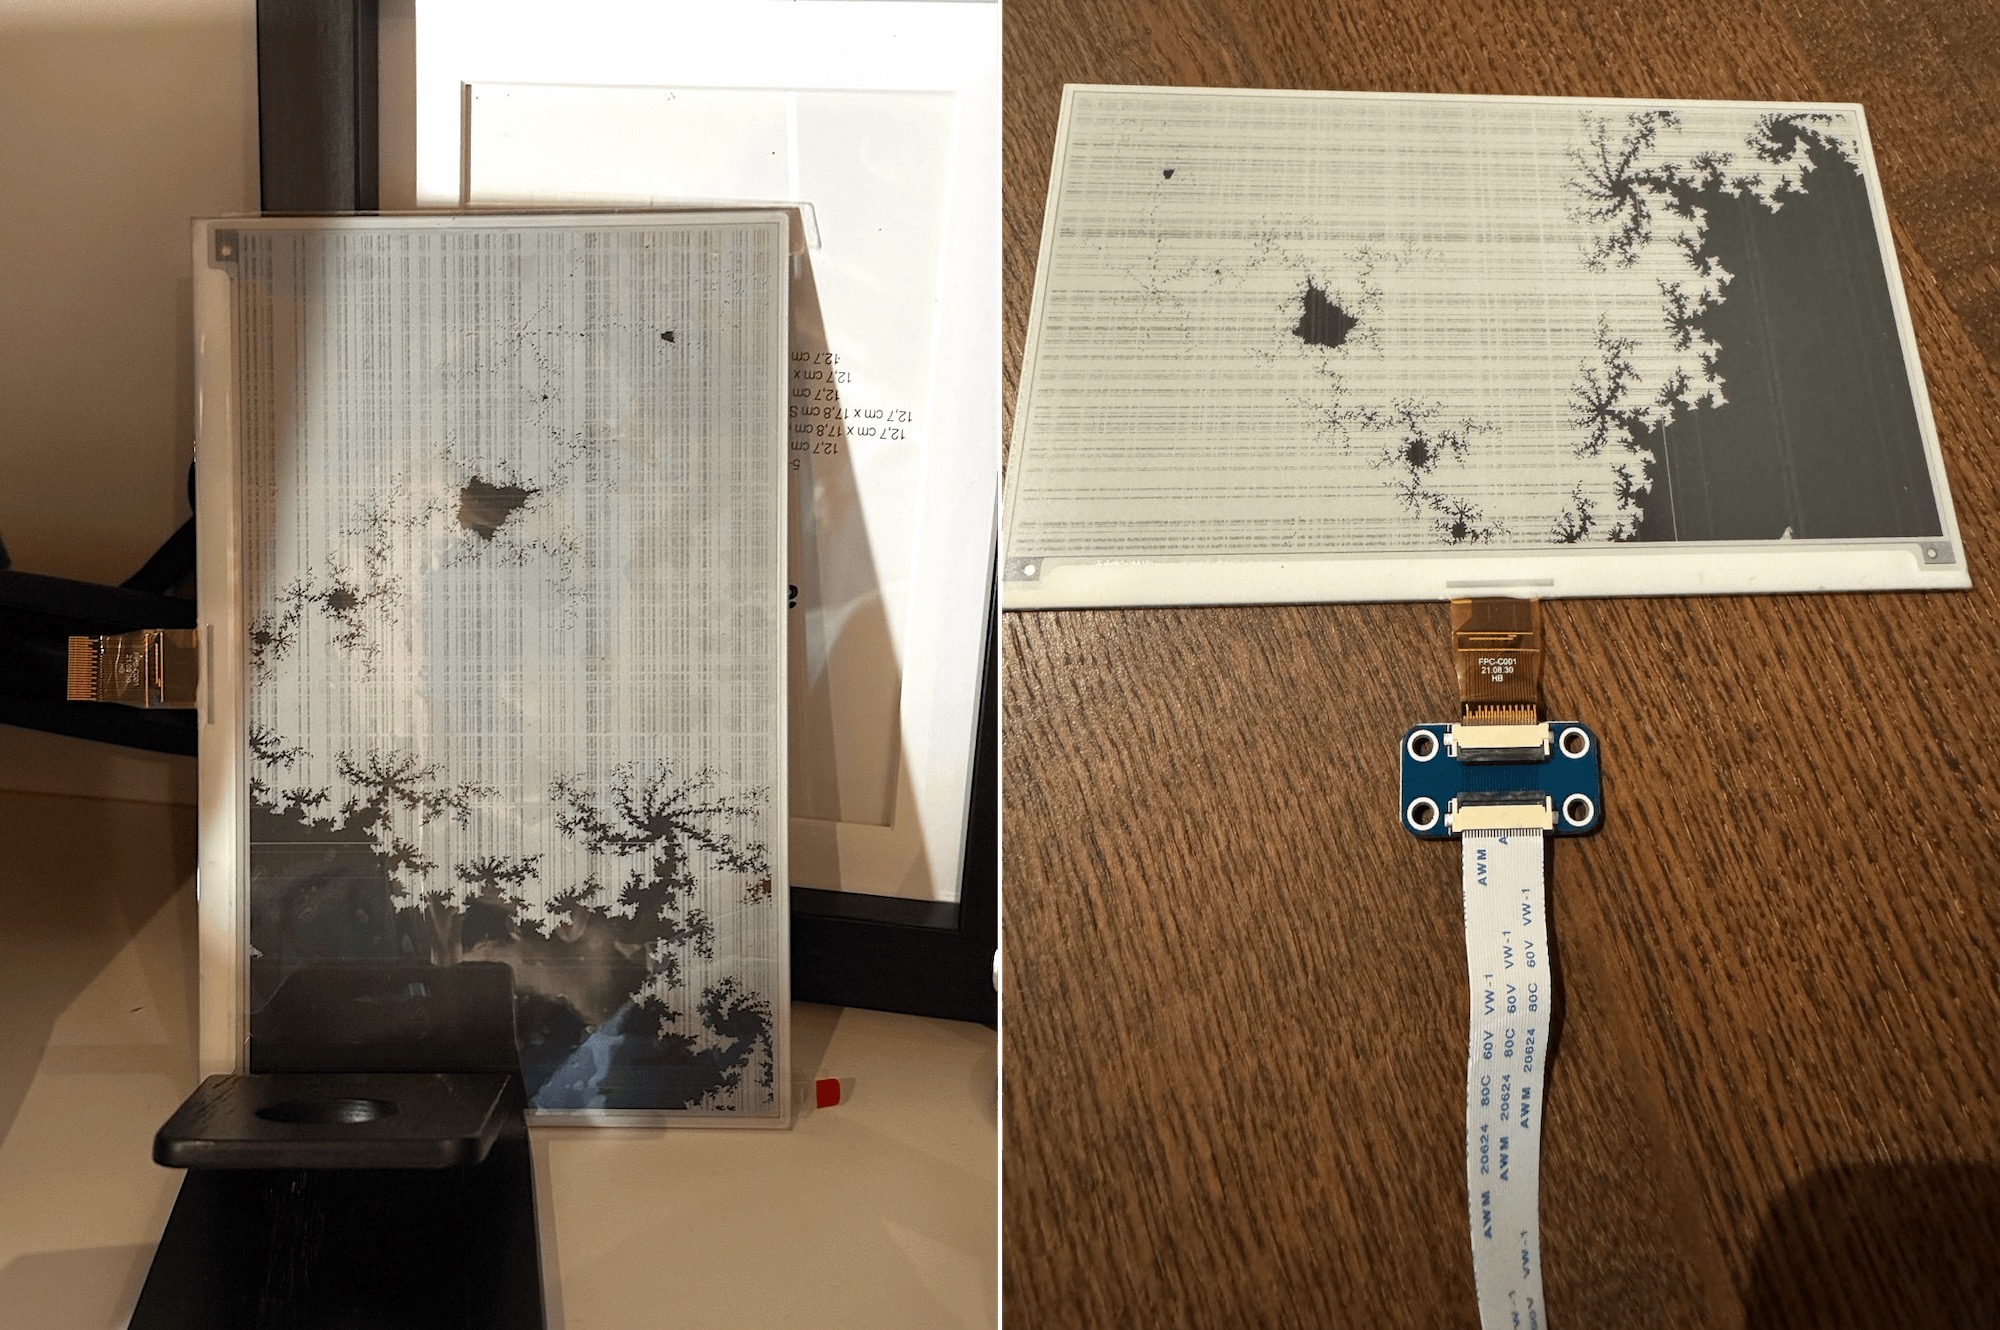
When the new display arrived, I connected it to the Raspberry PI…but it didn’t work again! So I spent several hours in front of the terminal, trying to figure out what the cause was but I couldn’t find it. Every time I tried to show something on the display, the Raspberry PI was outputting this log and nothing was visible on the display:
EPD_7IN5_V2_test Demo
/***********************************/
Current environment: Debian
/***********************************/
e-Paper Init and Clear...
Debug: e-Paper busy
Debug: e-Paper busy release
Debug: e-Paper busy
Debug: e-Paper busy release
0 S
Paint_NewImage
show window BMP-----------------
pixel = 800 * 480
Debug: e-Paper busy
Debug: e-Paper busy release
At one point I got tired of trying via software and I started examining the hardware.
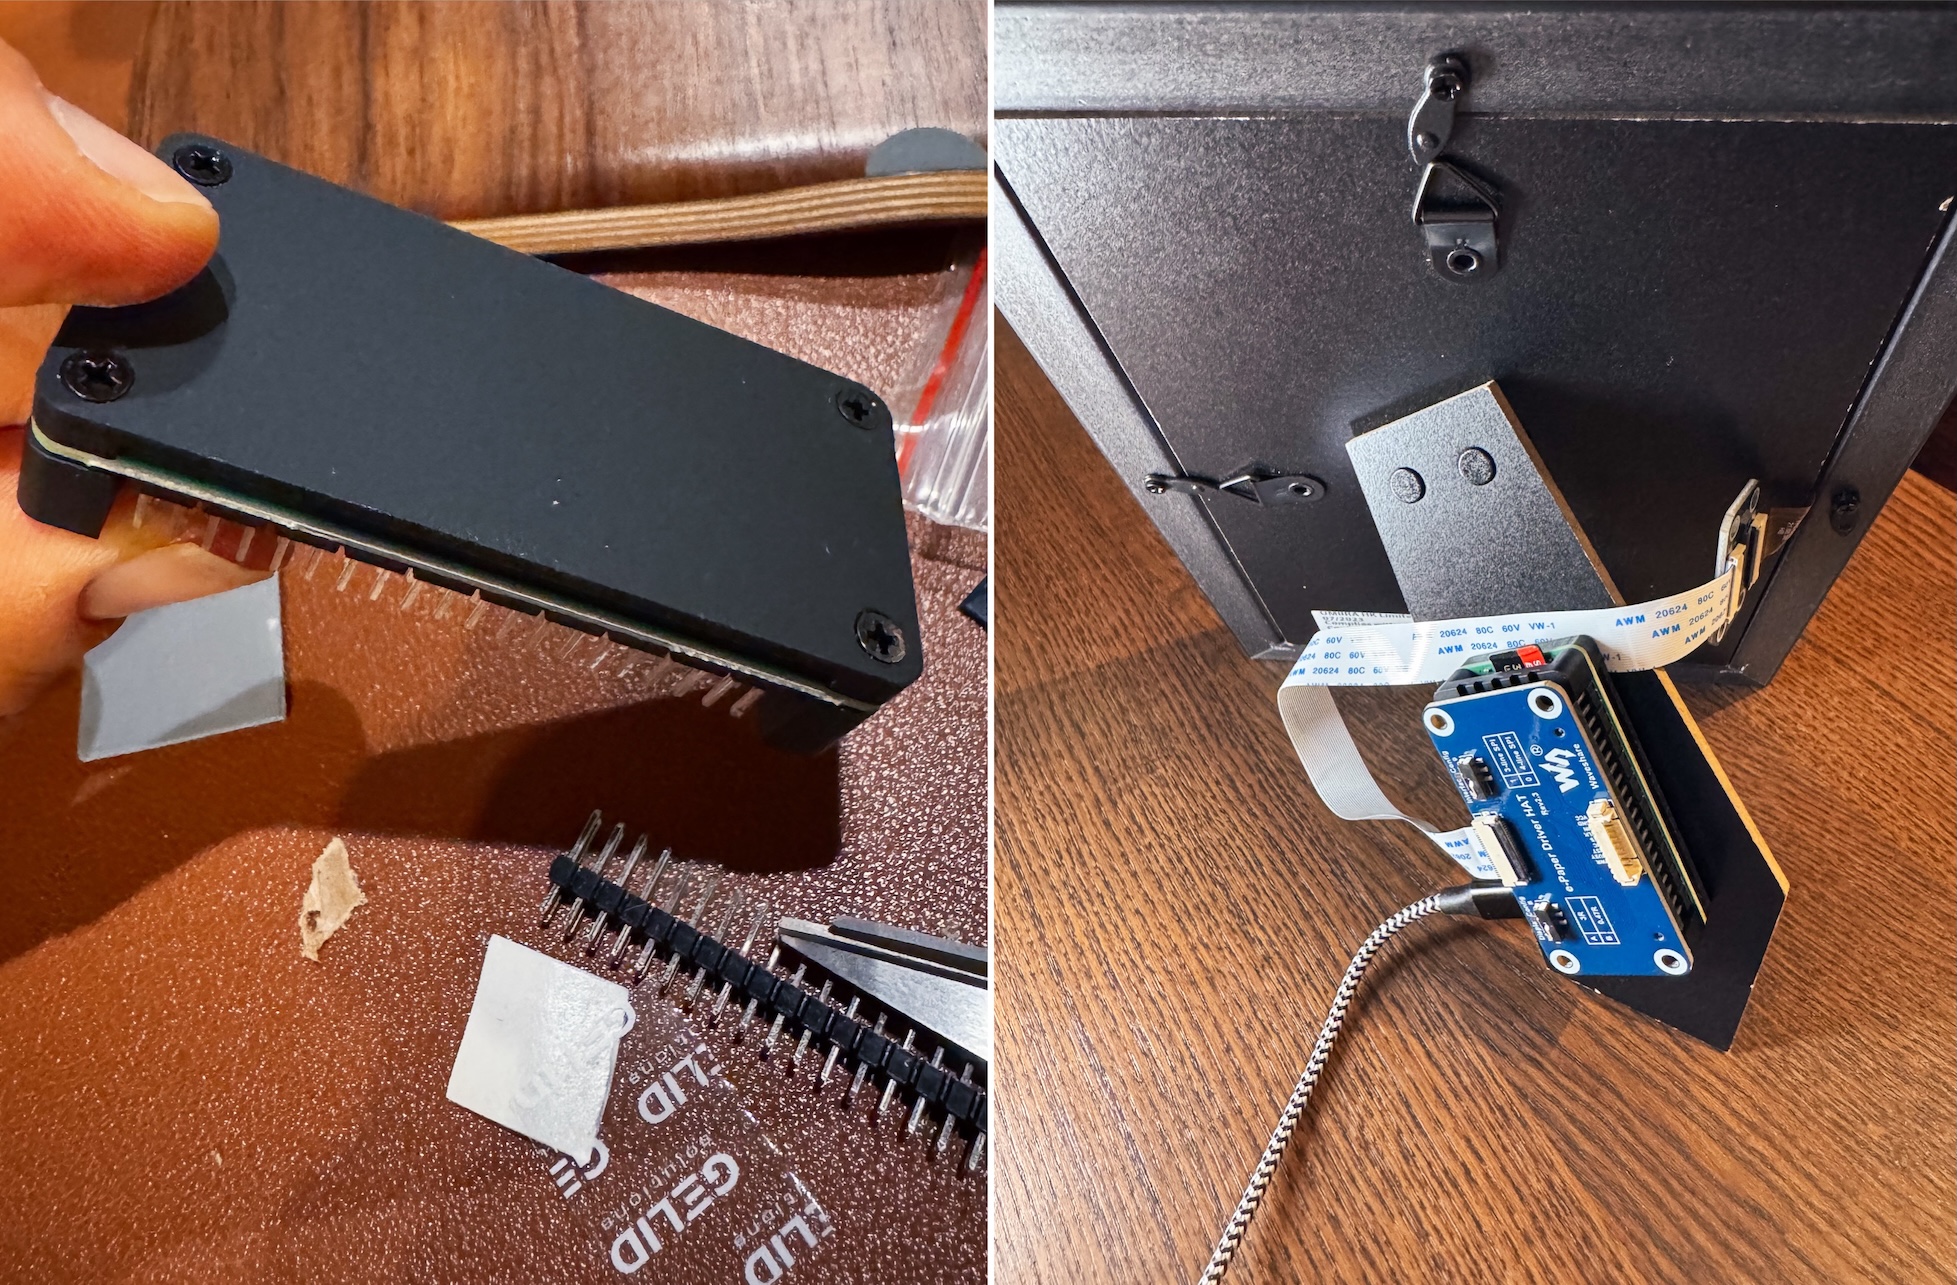
…and surprise! The header I soldered -obviously poorly- had a pin that had come unsoldered, and every time I tried to connect the e-paper hat by pushing it to the RPi header, this pin was no longer make contact, slipping inside and exiting from the back of the board. This was the reason for the log above, why it always seemed occupied, in reality, that pin was not occupied, but it was not even touching the e-paper hat.
So (at 2 a.m.) I made again the soldering, tested it again and of course, the new display was working perfectly. So I thought, “Do you want to see that the old one works too and isn’t broken?!” I tried to connect the old display, launched the executable, it refreshed and displayed the image as if it were new!
So I decided to keep the old display, send the new one back to Amazon, and redo the entire installation.
And here we are:
Hardware
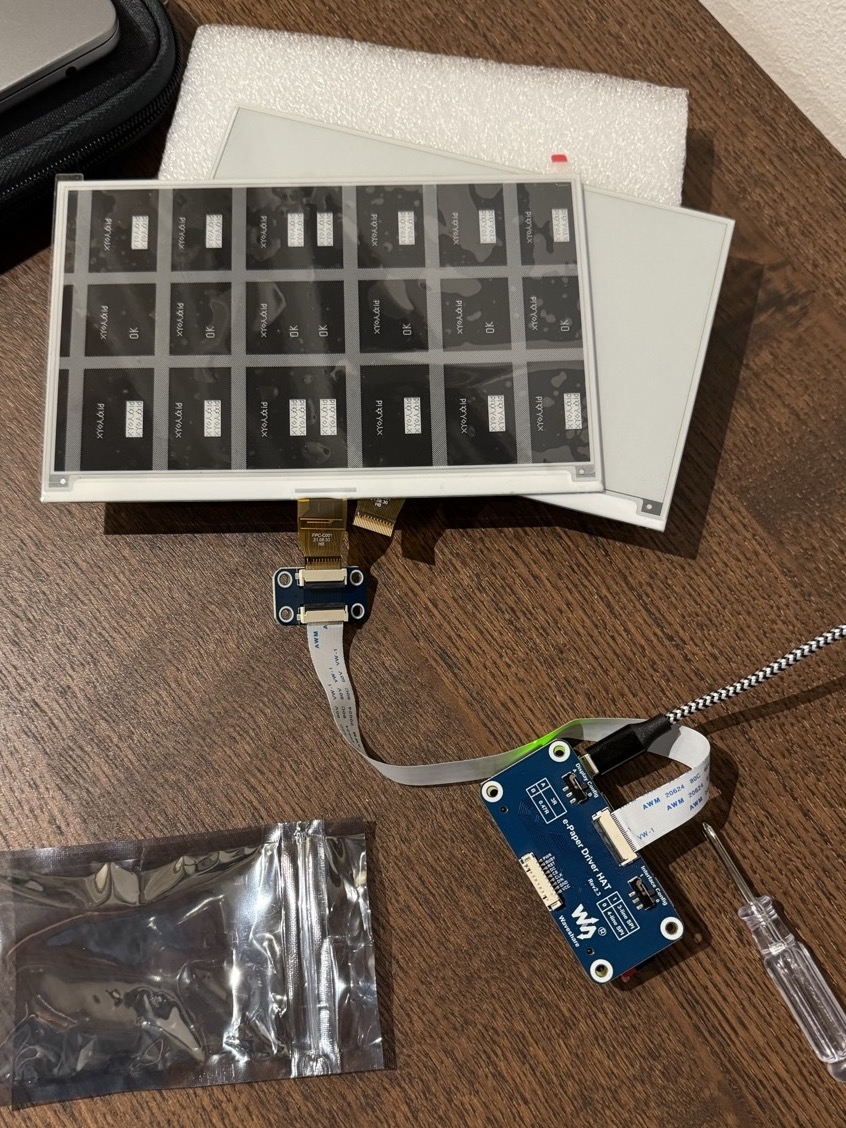
A Raspberry Pi, of course (I used the Zero 2), with this heat dissipator/case. It’s perfect because it has a flat metal surface on the back, allowing you to attach double-sided tape and stick it to the back of the frame.
An e-paper display from Waveshare. I used this one: 7.5", 800x400px, priced at 70€ on Amazon.it. You can also use other dimensions as long as it’s from Waveshare.
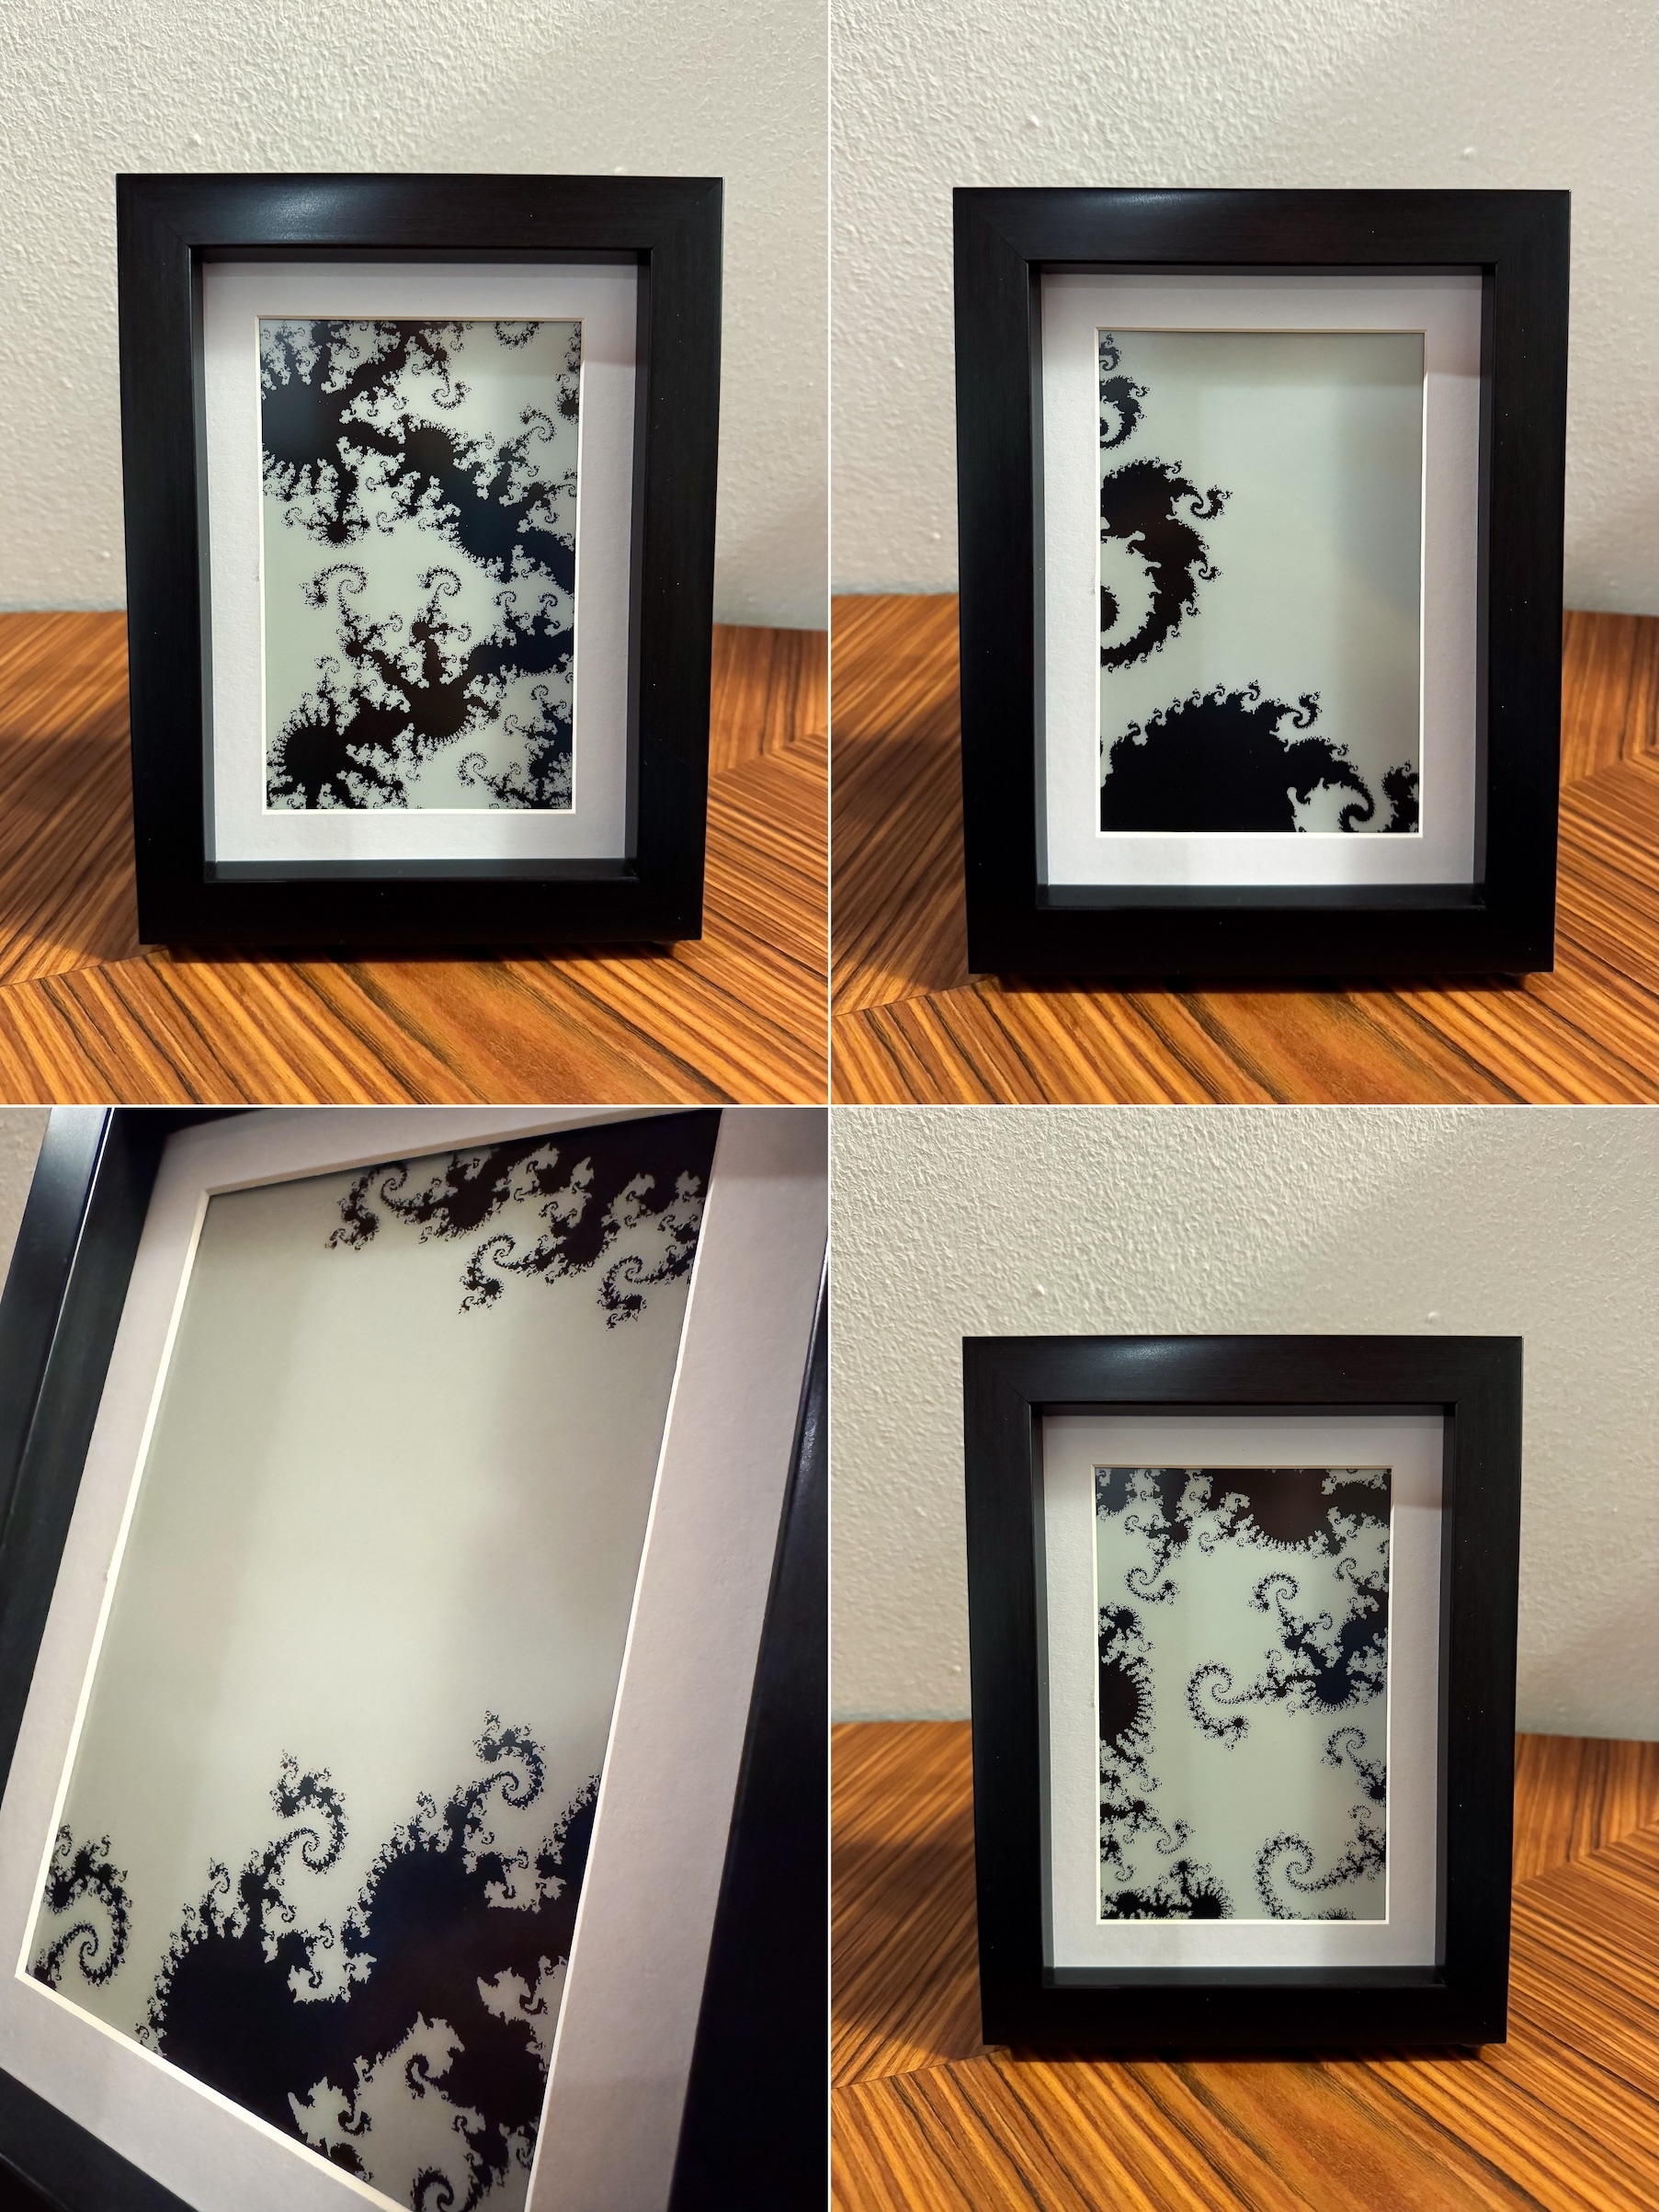
A frame. I used this one from Amazon in the 10cm x 15cm option. It’s quite inexpensive (two frames for about 15€).
Software
First, you need to enable the SPI interface so the Raspberry Pi can connect to the display. Usually by running:
raspi-config
Interfacing Options -> SPI -> Yes - enable SPI interface
On DietPi is under:
dietpi-config
Advanced Options -> SPI state -> Turn ON
After that, you’ll need to install some software based on your PI OS. I’m using DietPi, so I used:
apt install gcc
apt install g++
apt install make
apt install liblgpio-dev
apt install git
To install and run this project, just download it:
git clone https://github.com/giuliomagnifico/PiArtFrame-CPP
cdintro the folder PiArtFrame-CPP and launch the config.sh file using:
bash config.sh
It will ask you how many minutes you want between creating new images on the display (default is 3 seconds, just to test it). After that, it will compile the code with your settings and add the command to launch PiArtFrame at every reboot.
If you want to use the Julia set fractal instead of the Mandelbrot, do the same steps but using the “julia-set” branch:
git clone --branch julia-set https://github.com/giuliomagnifico/PiArtFrame-CPP.git
and
bash config.sh
Enjoy the fractals!
Assembly
The construction is always easy, just insert the display into the frame, allowing the flat cable to come out, and then attach the Raspberry PI to the frame with double-sided tape.
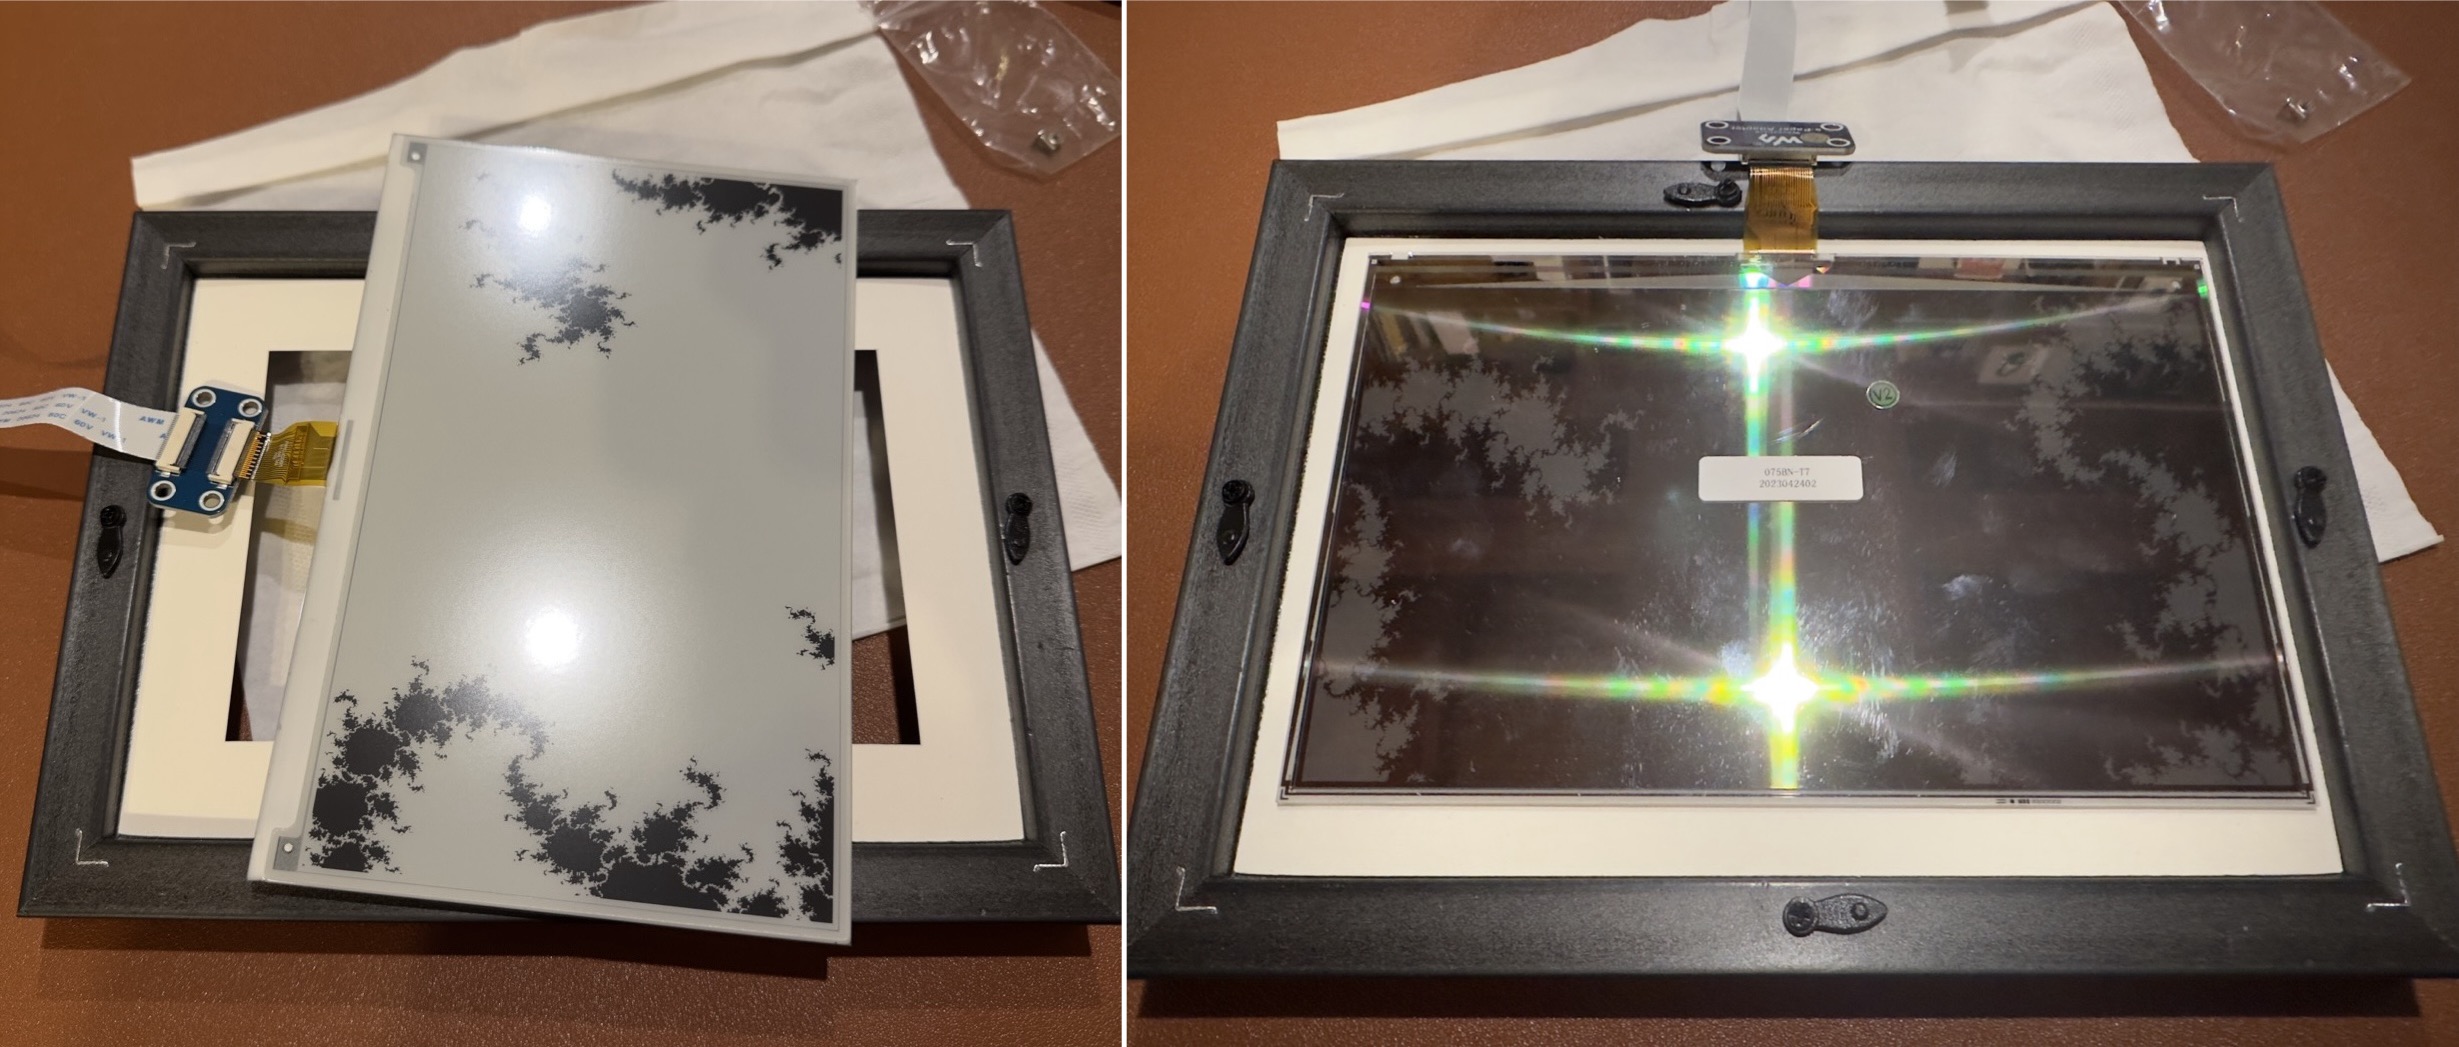
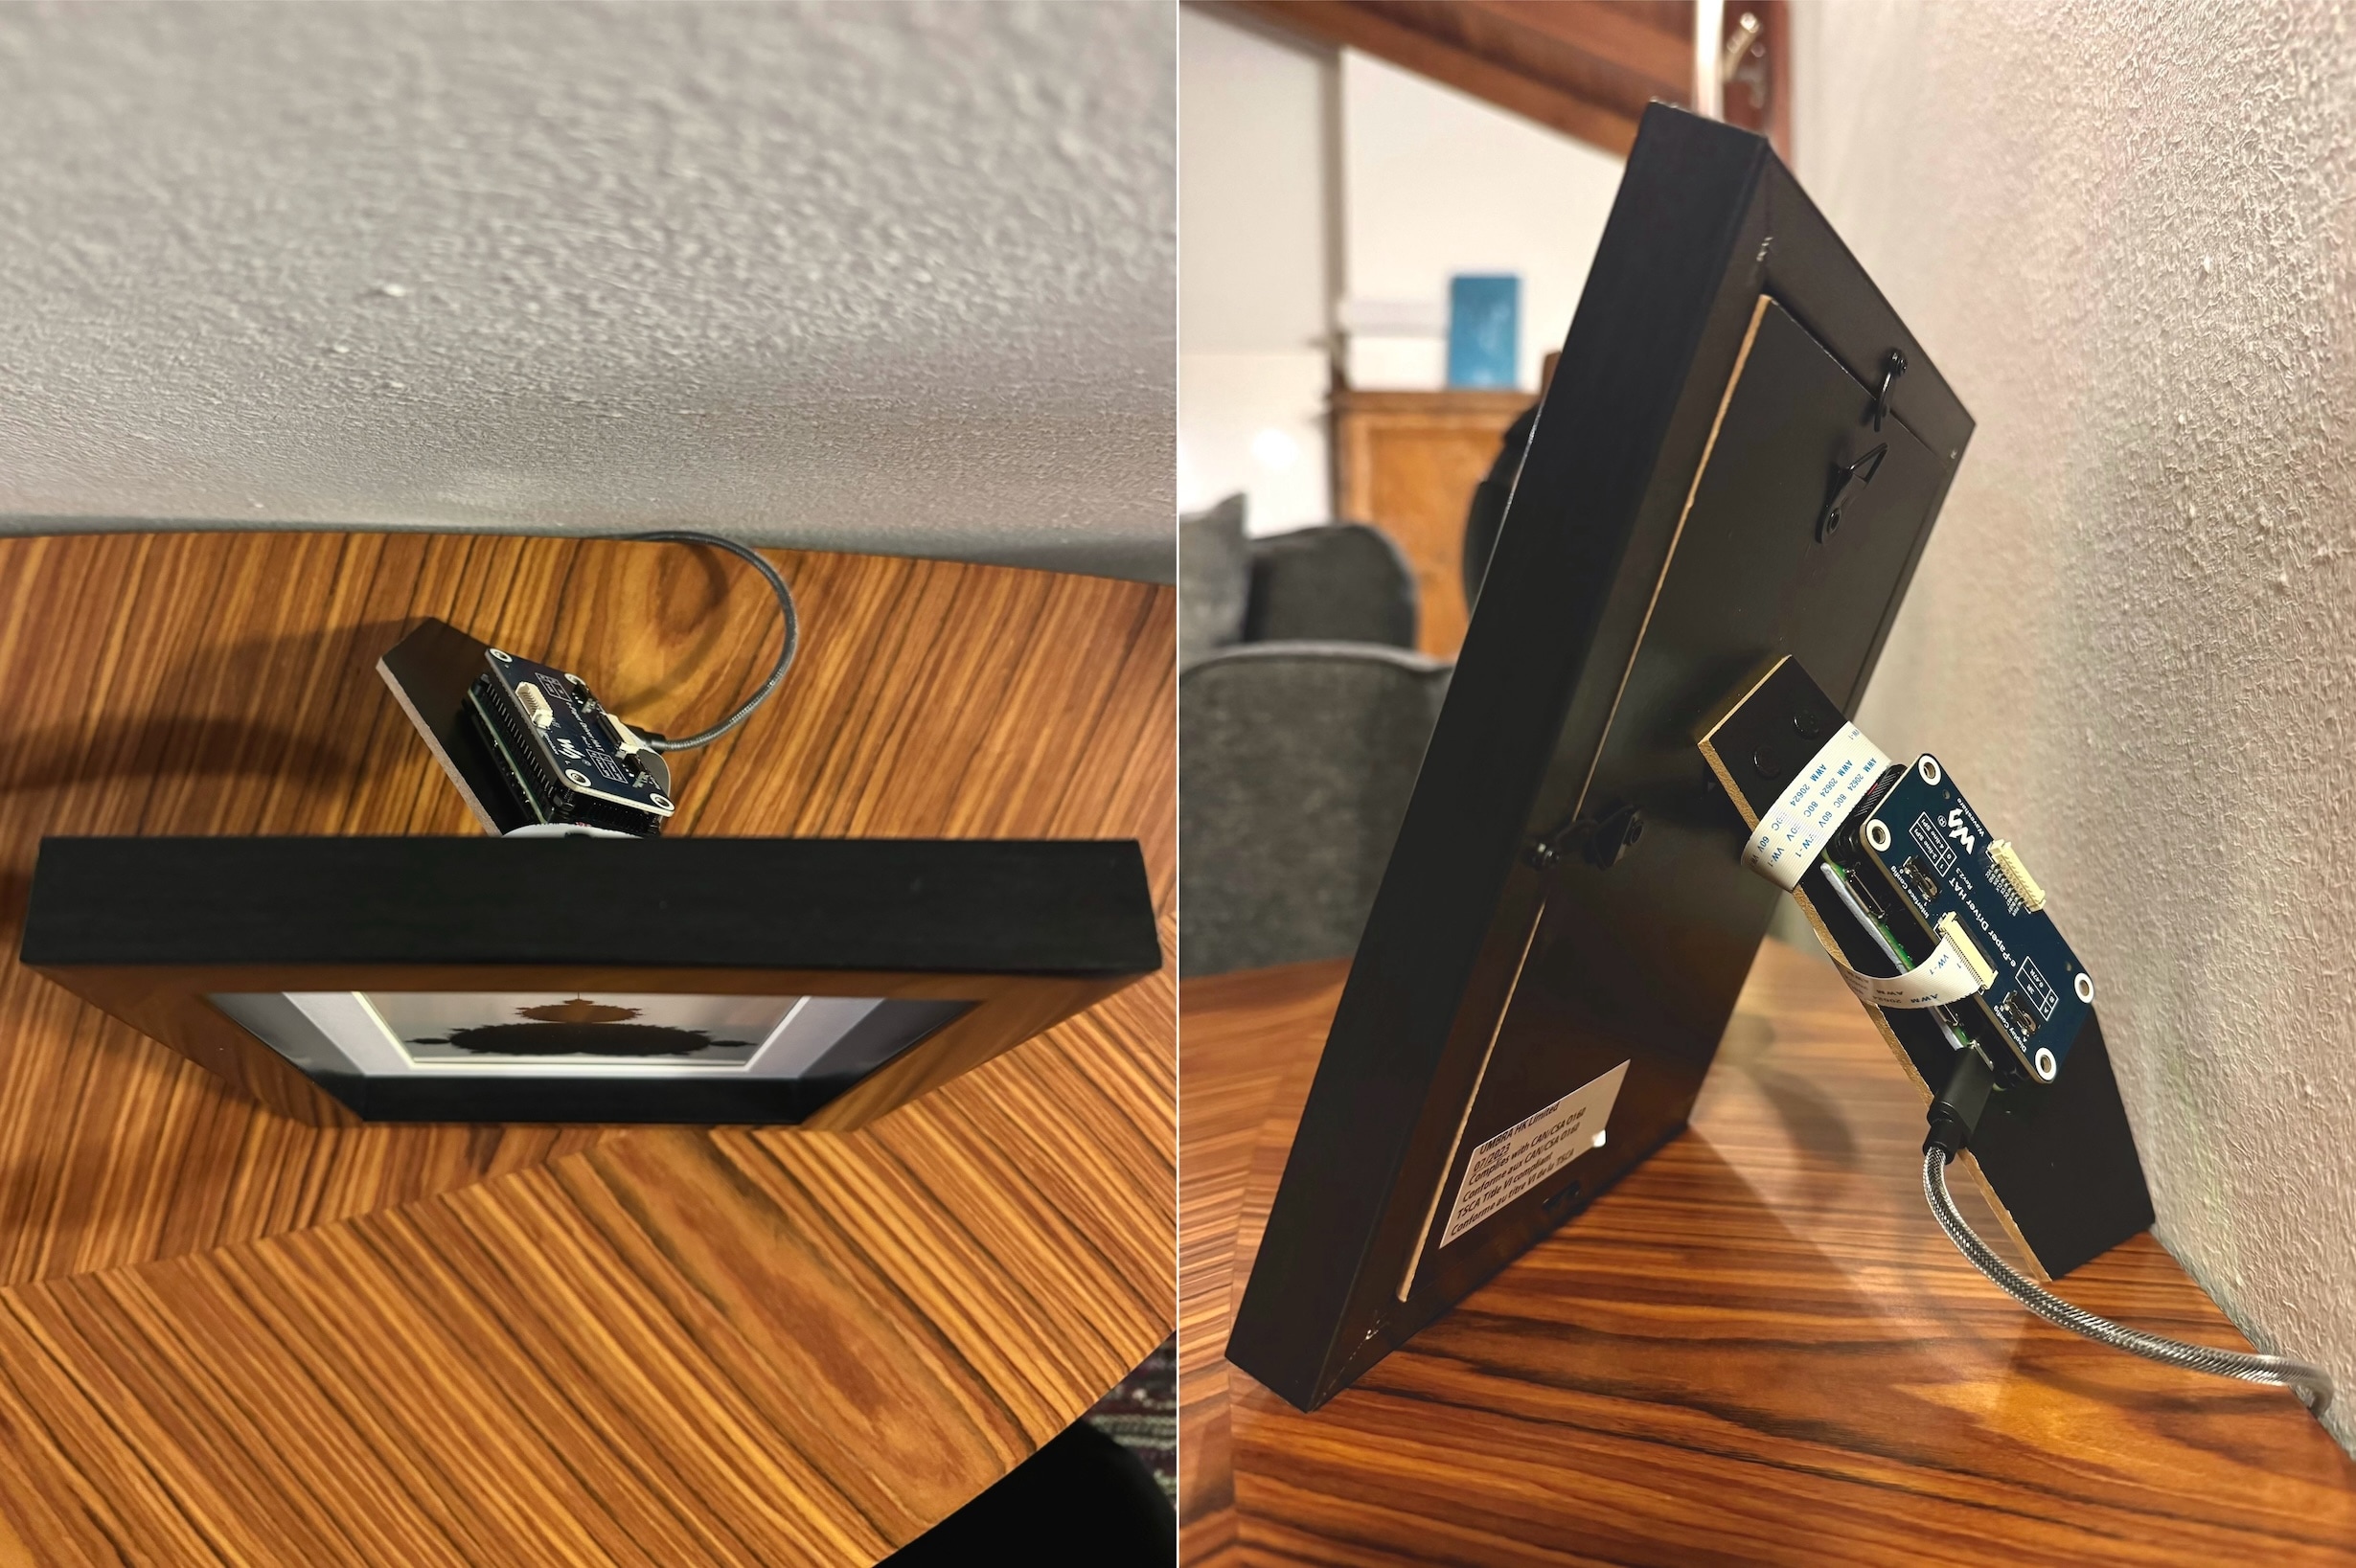
I suggest using a heat dissipator with a flat back panel so you can attach it to the rear of the frame with tape. The photos below are from a second build I made (another PiArtFrame)
Tips
You can use any Waveshare display, also smaller or bigger, but you have to change the main.c and Makefile code according to the EPD library of your e-paper. The libraries are all included inside the lib folder of the repository.