I’m back with another update to my home network setup, but this time it’s a smaller change that’s more focused on the overall tech aspect and daily usage, rather than just the network. As usual, I’ll begin with a brief summary of the content to help you decide if it’s worth your time. And I’ll also try to add a curious and useful tip in every paragraph.
As usual, I’ll provide the links to the previous posts for those who want to follow the various steps and evolution of my ongoing home tech diary.
Final result/summary
This time I’ve made a few minor software and network improvements while also investing in new hardware to enhance my HomeKit experience. The latest additions include (you can jump to each section by clicking on the links below):
Photos
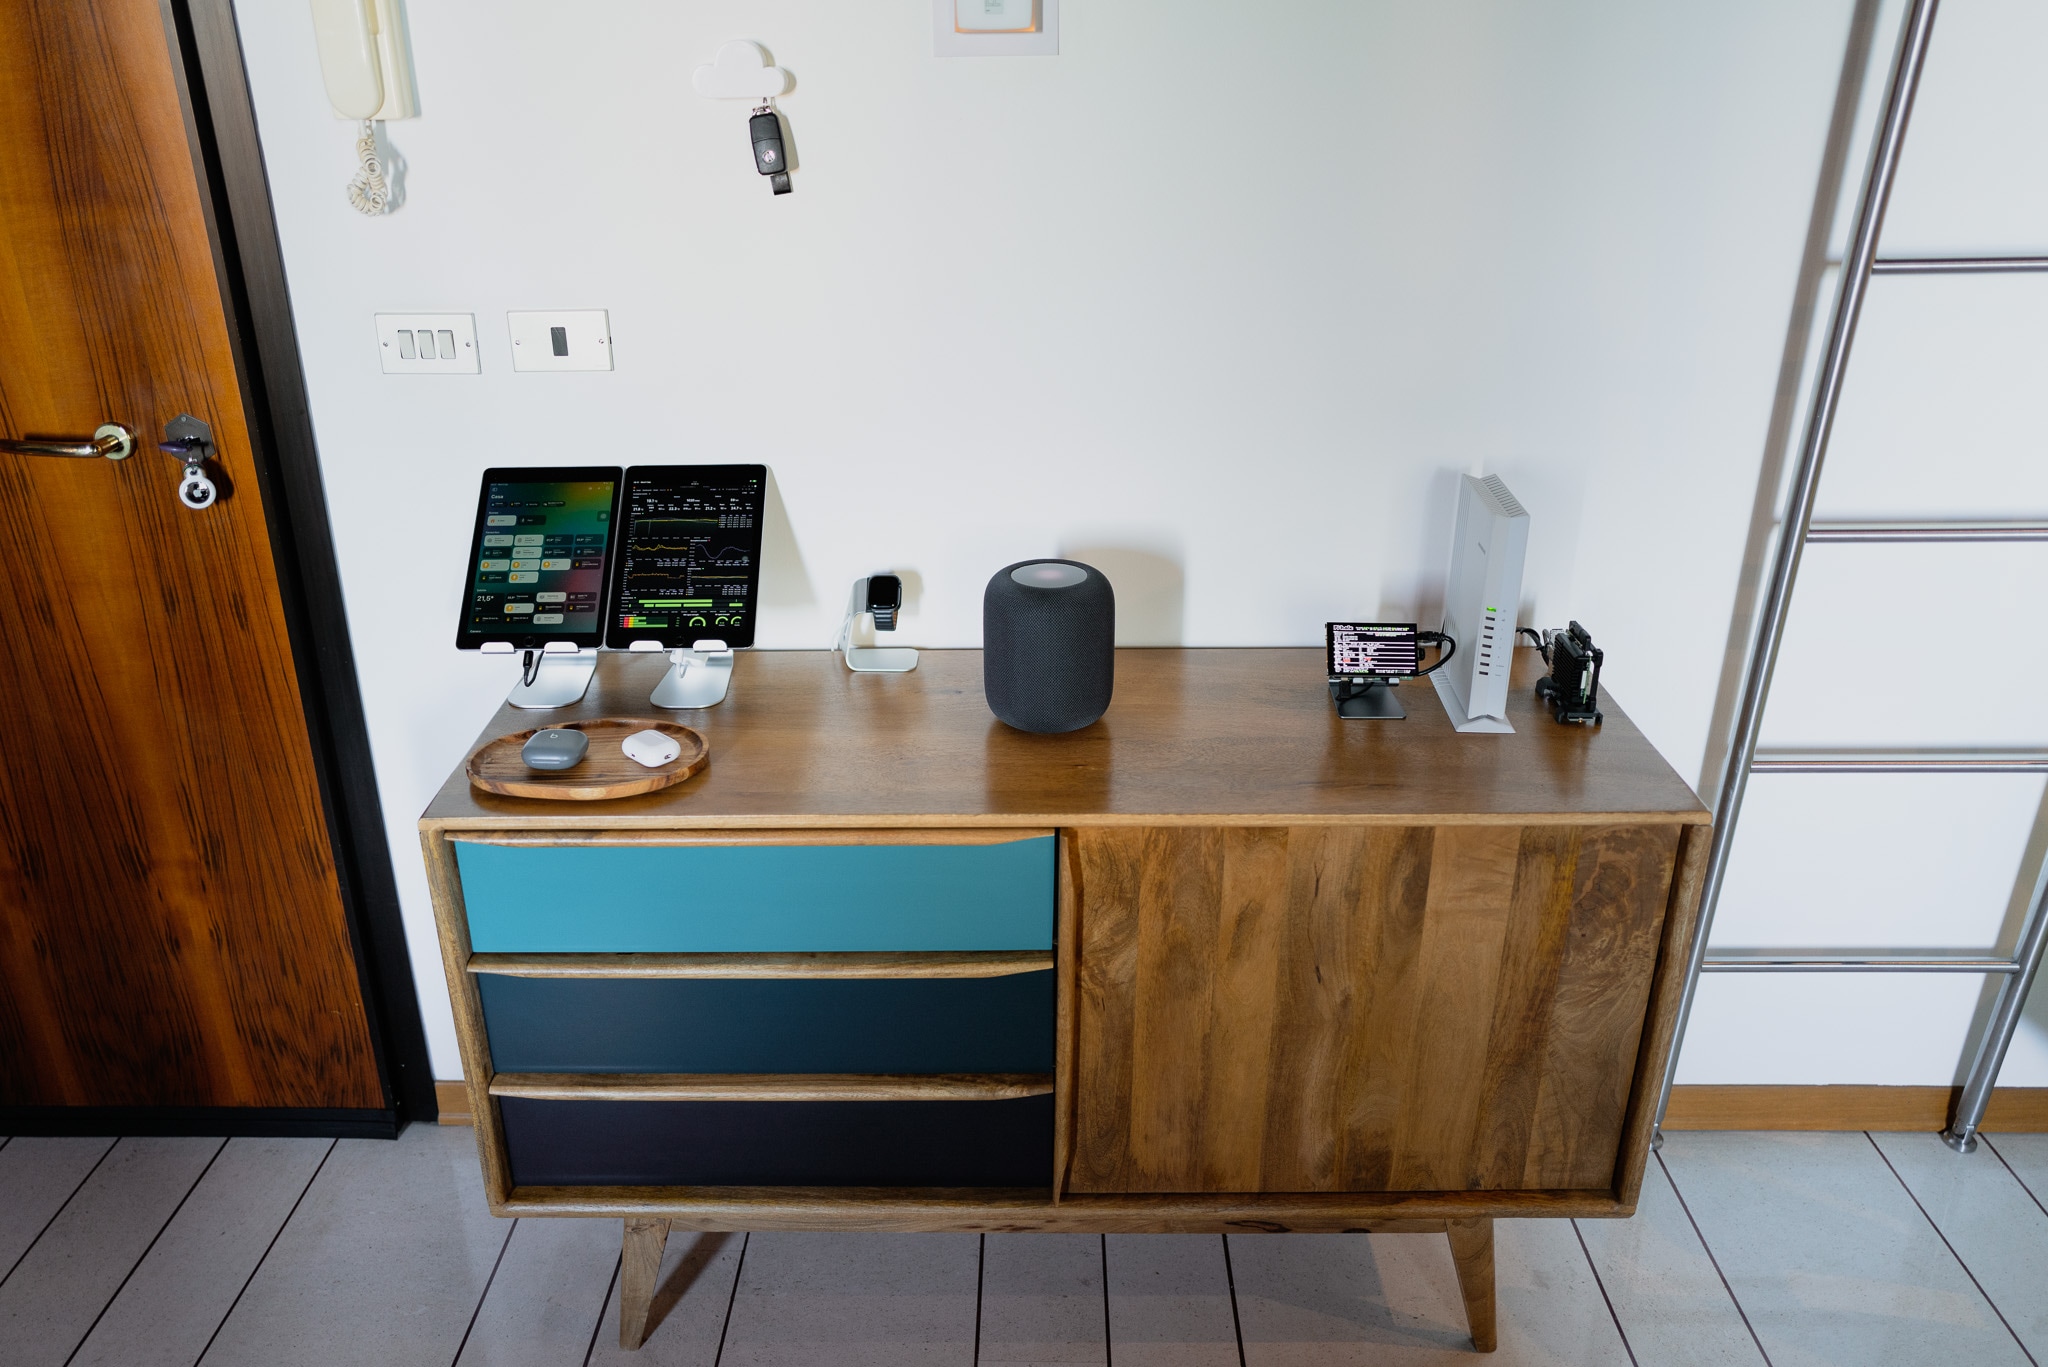
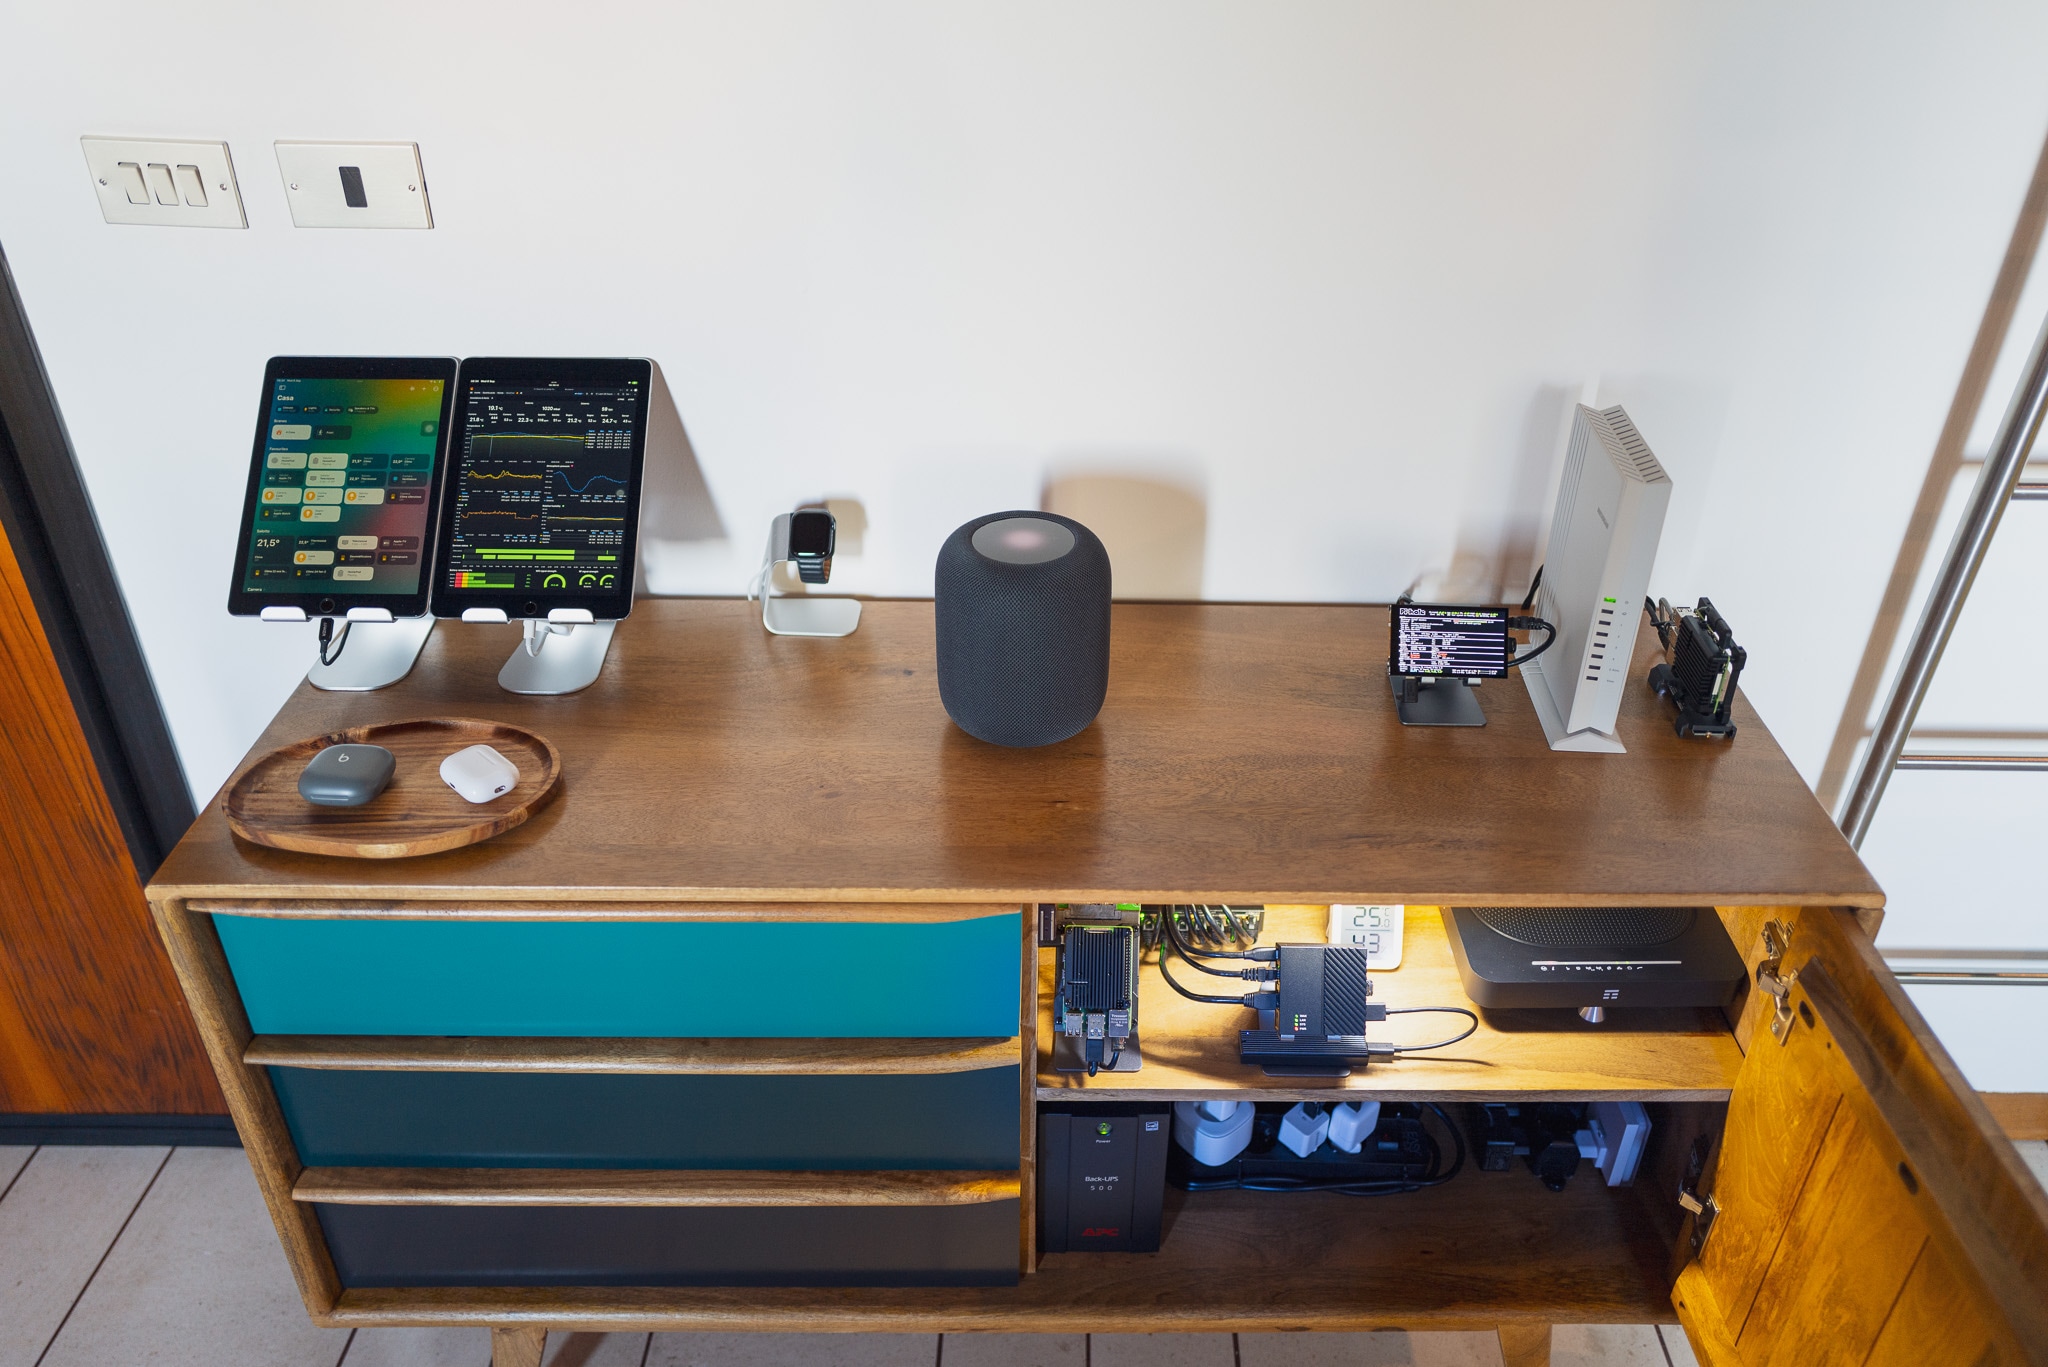
This is the updated setup of the “server rack” with the second iPad and the HomePod:
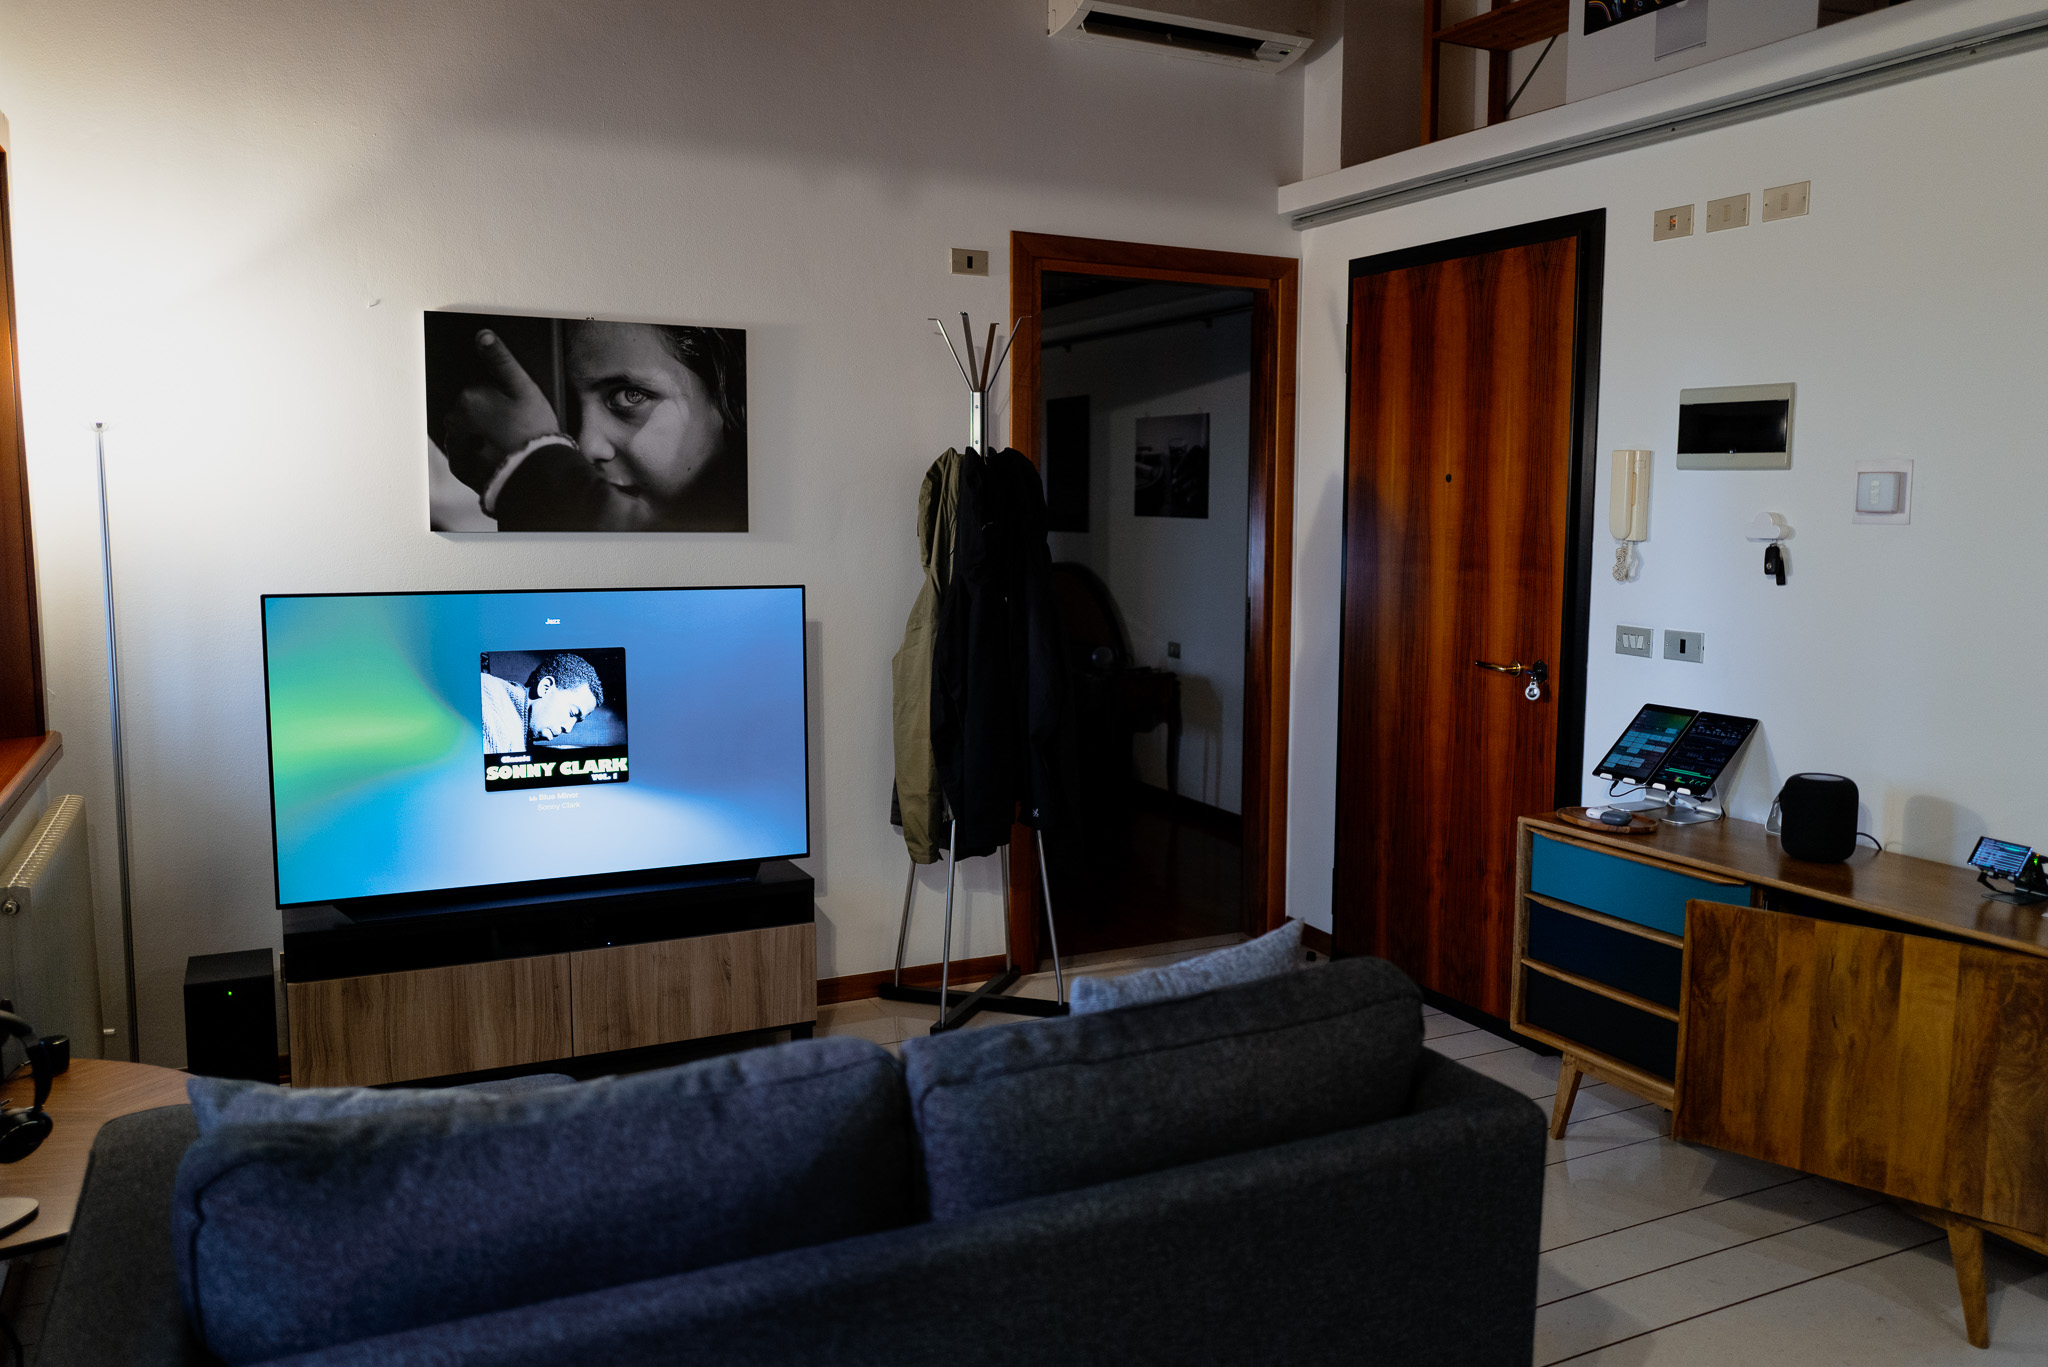
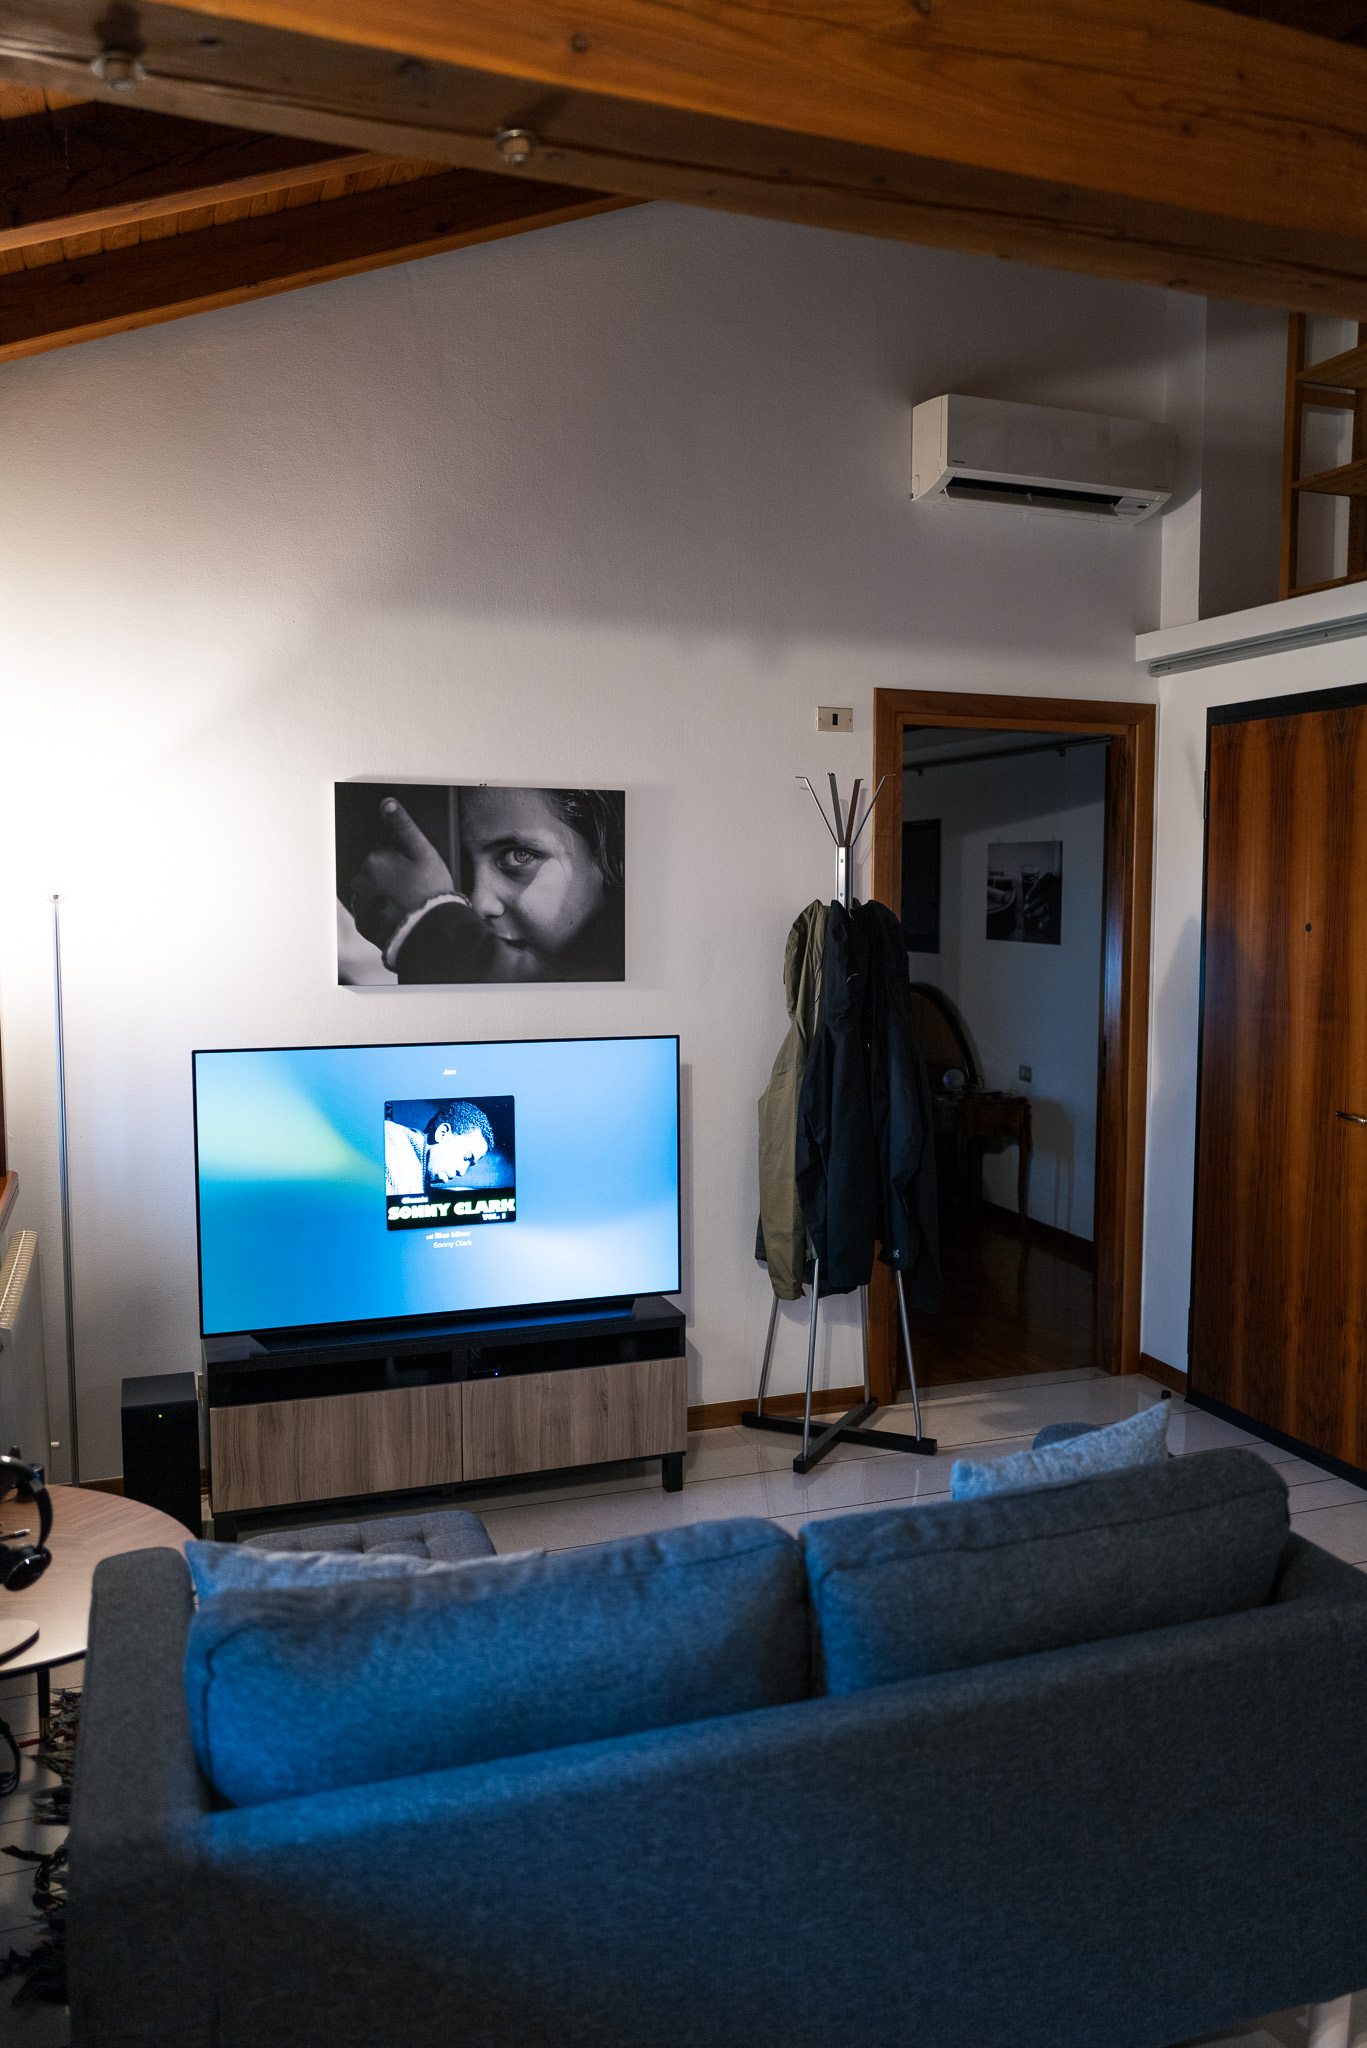
The TV setup:
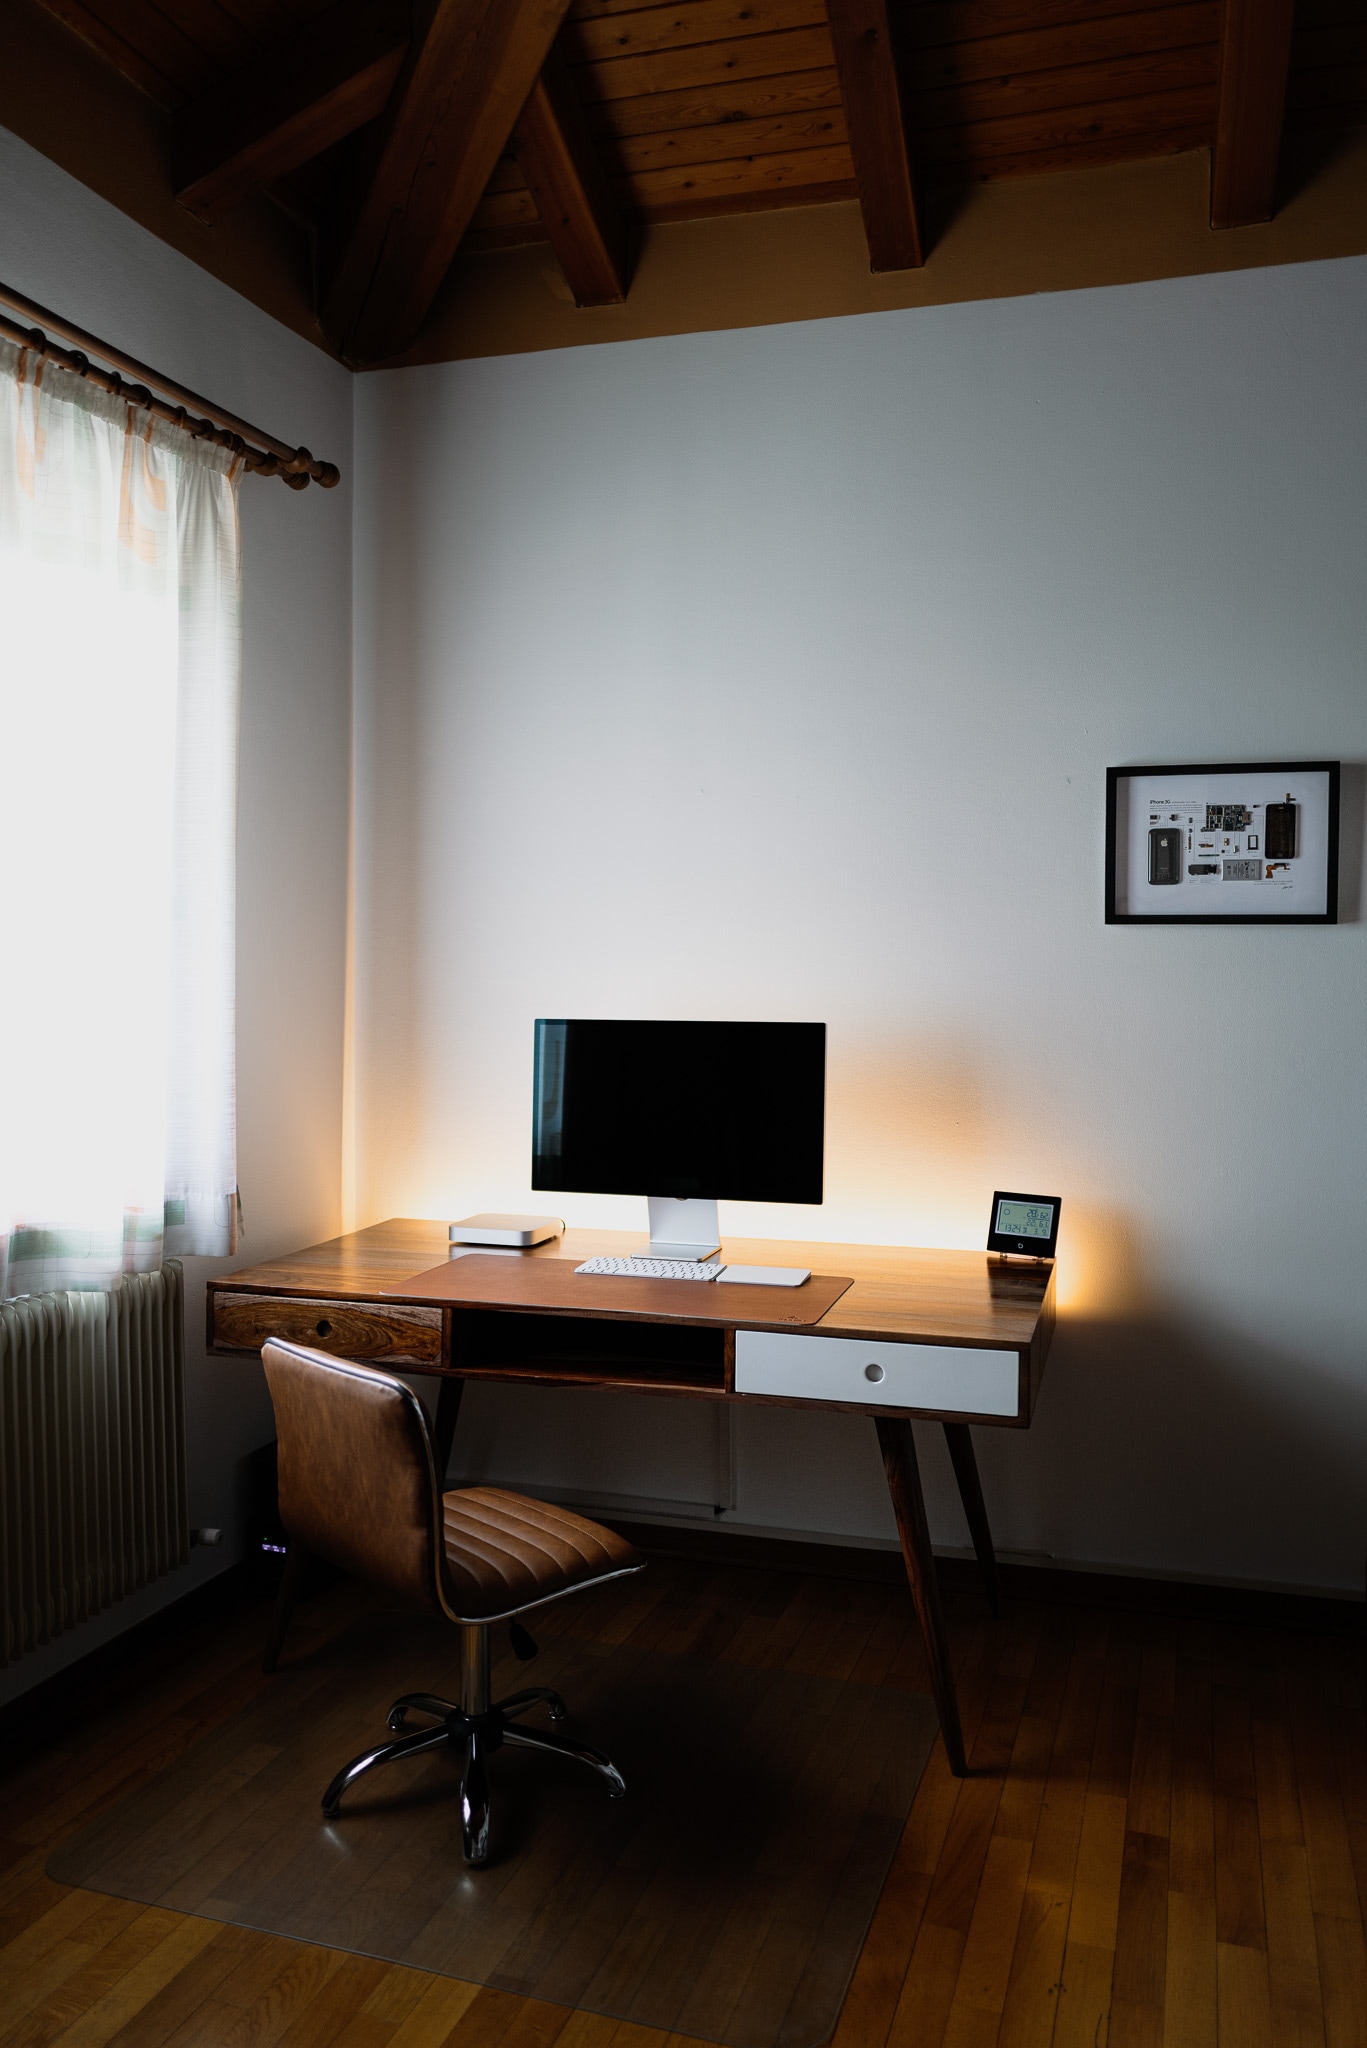
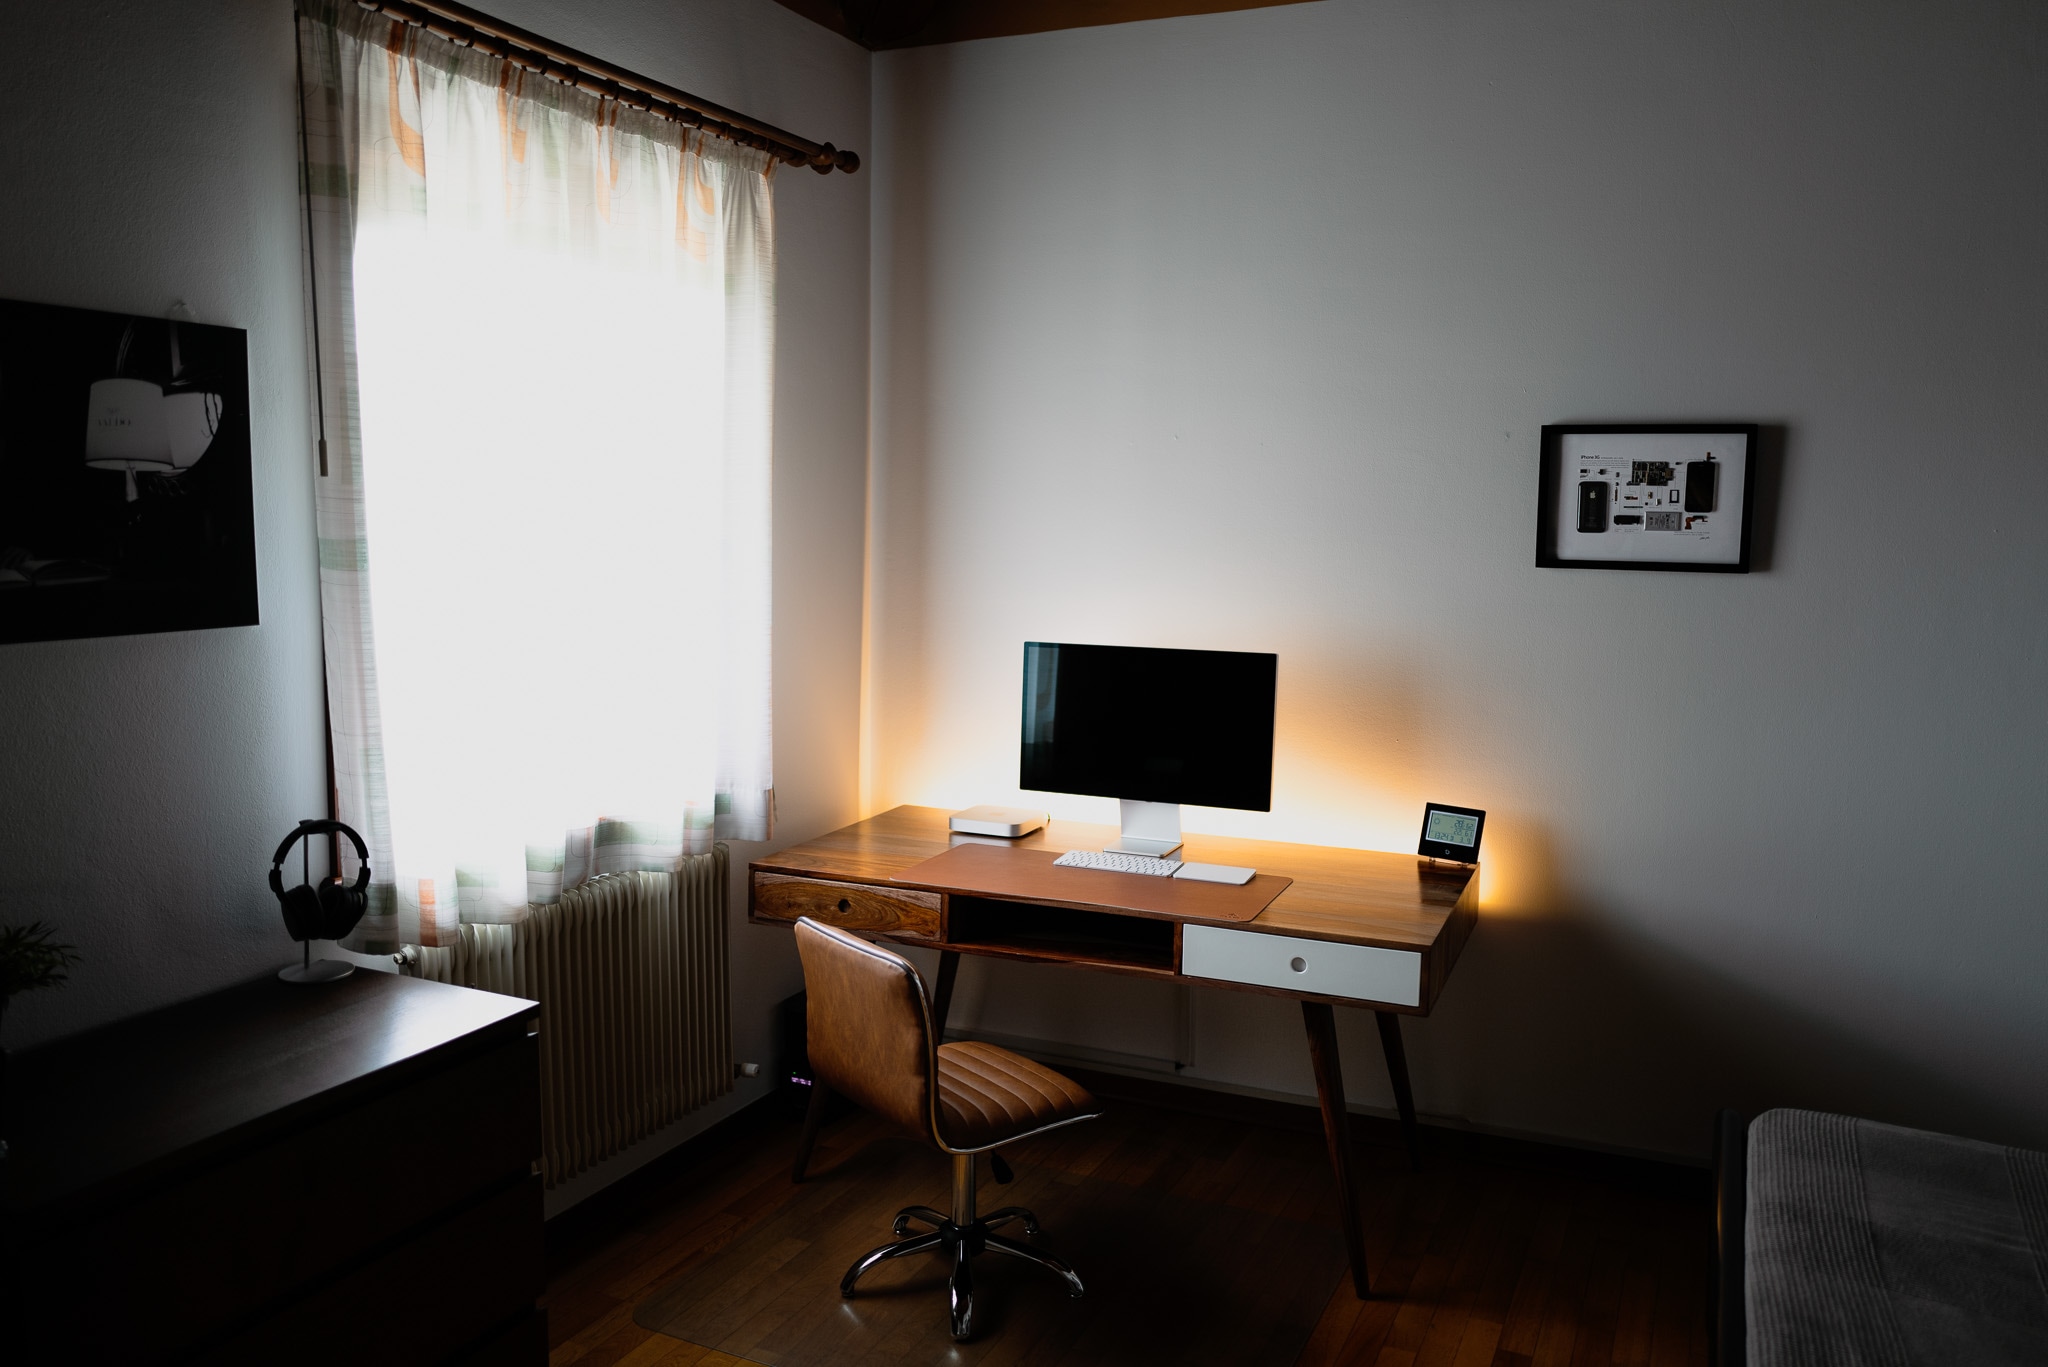
I’ve also updated my workstation setup, which now includes the Mini M2 Pro (and I replaced my old chair with a new one that doesn’t have armrests):
And the HomePod Mini in this new location, the bathroom:

Previous evolution/posts:
- Jan 14, 2022 - My hardware and software setup for a new house
- Jun 02, 2022 - My network home setup - v2.0
- Aug 14, 2022 - My network home setup - v3.0
- Dec 12, 2022 - Some custom push notifications that improved my life
- Dec 19, 2022 - Retrieve a scheduled report of your Grafana dashboards via mail
- Jan 5, 2023 - My network home setup - v4.0
Now - My network home setup - v4.5
Hardware
Over the past year, I’ve acquired a few new hardware products, and I thought it would be nice to take a quick peek at how I’ve incorporated them into my home setup.
iPad 9th gen (the useless iPad)
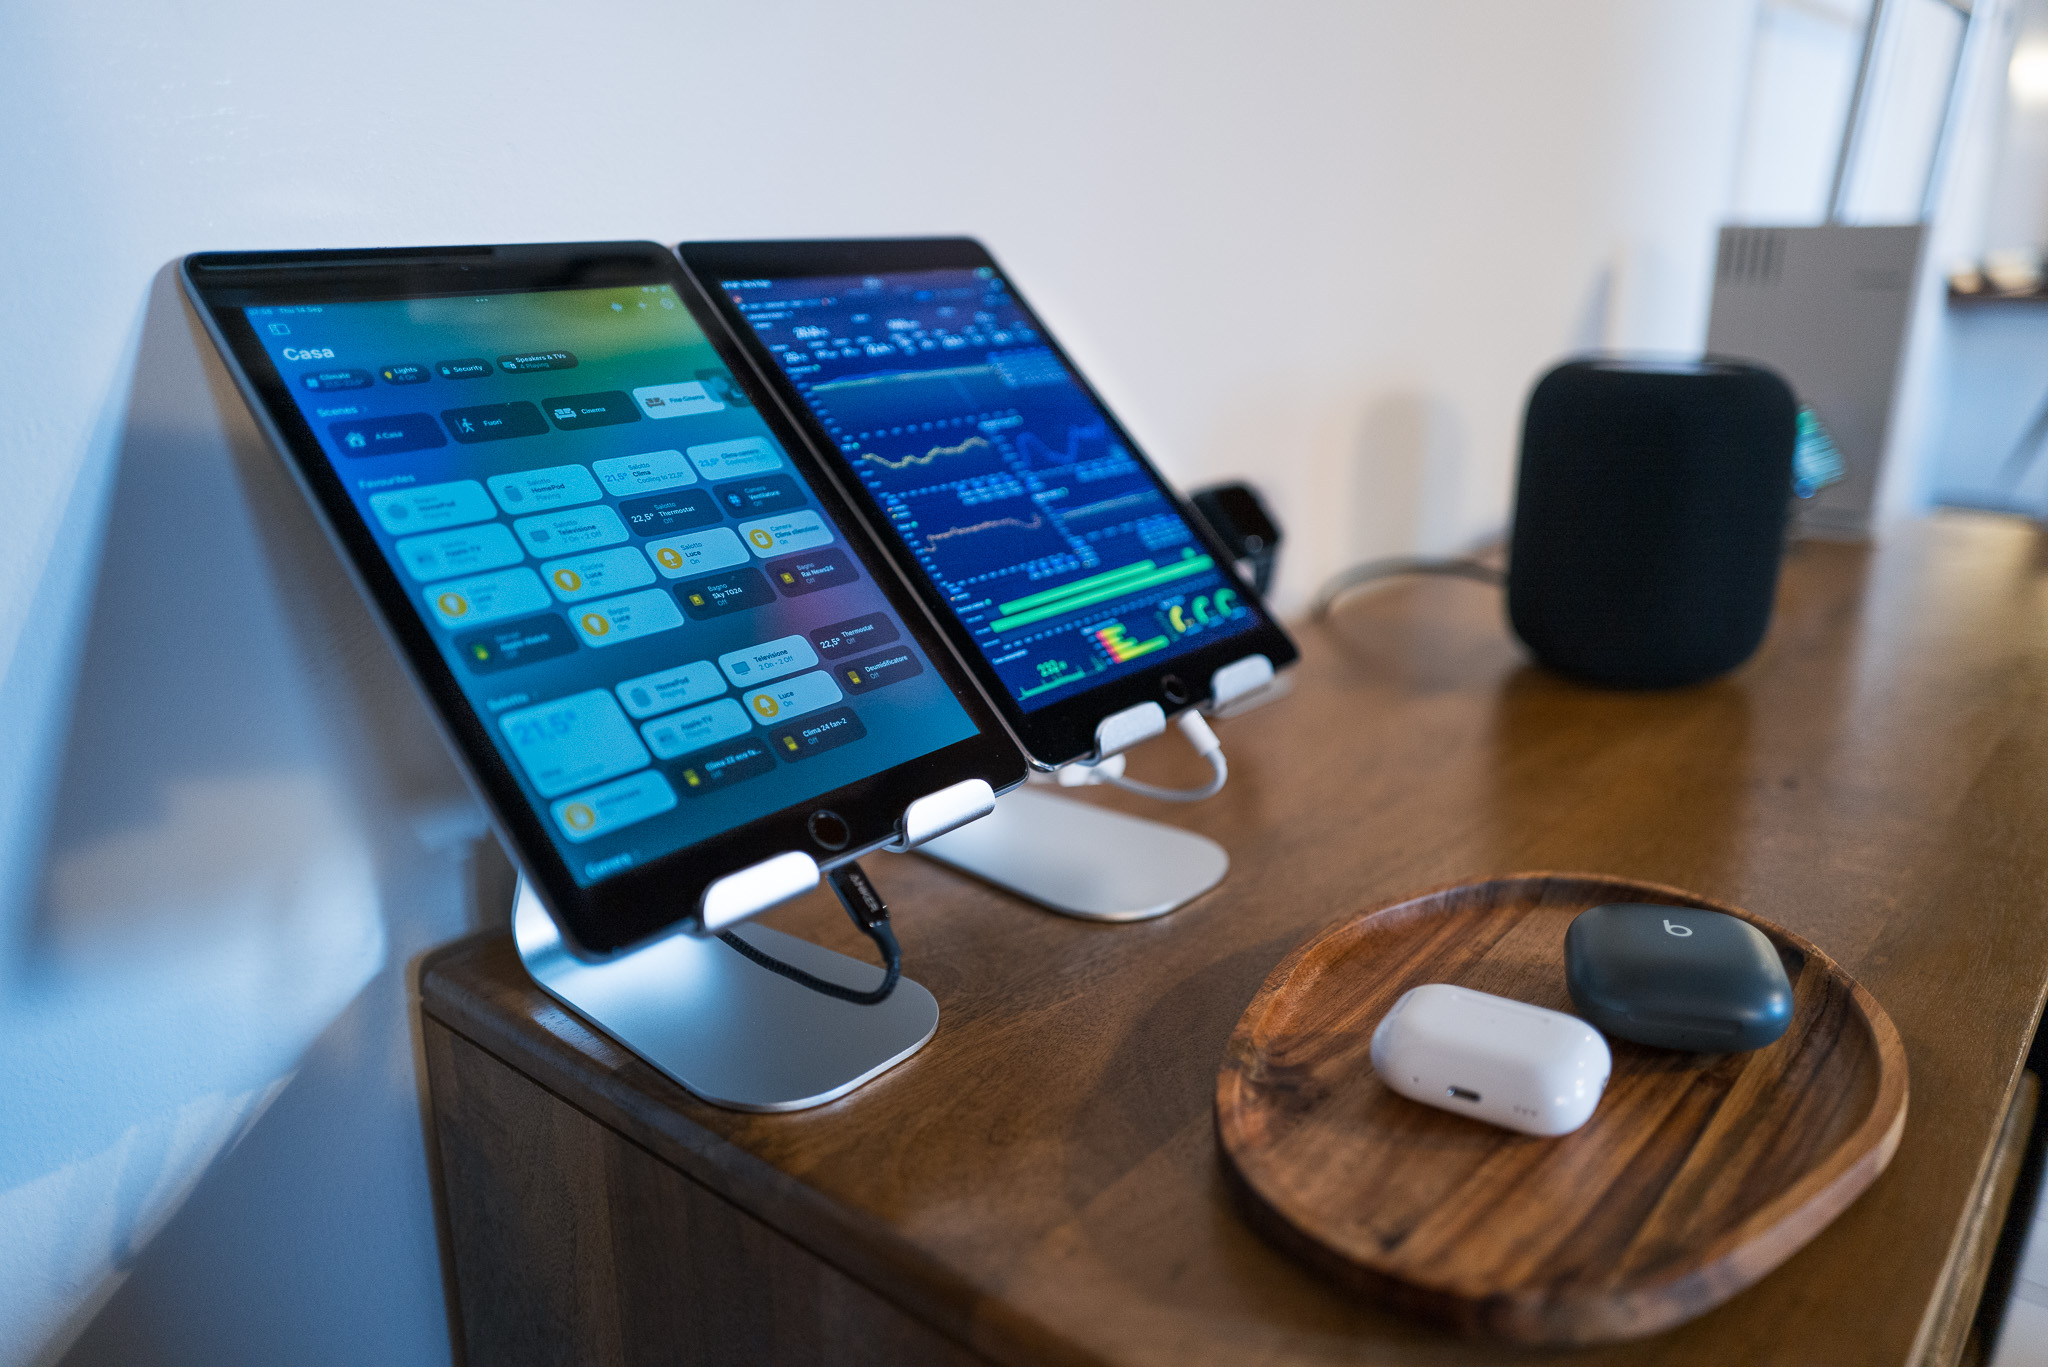
Premise: I’ve been using iCloud’s encryption, specifically the Advanced Data Protection for iCloud. However, my iPad Air 2, which I use as a kiosk, couldn’t update to iOS 16.2. This led to a loss of access to my Home app and its controls. On top of that, I’ve noticed that my HomePod Mini isn’t always super reliable. Occasionally (but not too often, maybe once or twice a month), it loses its Wi-Fi connection and needs a reboot. What makes it worse is that this happens when I’m away from home, and the HomePod Mini acts as the Home hub, leaving me unable to control my smart home remotely.
Workaround: Initially, I placed the HomePod Mini charger under an “always-on” Meross smart plug. This allowed me to remotely toggle the power when the HomePod Mini needed a restart due to freezing. While functional, it wasn’t the most elegant solution.
Subsequently, I decided to purchase a used iPad 9th generation, which supports iOS 16. My intention was to use it with an Ethernet adapter as a Home hub. However, I later discovered that due to the Home update to the Matter architecture, the iPad could no longer serve as a Home hub.
To resolve this, I invested in an Apple TV with Ethernet port (more on that in the following section). As a result, the iPad’s usefulness diminished significantly. Nevertheless, since I couldn’t return it, I repurposed it as a Home kiosk for tasks like controlling lights, running shortcuts via touch assist, and more. While not quite what I originally had in mind, it’s still serving a purpose in my smart home setup.
To address this need for an Ethernet home hub, I decided to purchase an:
AppleTV (or the ethernet HomeKit hub)
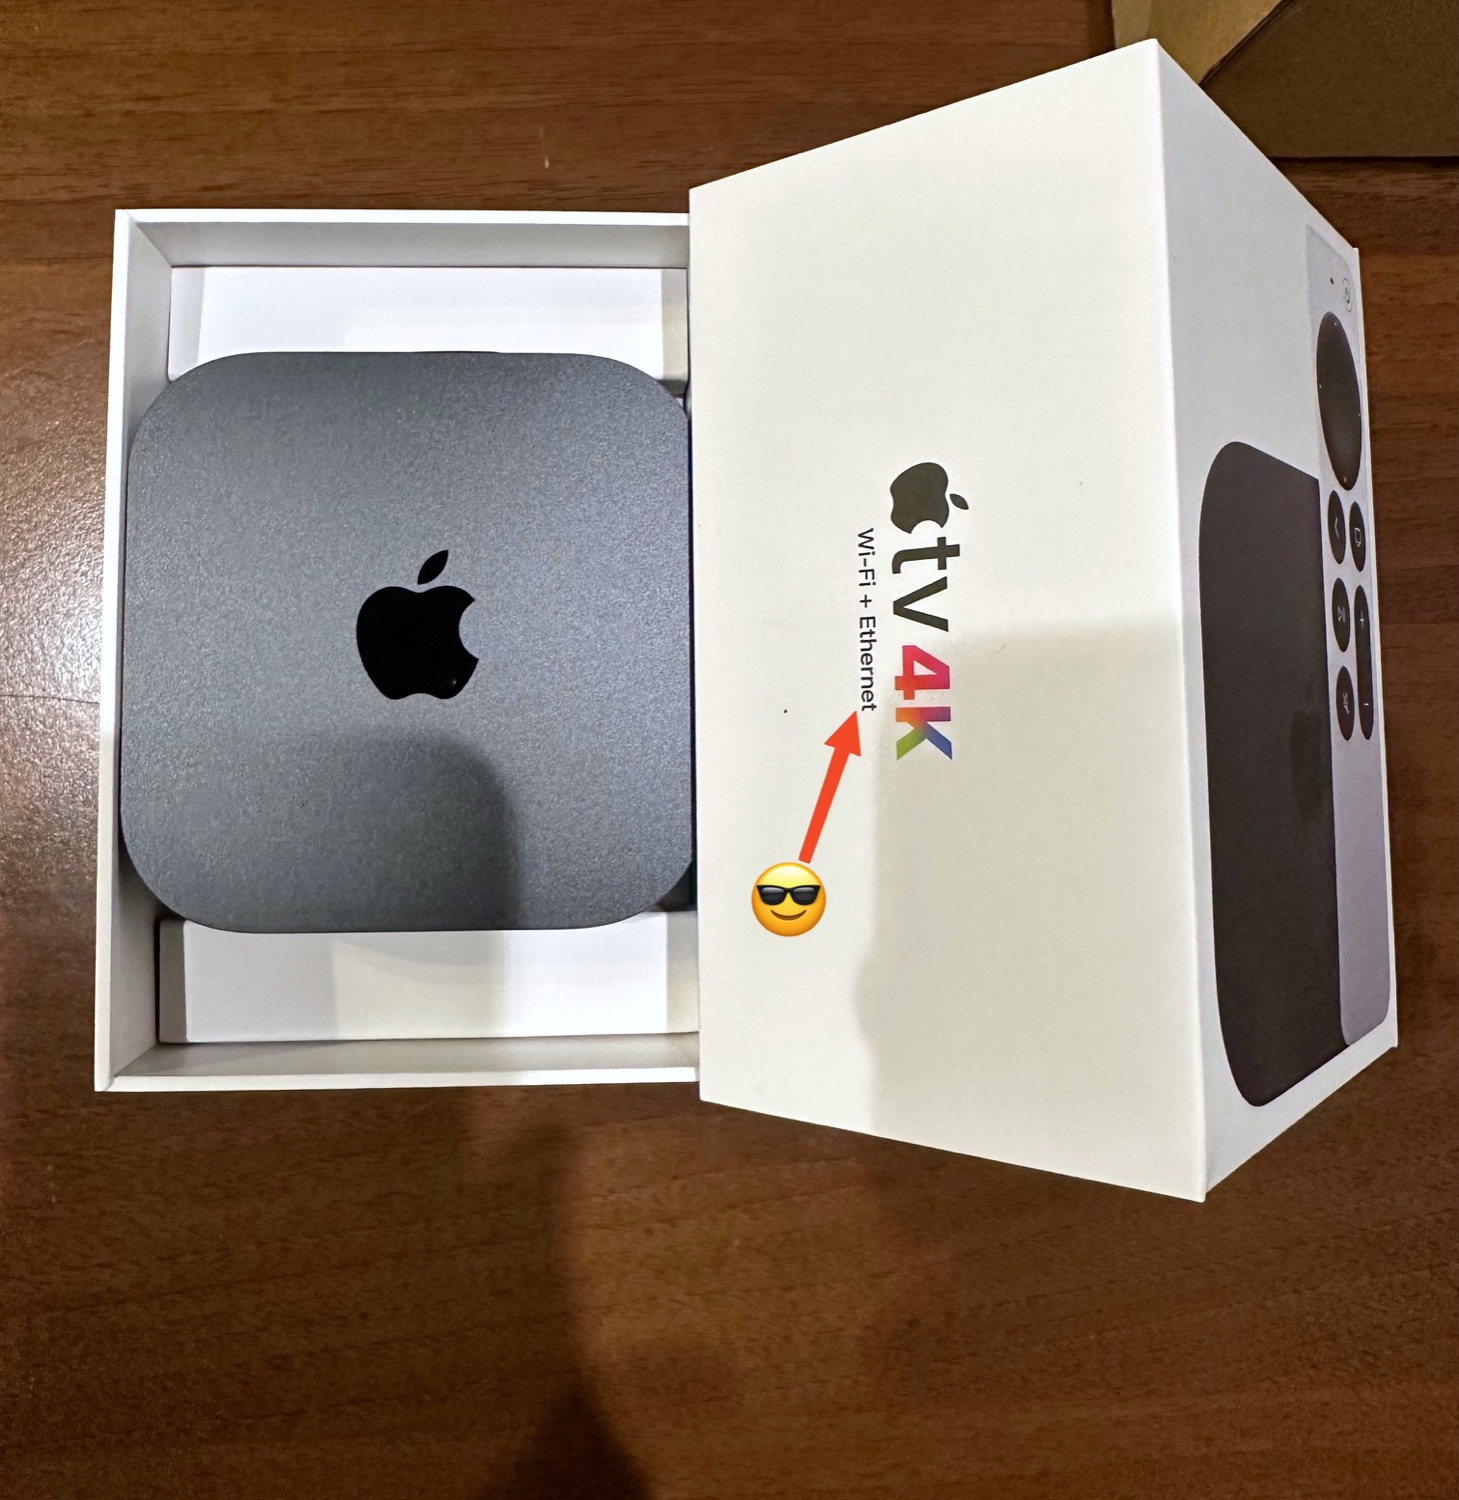
Typically, my television viewing is confined to news channels like RaiNews24, Sky TG24 and EuroNews. Consequently, I didn’t put much stock to the experience with streaming services, despite having subscriptions to them (Netflix 4K, Prime Video, Disney+, Apple TV+) but the idea of trying out Apple TV has always lingered in the back of my mind. So I took the opportunity of the need for an Ethernet hub for HomeKit and with my surprise, I discovered that this latest Apple TV is an incredibly useful gadget considering its price.
My setup involves connecting the Apple TV via HDMI Arc to my LG OLED TV and the TV’s soundbar is cabled through HDMI Arc as well, allowing me to conveniently adjust the TV’s volume using the Apple TV Remote over Bluetooth. This is a nice feature compared to using other connections like digital optic, where volume control requires pointing the remote directly at the TV since it relies on the TV’s IR signal. Instead, in this way, I can control the volume seamlessly without the hassle of precise pointing the remote to the TV IR receveir.
I also purchased a compact and affordable 5-port Netgear hub with VLAN support, which I discreetly placed/hidden under the TV:

Here you can see it hidden in the IKEA forniture:

In terms of software, I’m using an application called Specto to watch Italian TV channels via IPTV, and I must say, the quality is noticeably better than what I get from traditional digital TV. Other than that, I primarily rely on standard apps, nothing special.
Here is the final setup: the Apple TV, the switch and the rear cable managment.


Indeed, I’ve placed the soundbar discreetly behind the TV because I prefer the clean and clutter-free look it gives to the front, with no visible soundbar or cables in sight. I’ve placed it on two rubber supports and it maintais the same audio quality whith a better aesthetics – it’s simply a more visually pleasing solution.
Tip - To keep those annoying LED lights from messing with your moviewhen you are watching to a OLED TV in a dark room, just slap on some black tape over them. Not nice, but not visible = easy peasy!

HomePod (and moved the Mini in bathroom)
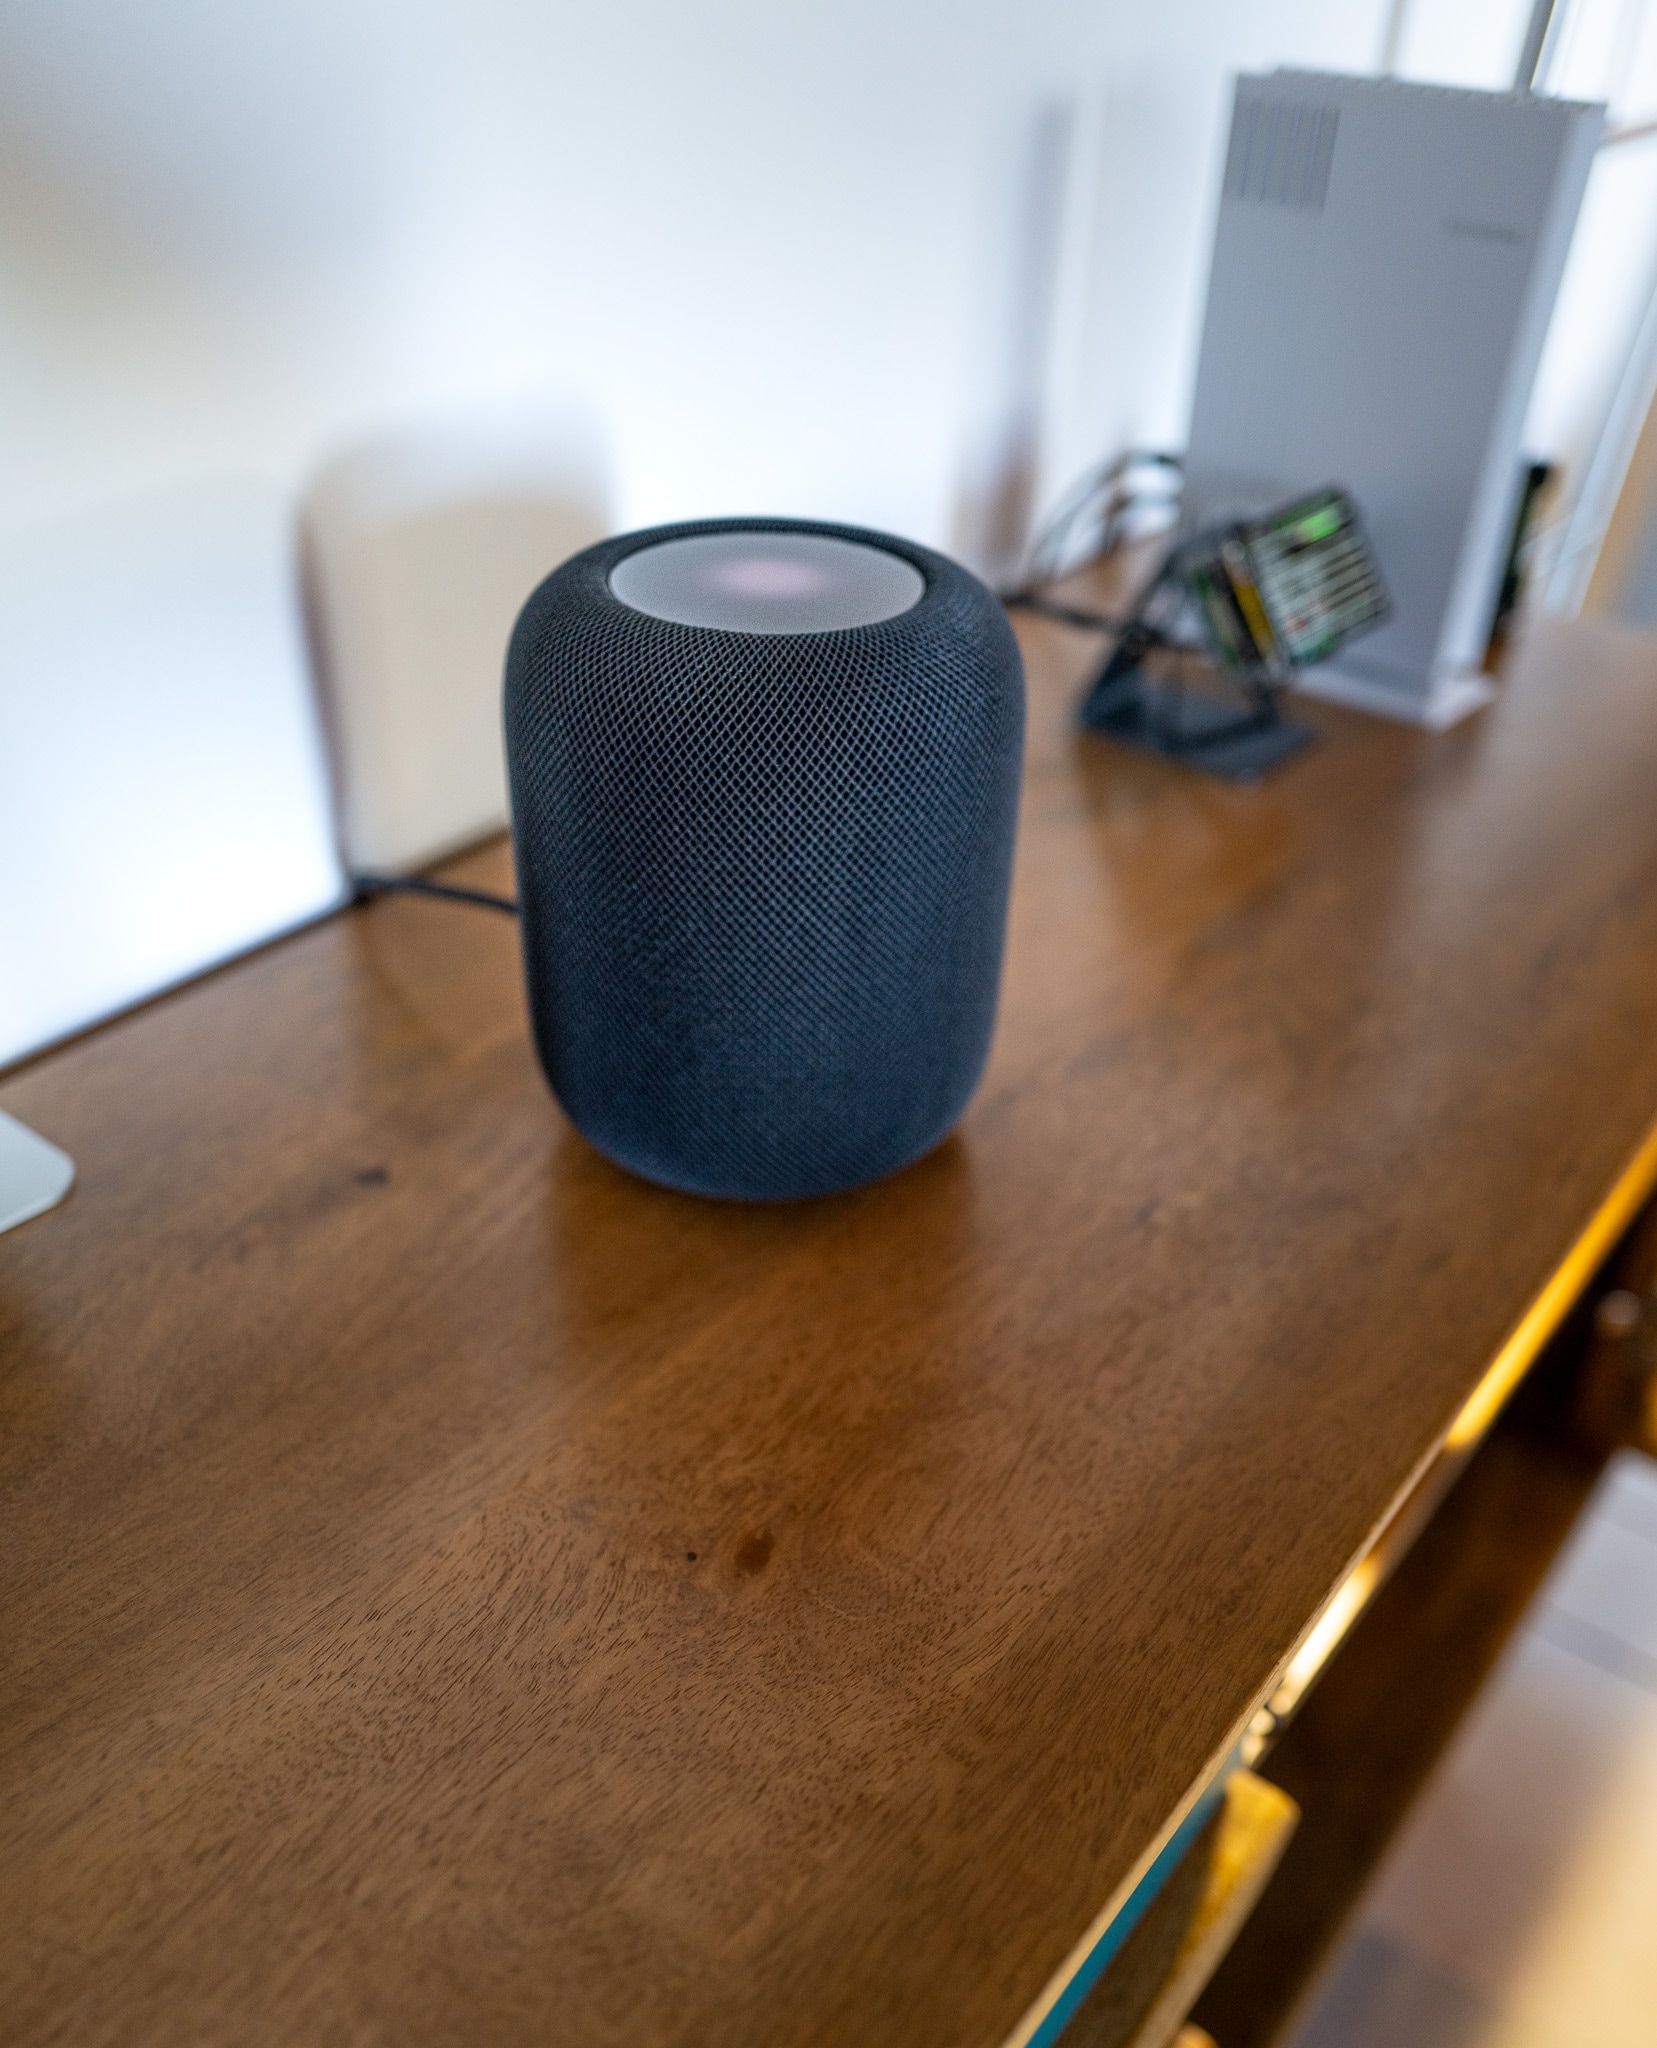
As I’ve been increasingly reliant on HomeKit and Siri for my smart home, I made the decision to invest in a HomePod (the larger version). …first admission: the sound quality is impressive, and it has effectively replaced the Echo Studio in my main entrance hub.
Since the big HomePod took the main scene on my “home hub/forniture”, I’ve relocated the smaller HomePod to the bathroom, where now serves as my secondary hub placed it on a charming and cost-effective (15€) little shelf for a tidy setup.

In the bathroom, I also have an Echo Dot that serves a specific purpose: during my showers, I enjoy listening to my personal news briefings from Alexa or a custom TV news channels played through the My Pod app. For this purpose I got also a handy JBL waterproof speaker that I take into the shower. It’s perfect for listening to podcasts while keeping the volume low, especially during the early morning showers, and my neighbors appreciate it!

Play a custom stream/file on the HomePod
As previously mentioned, my primary use for smart speakers is to stream content from a TV news channel, and I’ve found an effective solution: this Homebridge plugin called petro-kushchak/homebridge-homepod-radio, which has proven to be really handy.
This nice plugin allows me to create a new Home switch that, when activated, plays a custom URL (or a file) using FFmpeg. It’s a usefulel and effective feature that enhances the functionality of the HomePod, despite it really needs a support for external streams and audio files, something like the “skills” on Alexa. But who know when Apple will be ready for this… should we put trust in European laws for this as well? 🤡
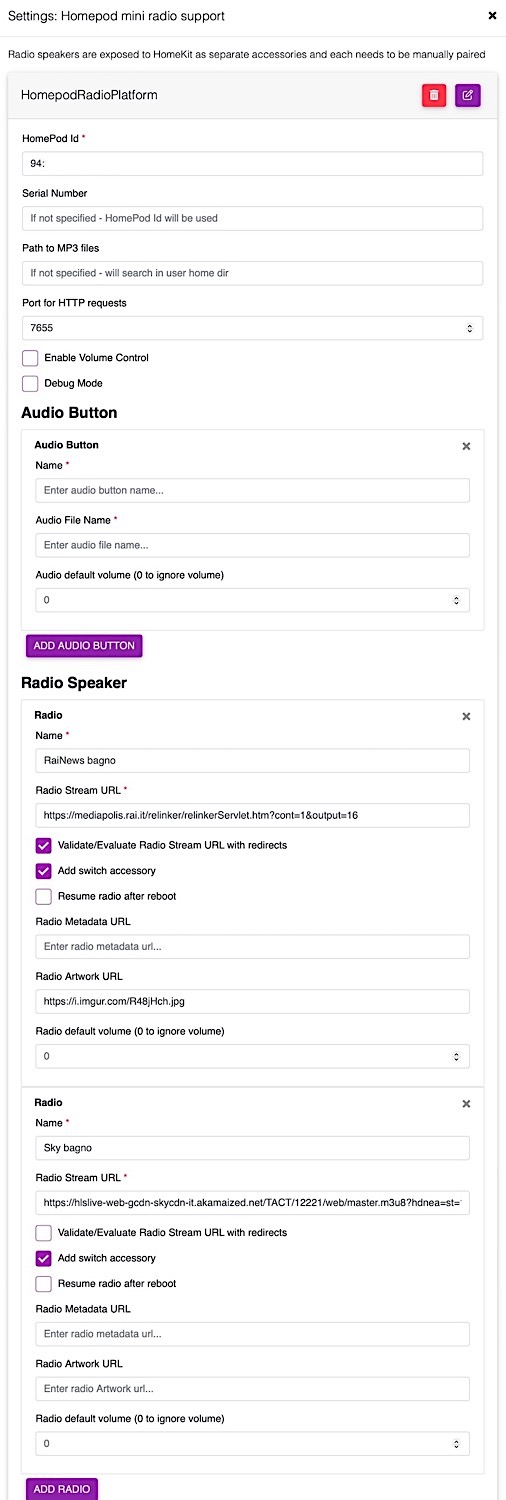

Then I use some shortcuts to turn it on/play or stop:

Mac Mini M2 Pro 32GB/1Tb (totally overkilled for me)
A few months ago, I made the decision to purchase a Mac Mini M2. This choice followed my experience with the 27" Intel iMac and the discontinuation of Apple’s larger all-in-one computer. My intention was to pair the Mac Mini with the newly acquired Apple Studio Display, with a forward-thinking approach to keep the display for an long period and only upgrade the computer itself.
Not long after the Mac Mini M2 hit the market, I decided to snag one. But looking back, I realized I might have gone overboard with my choice, I was worried it wouldn’t handle my relatively light usage, but I totally underestimated the power of Apple’s ARM chipsets.
My typical tasks involve photo and video editing (and you can find examples of my work on my photos portfolio giuliomagnifico.it). Additionally, I dabble in less CPU-intensive activities like web browsing and coding, but to compile large part of codes -like compiling OpenWrt- I rely on remote servers (thanks to Oracle computing).
After all, I decided to go with the M2 Pro CPU, and I was undecided between 16GB and 32GB of RAM. I opted for 32GB, thinking it would be “future-proof,” but I’ve found that I rarely -or never- come close to using that much RAM.
Then, for my storage needs, a 512GB SSD would have sufficed, but I discovered that the 1TB SSD is significantly faster, since it achieves this speed boost by having 4x 256GB storage chips, instead to the 2x in the 512GB version (and one in the 256GB). This, in my experience, is the only worthwhile upgrade, as the improved SSD speed offers tangible benefits in everyday usage.
But the 32GB of RAM and the “Pro” chip options, on the other hand, have turned out to be unnecessary expenses for my specific needs and usage.
These are the specs of my Mac Mini:

(I have to admit that looks very minimal and elegant)
The 1TB SSD speed:
Here’s a useful tip I discovered for the Mac Mini:
I was facing an issue where it was rotating/moving on my desk and not stand straight (because of “insufficient grip with the desk surface”). To solve this problem, I purchased something you might use in cooking, a pot holder (for 1€), that turned out to be perfect because it’s made of anti-slip silicone, and it also raises the Mac Mini by a few millimeters. This elevation helps the Mac Mini breathe and take in air more efficiently from below.


MacBook Air M2 16GB/1TB (perfect laptop for me)
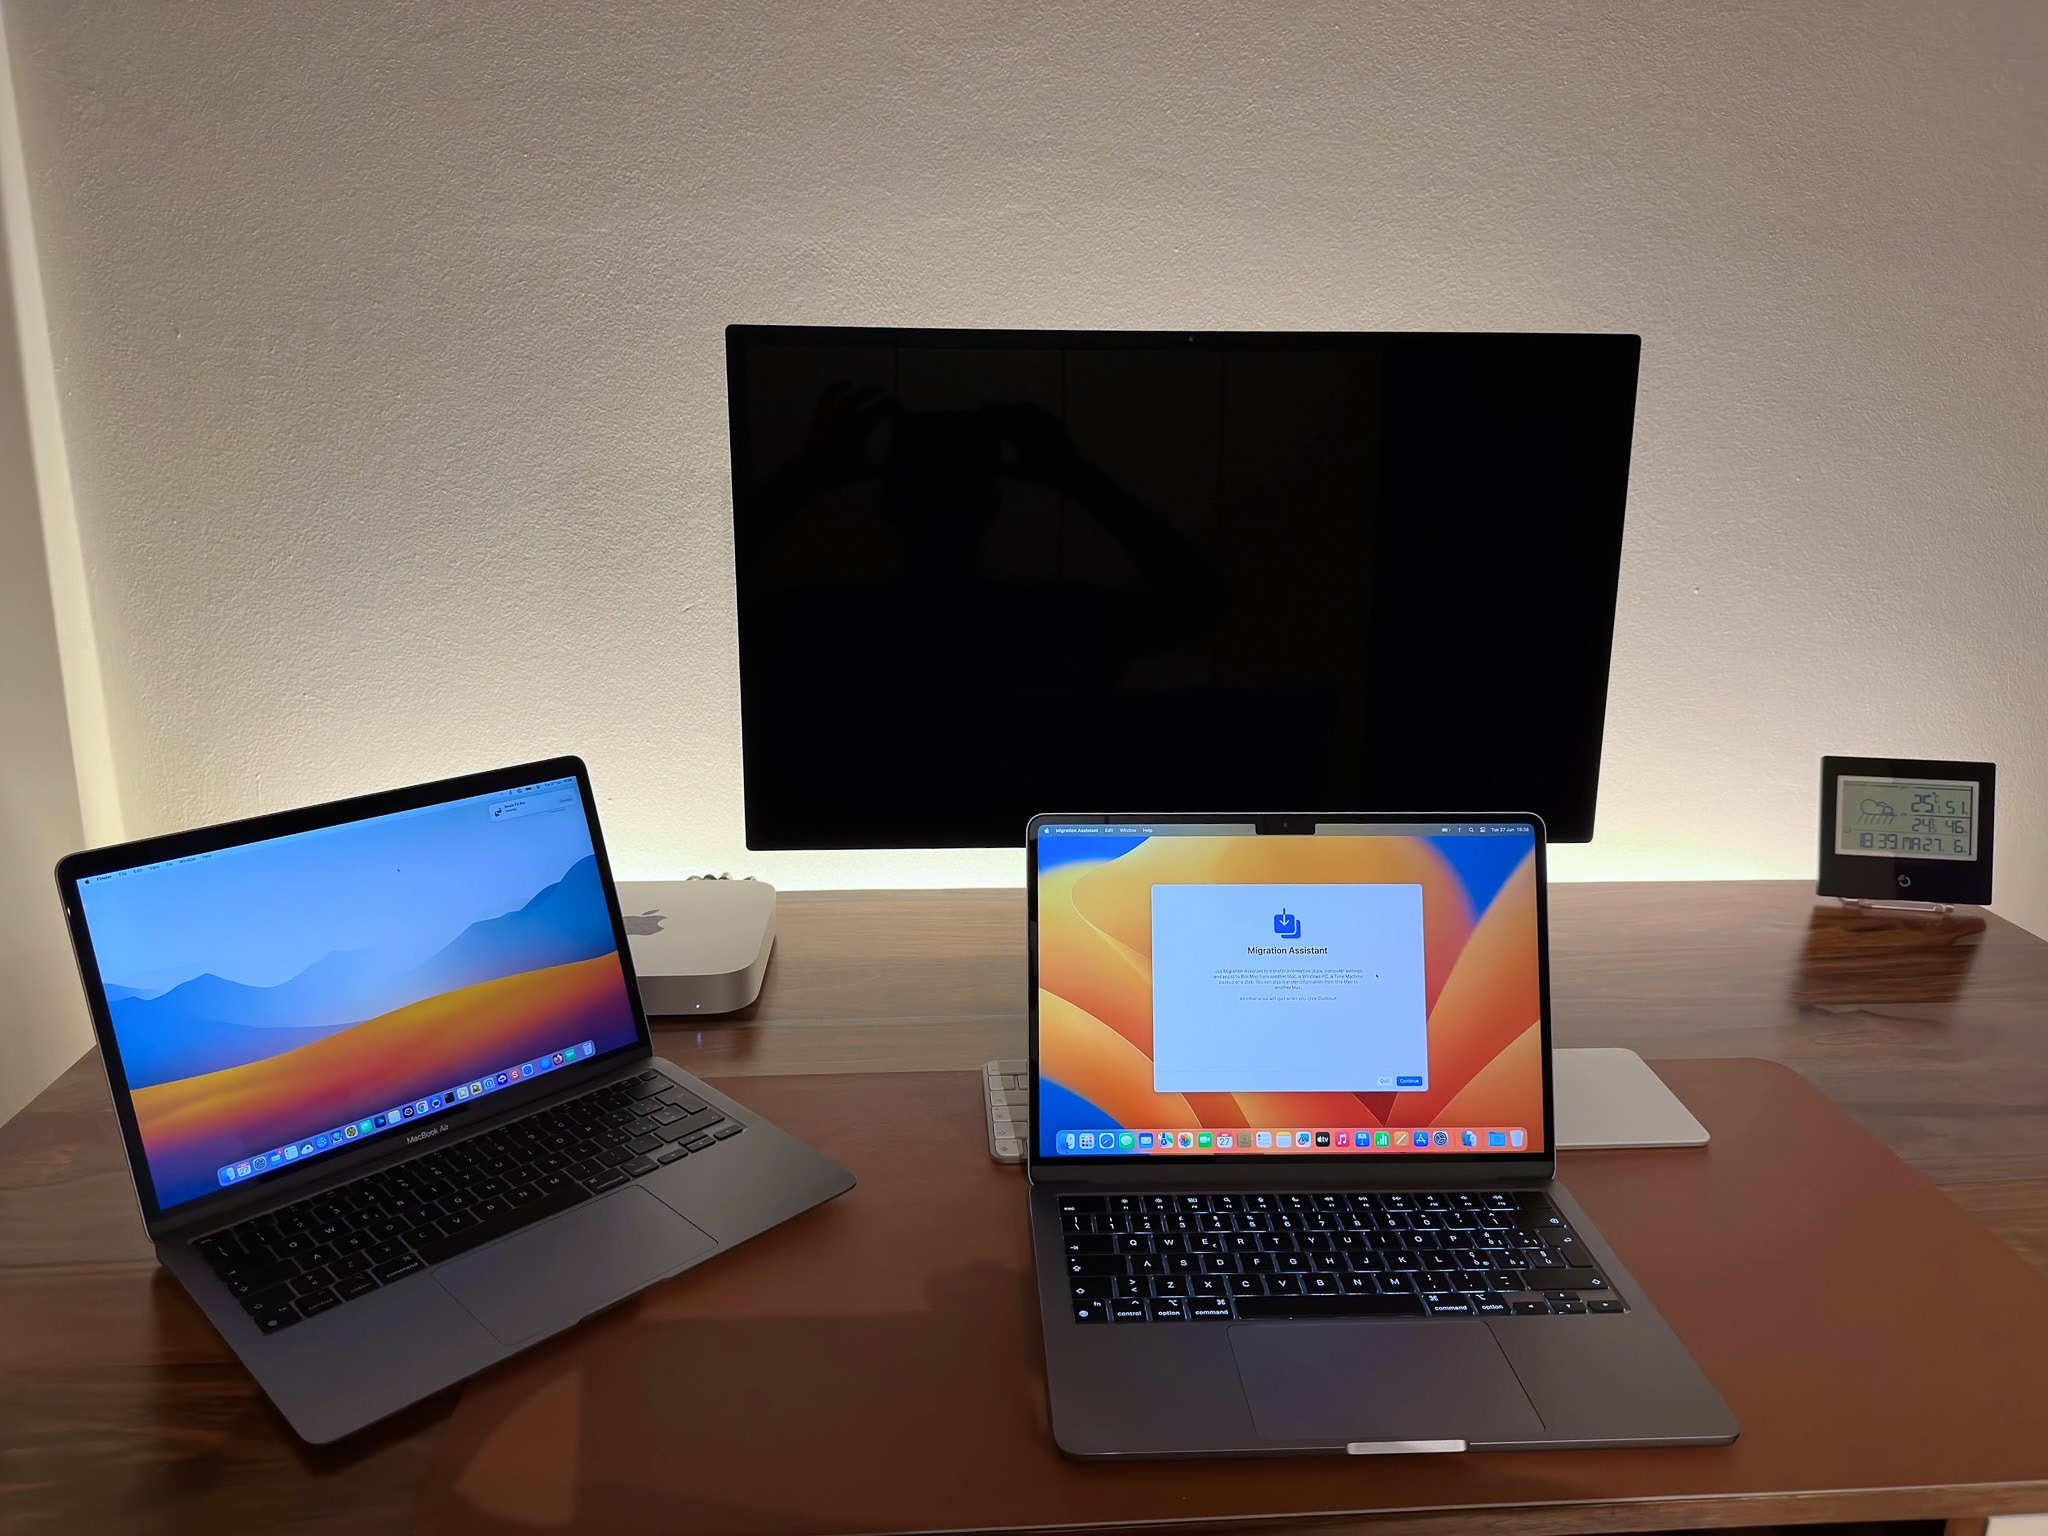
The specs:

Since I stumbled upon an awesome deal from the online Apple Store – an original Apple refurbished M2 MacBook for €300 less than usual… I couldn’t resist, and decided it was time to say goodbye to my M1 MacBook Air. Two main reasons drove this upgrade: my old MacBook’s small 256GB SSD and the new design of the M2.
As for performance, yes there’s a bump, although it’s not a jaw-dropping change, everything feels a bit smoother, and the slightly bigger trackpad is a nice touch. But the real game-changer is that massive (for me) 1TB SSD, because it means that I have more speed (bigger SSD is a faster SSD) and I don’t have to worry about storage anymore, which is a big deal since I use this laptop for work. I can install all the VMs, apps, and work-related stuff I need without constantly battling the storage space demons.
Here’s a tip for MacBook users: consider using a keyboard protector or, more precisely, a screen protector. This precaution is particularly important because the newer MacBooks are incredibly thin and lightweight and when you toss your MacBook into a backpack with other items, the weight of those items can exert pressure on the chassis, causing the screen to come into contact with the keyboard. This can lead to unsightly marks and smudges from the natural oils on your fingertips.
By using a keyboard protector, you can create a barrier that prevents the screen and keyboard from touching directly and this simple measure goes a long way in preserving the screen and it keeps those pesky smudges at bay.
So I bought a set of two budget-friendly cloths from Amazon, the official website is: GhostBlanket™ Screen Protection Liner for MacBooks and come with a cool 👻. However, I did have to make a few adjustments (cuts) to get them to fit my MacBook perfectly because althought they were labeled as “MacBook 13”, they turned out to be slightly larger than MacBook keyboard. And to make it fit just right I needed to cut the outline: I placed the cloth on a piece of cardboard on the floor, securing it with tape to keep it in place, then, using a cutter and a ruler, I carefully trimmed it to the ideal size. This way, the protector/cloth perfectly matches the MacBook’s keyboard.

Neater cabinet (cable management)
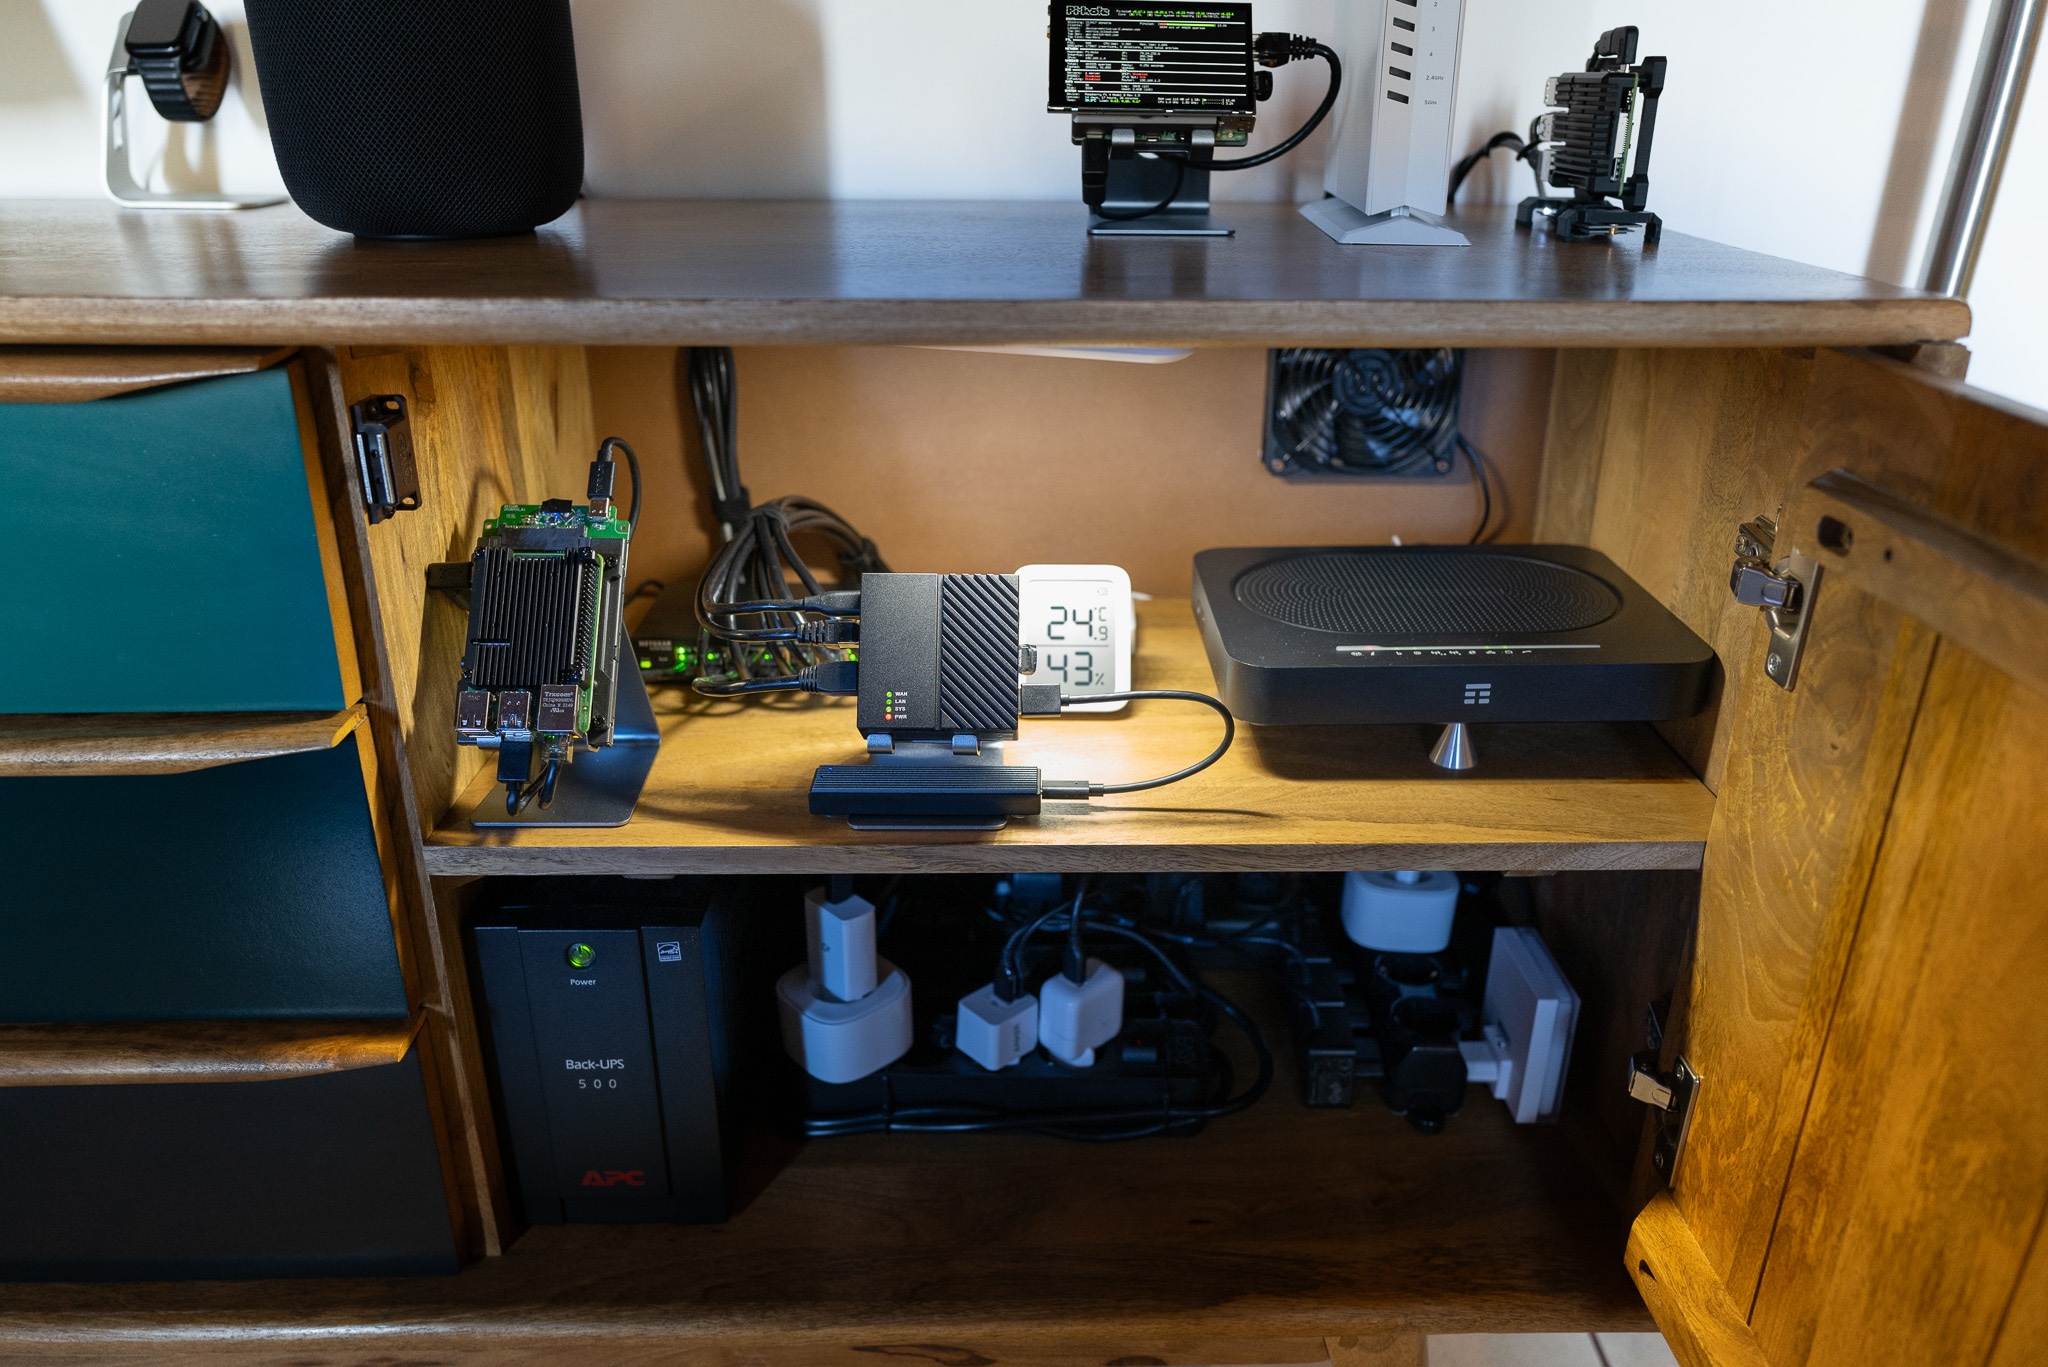
There haven’t been any major changes here, but I did make a small improvement by adding a new multi-socket that helped to clean up and organize the cables inside the furniture.
Oh, and during the summer, the fans I’ve installed last year proved to be quite handy. I configured them to turn on when the temperature reachs 28°C and to turn off when it drops to 26°C. This automation worked like a charm by keeping the cabinet cool without having to constantly check the temperatures, think about it or completly open the front lid.
Software improvements
Going to the software and network stuff I haven’t done much work, since I was already fine with my old setup, but I added something to improve my productivity.
NAS (quite a NAS using OpenWrt)
Despite I’m using end-to-end encryption for iCloud, storing private data there may not be the best choice for privacy. So I considered purchasing a NAS, however, since I only needed to store a few gigabytes of documents, I decided to take a different route and build a NAS using OpenWrt and a USB 3 256GB SSD connected to it.
I selected a straightforward solution, which involved using a 256GB SSD housed in a USB-C enclosure, costing approximately 35 to 40€. To set it up, I had to install some packages from OpenWrt:
samba4-libs
samba4-server
luci-app-samba4
...and on the new LuCi page just choose the mount point, the name and details:
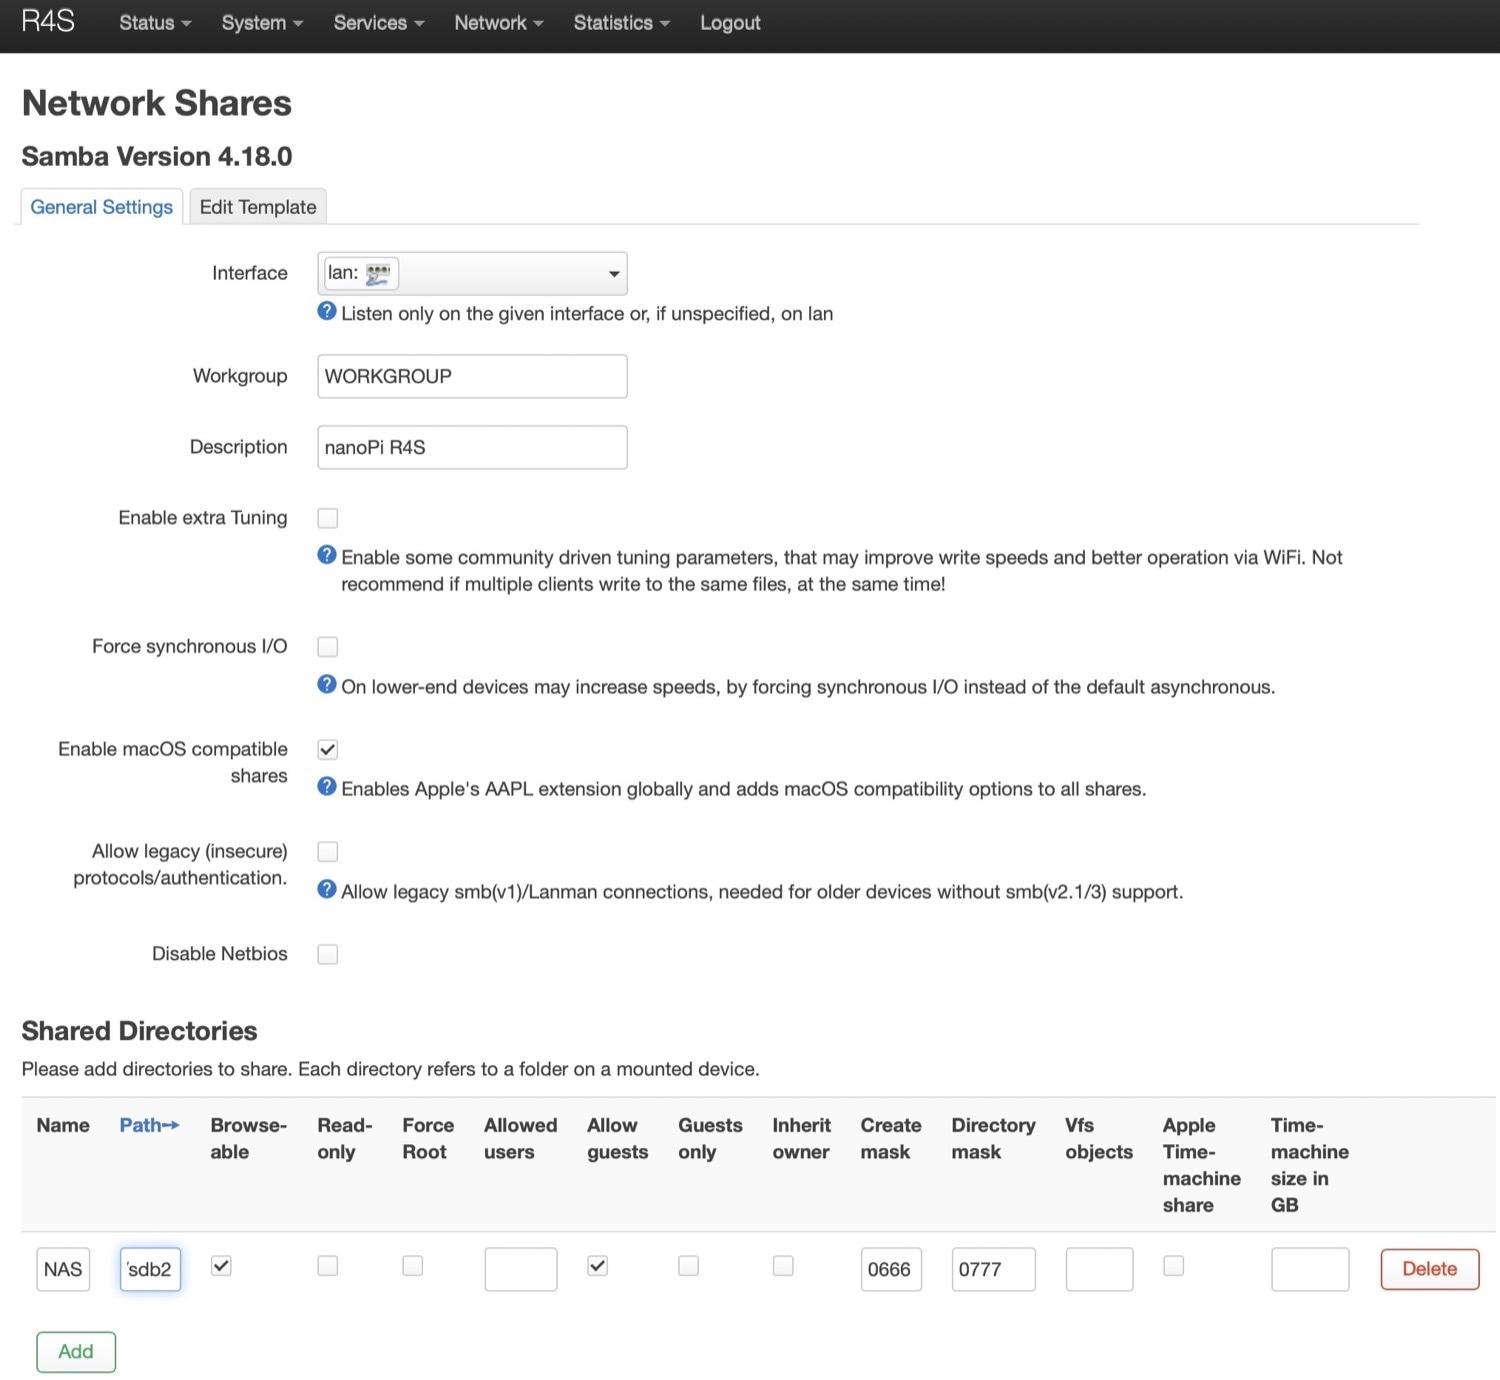
So it’s mounted on /mnt/sdb2
root@R4S:~# df -h | grep sdb
/dev/sdb2               233.5G    521.6M    221.0G   0% /mnt/sdb2
I encountered a permission issue where I couldn't write to the NAS disk. I resolved it with a simple fix:
chmod -R 777 /mnt/sdb2
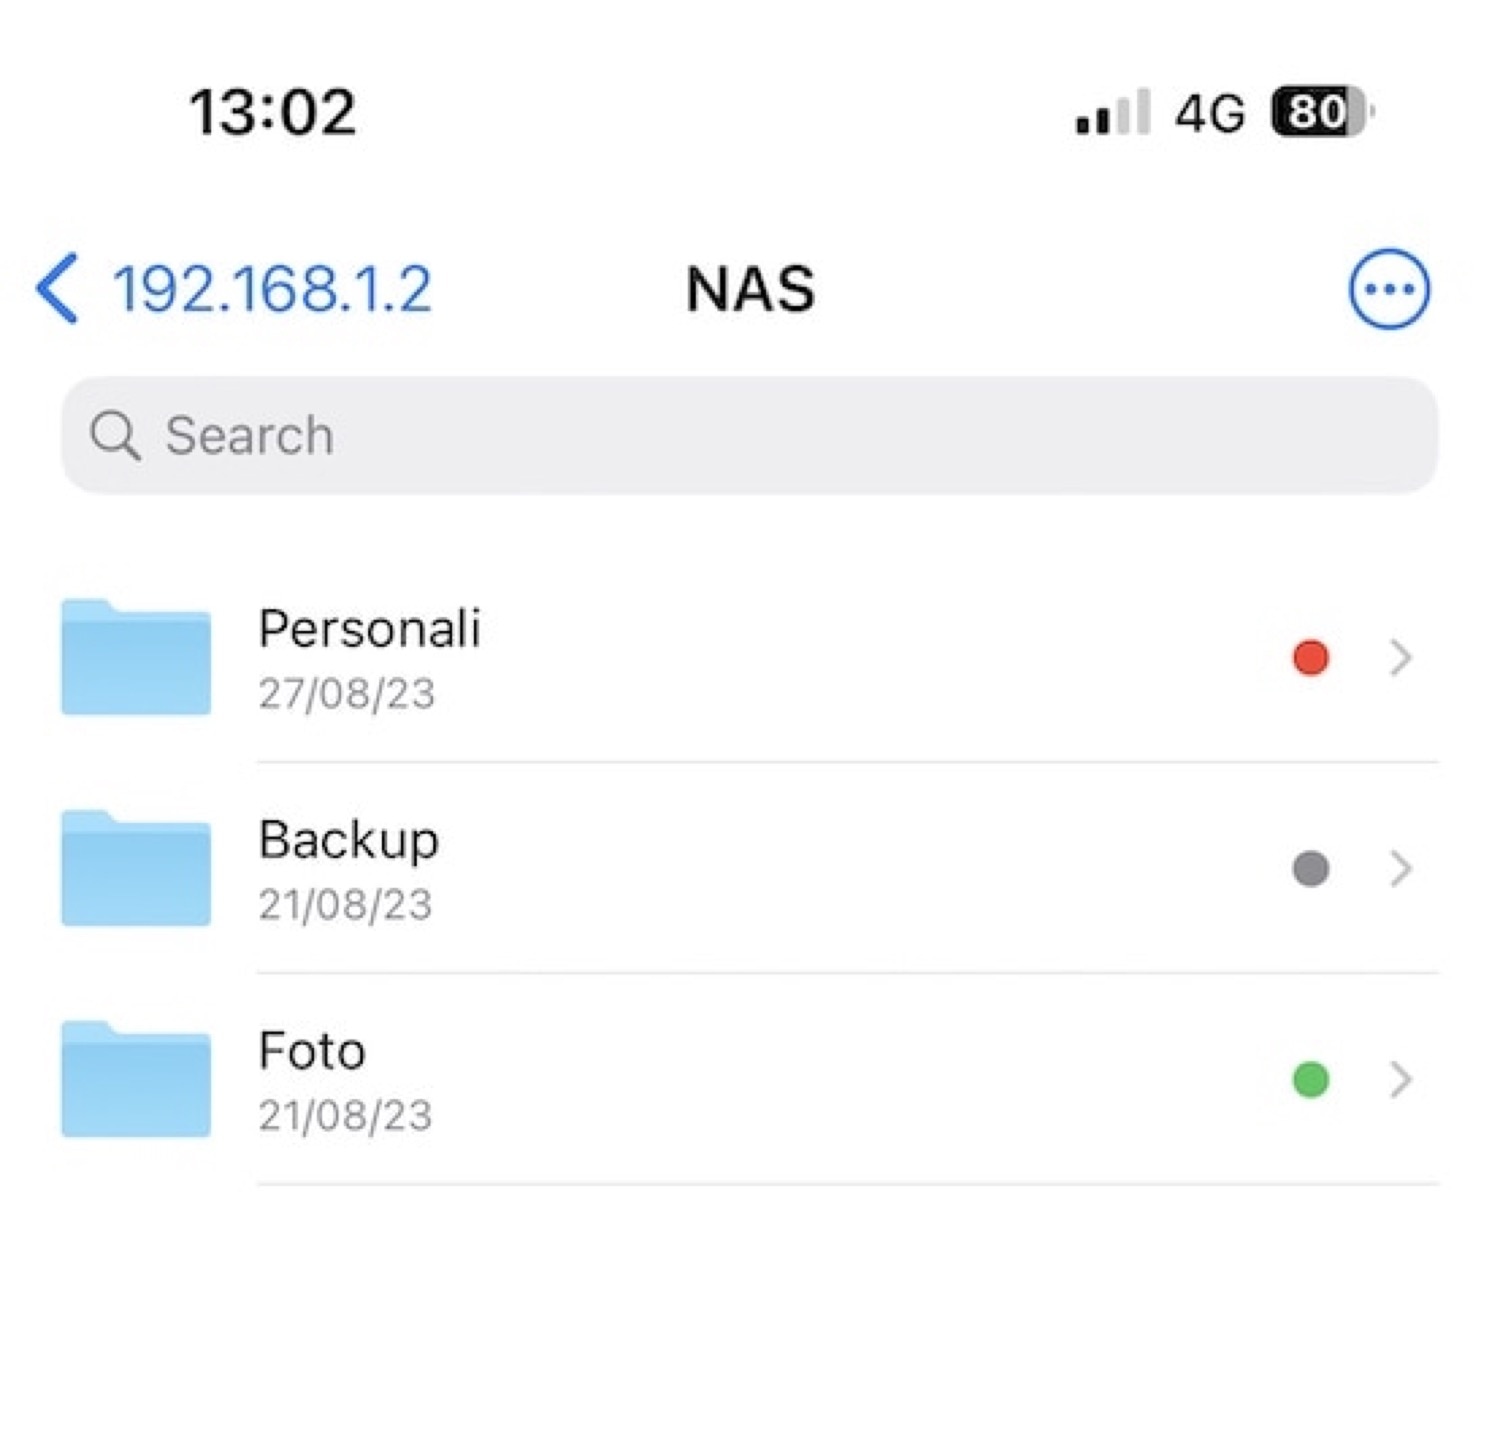
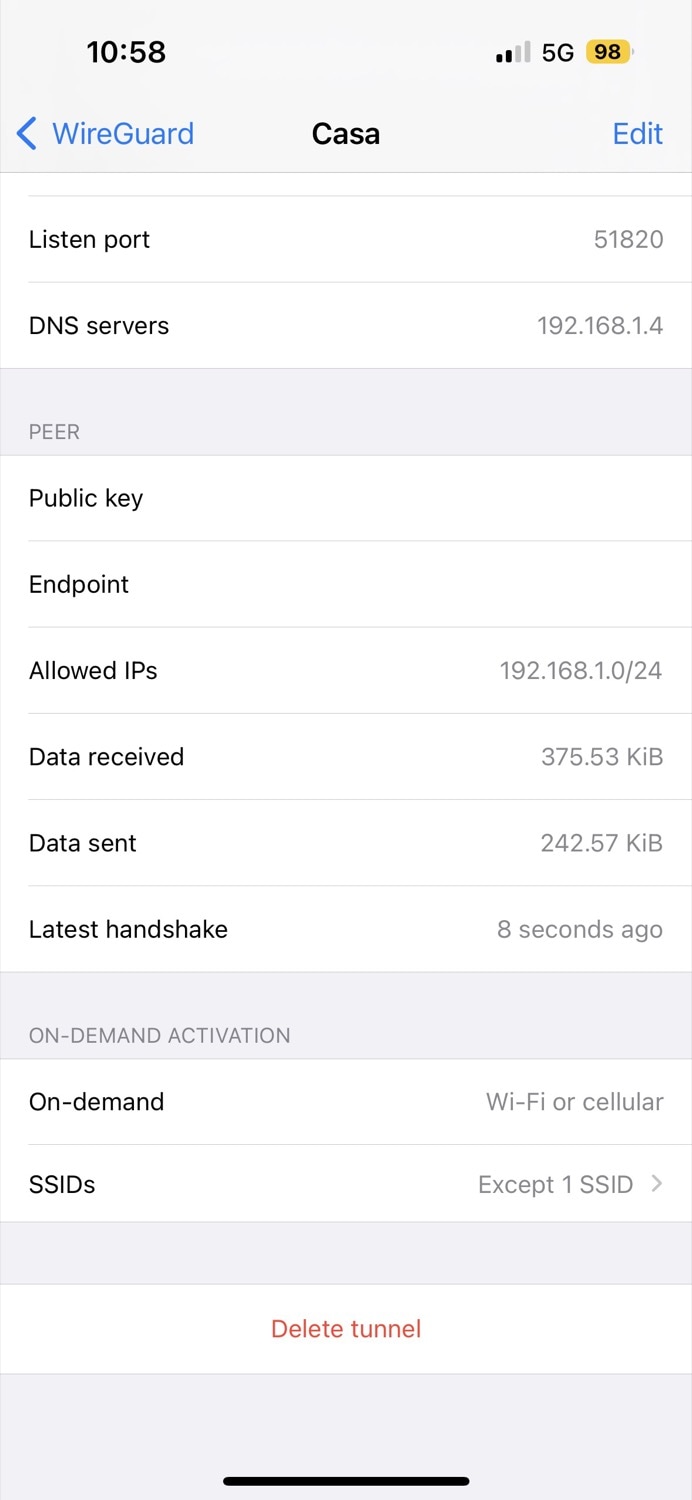
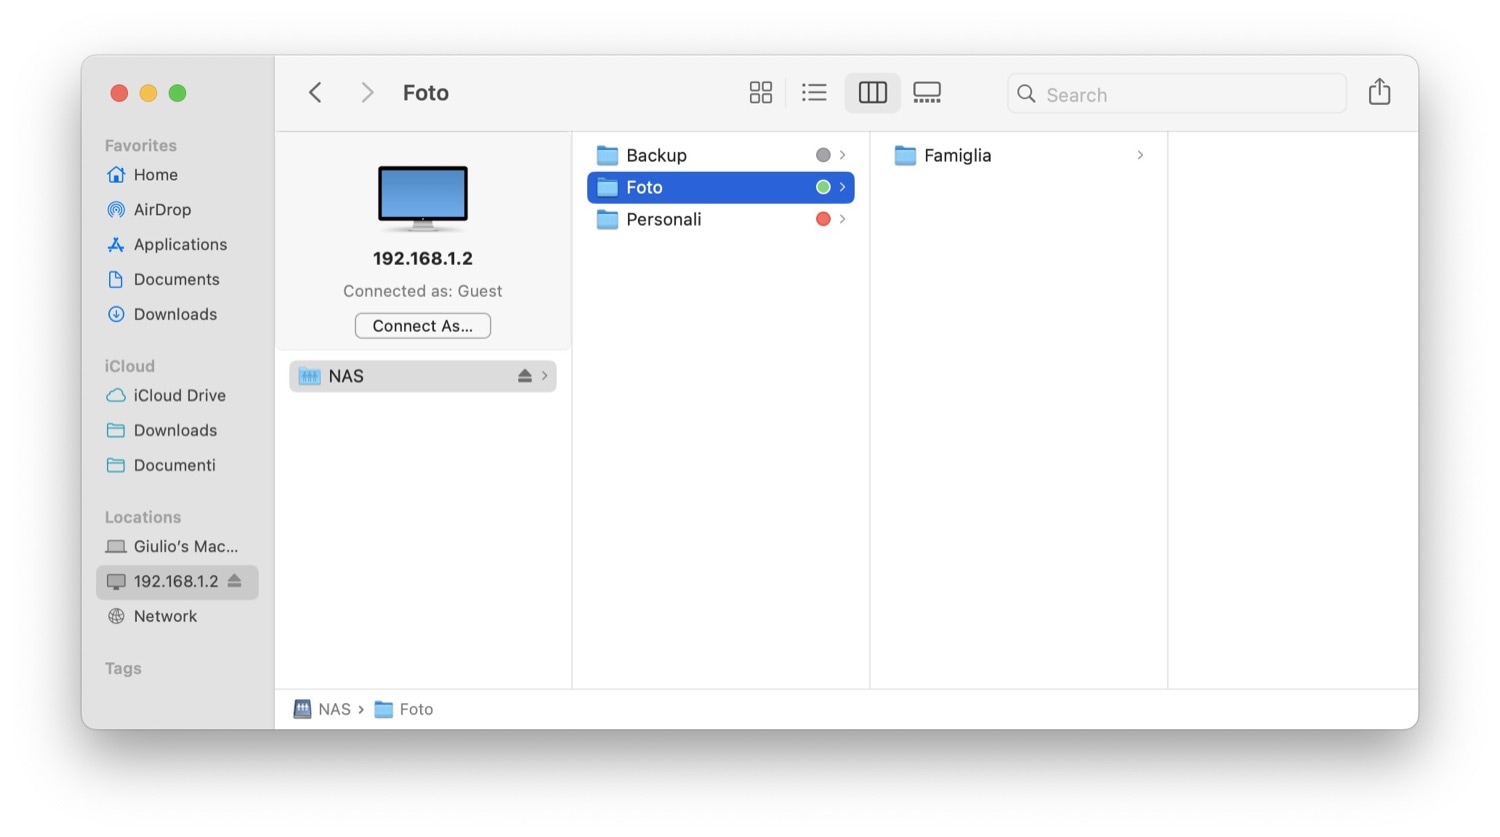
create a simple and budget-friendly NAS solution that can fully utilize the 1gbps Ethernet connection (about 110-120MBps). For me it’s useful because I’m alway connected to my home VPN in split tunnel, so I can simply open the Files app on the iPhone and reach my documents at home:
The ’name’ tag in Prometheus (a bit neater)
In my Prometheus configuration, I’ve always preferred using a single global section with a “job_name” that simplifies the management of various data sources and visual elements within a dashboard. This tag is handy because it eliminates the need to repeatedly specify the “job” within the dashboard variables. However, I ran into some “human issues” as I struggled to remember which IP and port matched up with each scraping point.
That’s when I stumbled upon the fact that Prometheus lets you utilize the “name” for labeling the targets and making easy for a stupid human (me) to identify my various scraping endpoints. This approach is not only simple but also incredibly effective.
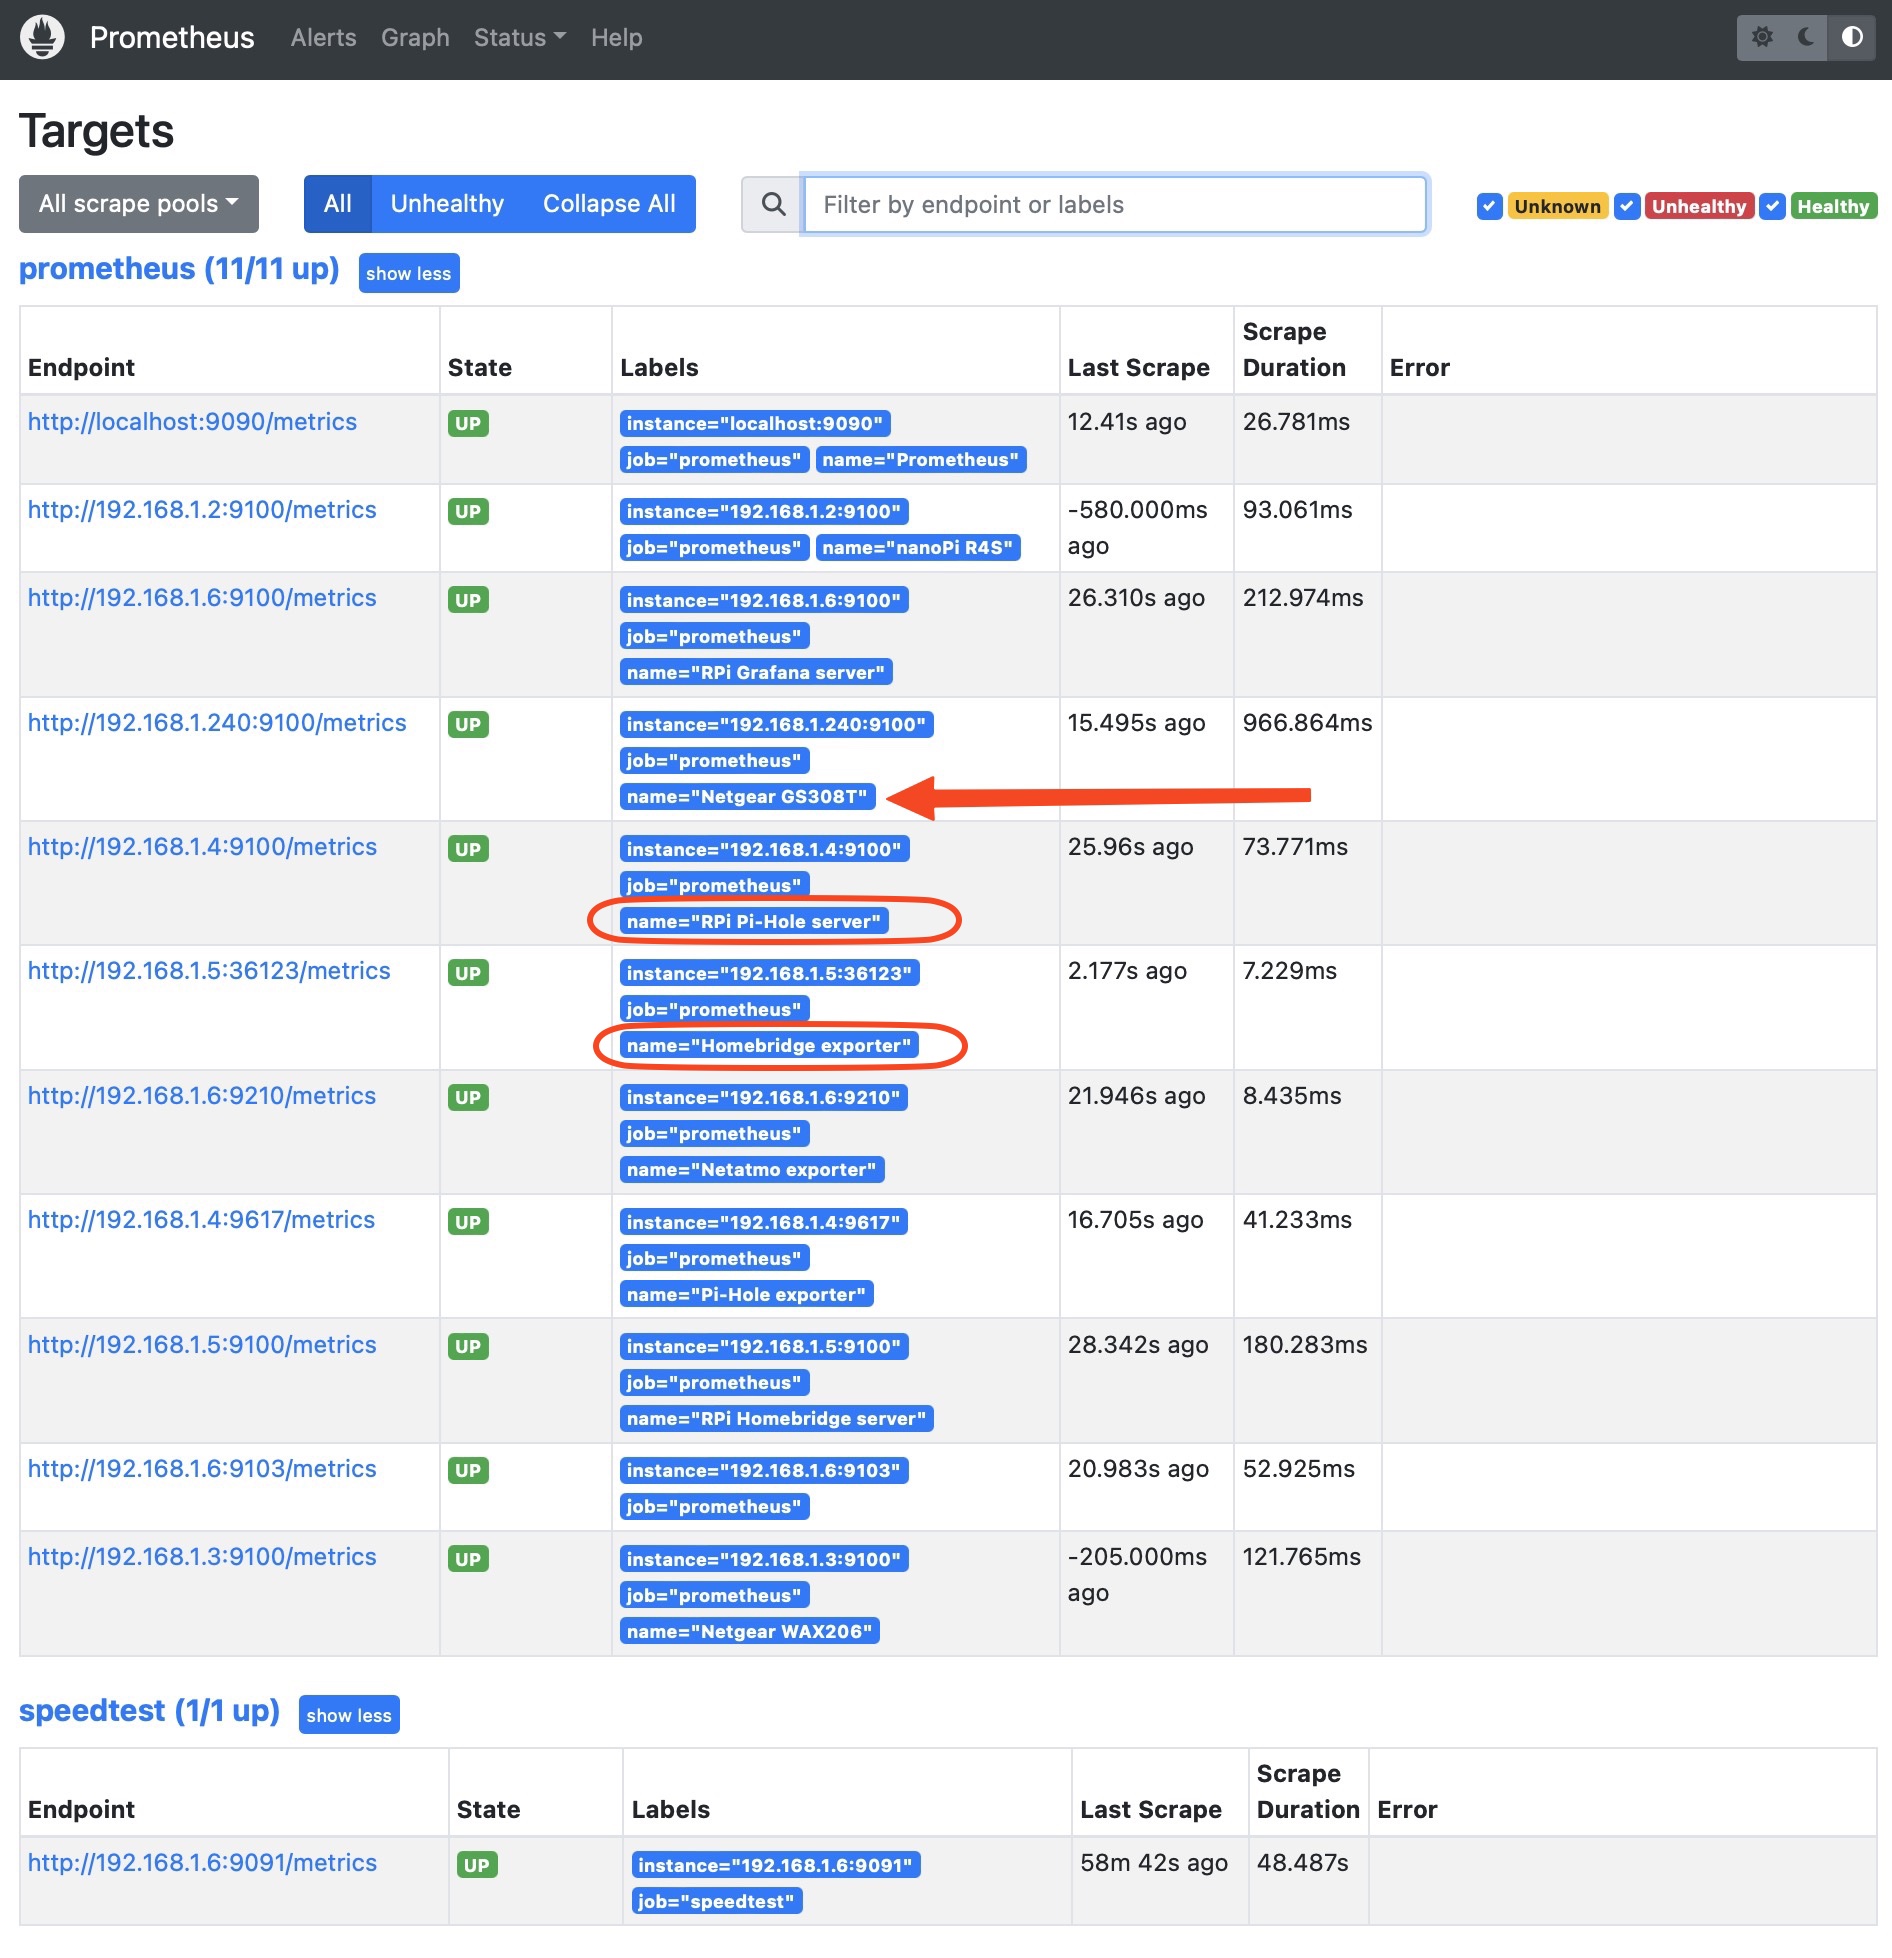
Here’s how to add only the “name” as an identifier/tag:
    - targets: ["192.168.1.2:9100"]
      labels:
          name: 'nanoPi R4S'
And the full Prometheus config file:
# my global config
global:
 scrape_interval: 30s # Set the scrape interval to every 15 seconds. Default is every 1 minute.
 evaluation_interval: 1m # Evaluate rules every 15 seconds. The default is every 1 minute.

# Alertmanager configuration
alerting:
 alertmanagers:
  - static_configs:
     - targets:
     -
scrape_configs:
 - job_name: "prometheus"

   static_configs:
    - targets: ["localhost:9090"]
      labels:
          name: 'Prometheus'
    - targets: ["192.168.1.2:9100"]
      labels:
          name: 'nanoPi R4S'
    - targets: ["192.168.1.3:9100"]
      labels:
          name: 'Netgear WAX206'
    - targets: ["192.168.1.240:9100"]
      labels:
          name: 'Netgear GS308T'
    - targets: ["192.168.1.4:9100"]
      labels:
          name: 'RPi Pi-Hole server'
    - targets: ["192.168.1.4:9617"]
      labels:
          name: 'Pi-Hole exporter'
    - targets: ["192.168.1.5:9100"]
      labels:
          name: 'RPi Homebridge server'
    - targets: ["192.168.1.5:36123"]
      labels:
          name: 'Homebridge exporter'
    - targets: ["192.168.1.6:9100"]
      labels:
          name: 'RPi Grafana server'
    - targets: ["192.168.1.6:9210"]
      labels:
          name: 'Netatmo exporter'
    - targets: ["192.168.1.6:9103"]

 - job_name: "speedtest"
   scrape_interval: 600m
   scrape_timeout:  60s
   static_configs:
    - targets: ["192.168.1.6:9091"]
Raycast (aka replacing Spotlight)
Raycast is an awesome piece of software that’s completely taken over from Apple Spotlight for me. But, as usual, I couldn’t resist customizing it to fit my needs… so I went ahead and made some scripts to get some handy info right at my fingertips. This is the result:
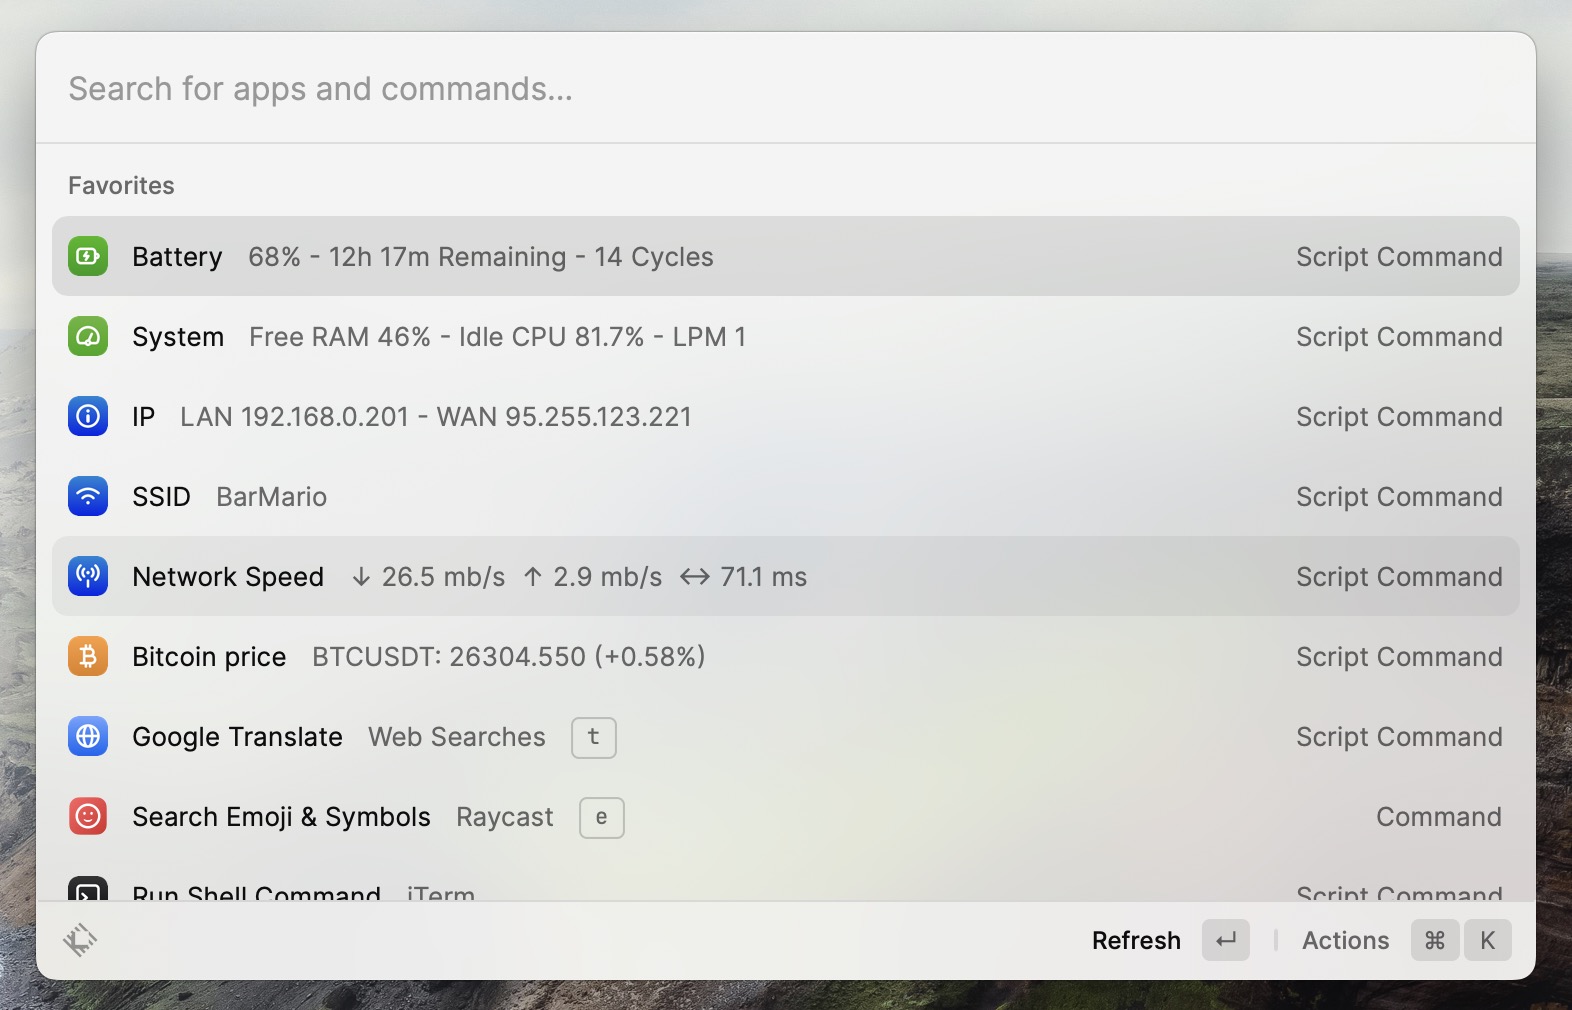
Pretty cool? Those icons and useful tidbits make life so much easier because now I don’t even have to bother opening other apps: just hit cmd-spacebar, and I can see all the info I need!
I’m thinking about sharing these scripts in a new more detailed post, but if you’re already familiar with Raycast, I’ve already bundled all my custom scripts in this Raycast-scripts.zip. Fair warning, though, I haven’t exactly checked and reviewed the code, so it’s a bit of a mess in there. But, you know, it’s all about sharing and helping out, and if you’ve got any thoughts or feedback, I’m all ears!
Conclusions
Like I mentioned earlier, I’ve been making these little tweaks and changes, and even though they might seem small, they’ve really made my daily life better: I’ve been (or I’m being) gradually shifting from using Alexa to Siri, and it’s been quite the game-changer. It’s one of those things that you notice every single day, althought honestly, I’m not able to 100% ditching Alexa because there are a few things holding me back. But I have to admit that Siri is making progress, and this bodes well.
Now, onto the hardware stuff. Here’s a lesson I learned from these upgrades: don’t splurge on super high-end Macs. It’s actually smarter to invest in a variety of Apple products rather than going all-in on one super-powered, and super expensive, machine. Why? Well, because I didn’t really feel this massive power boost from having a top-of-the-line Mac during my daily tasks, but what I did feel, though, was the awesome user experience when all my Apple gear played together nicely in their frictionless ecosystem. So my suggestion is to invest more on the overall ecosystem, rather than focusing only in a few powerful products.
Sure, there’s a downside of that: you’re kinda locked into the “Apple garden”, and you’re putting a lot of trust in them for your privacy. But at least you are paying for these products, so hopefully the goods are not you(r data).
Anyway, if there’s anything I missed or if you have any thoughts or suggestions, feel free to hit me up. I’m all ears!