The previous releases/posts to read, are:
Changelog for this v3.0
from: Internet -> modem -> wireless router -> home clients
to: Internet -> modem -> router -> access point - managed switch -> home clients
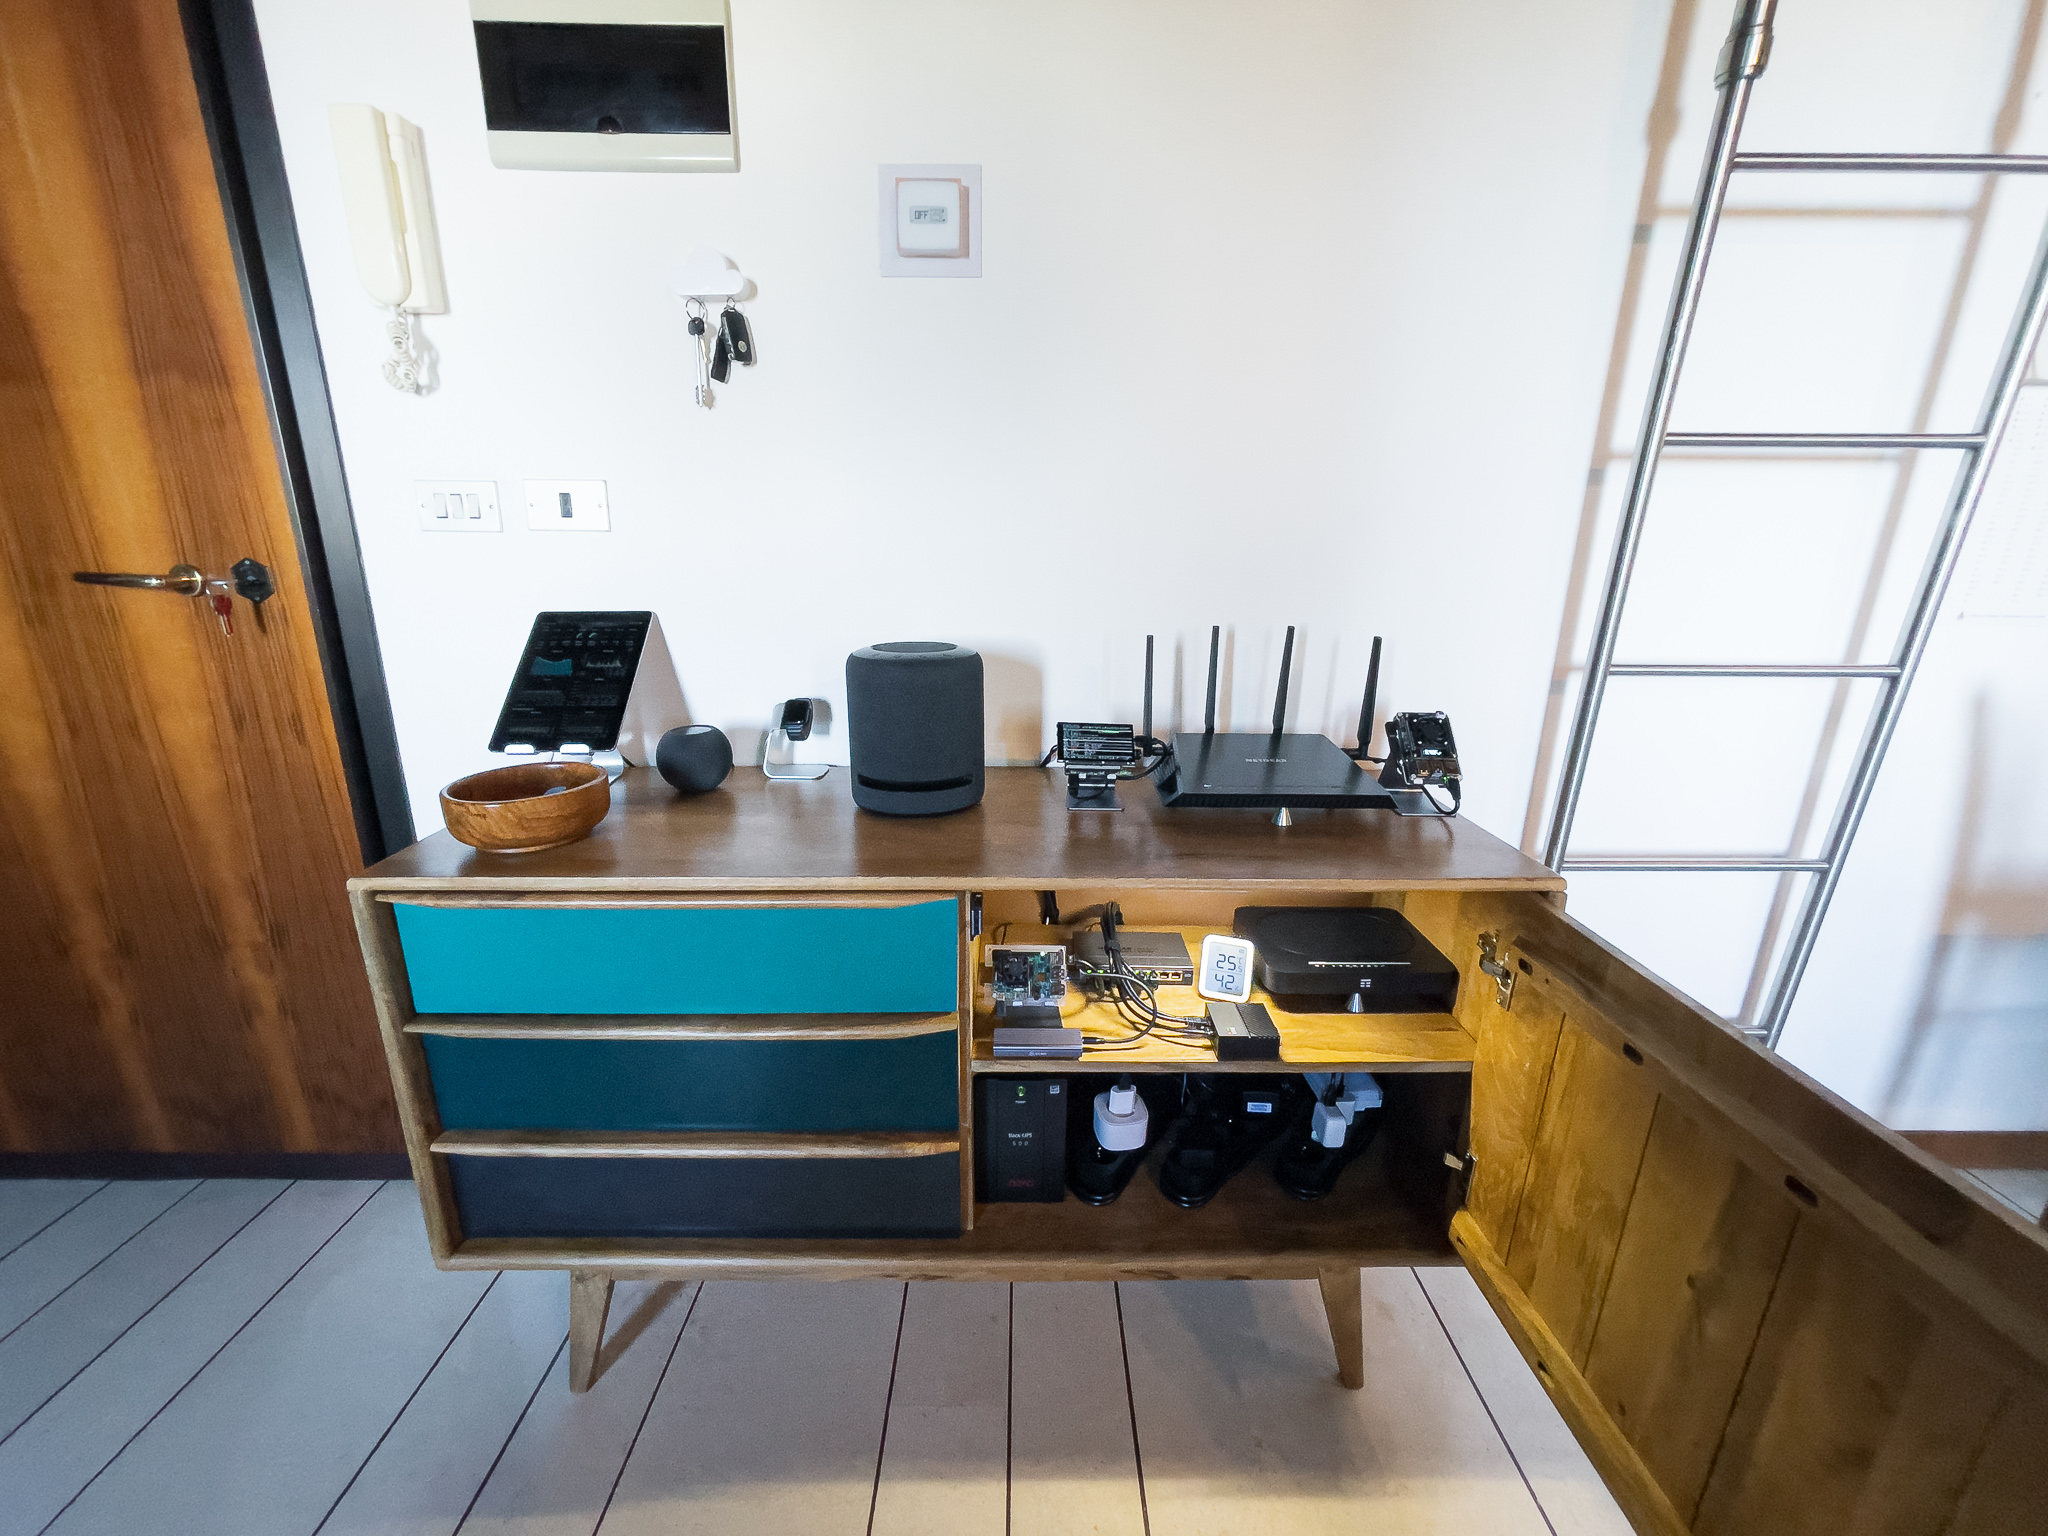
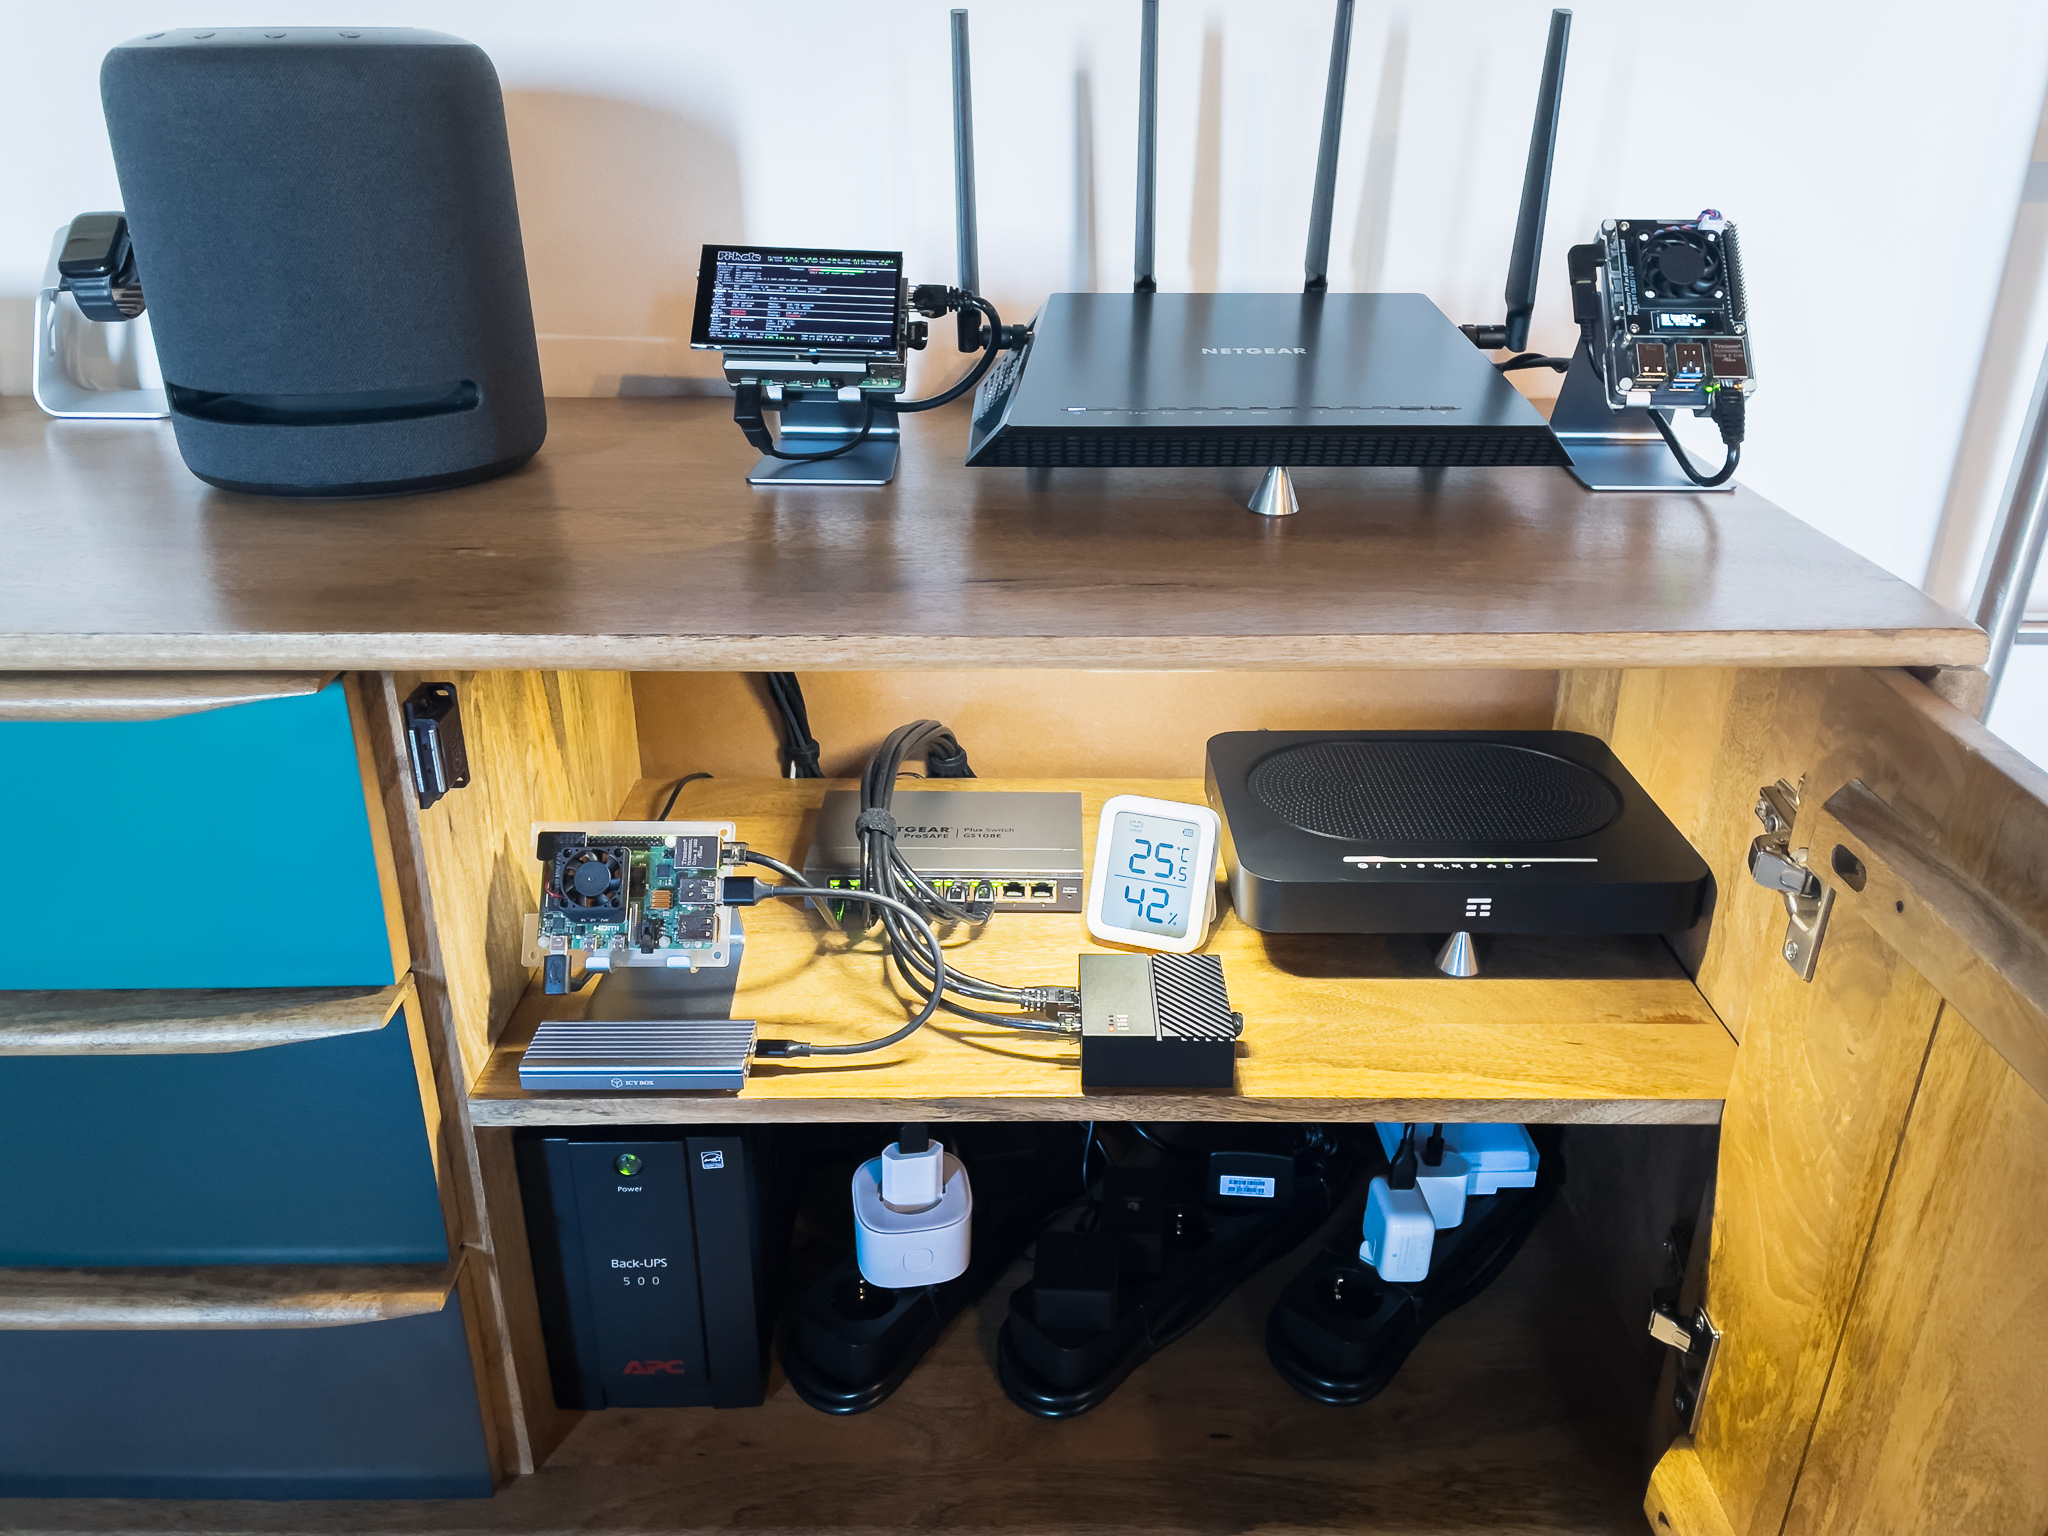
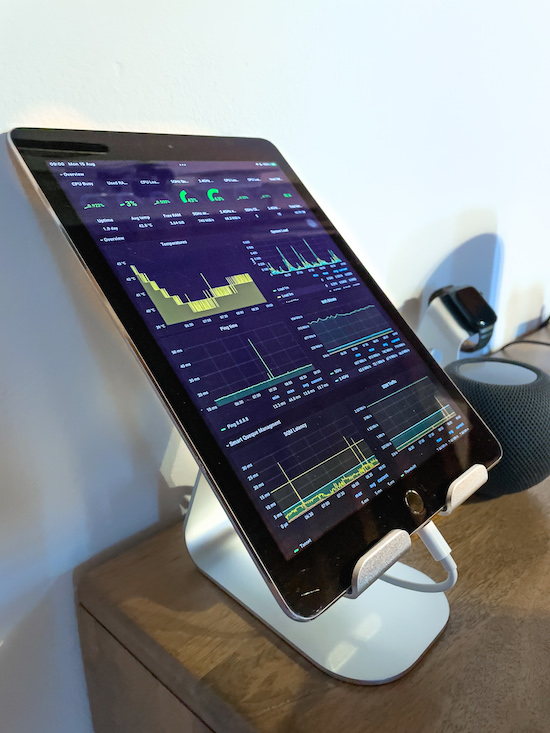
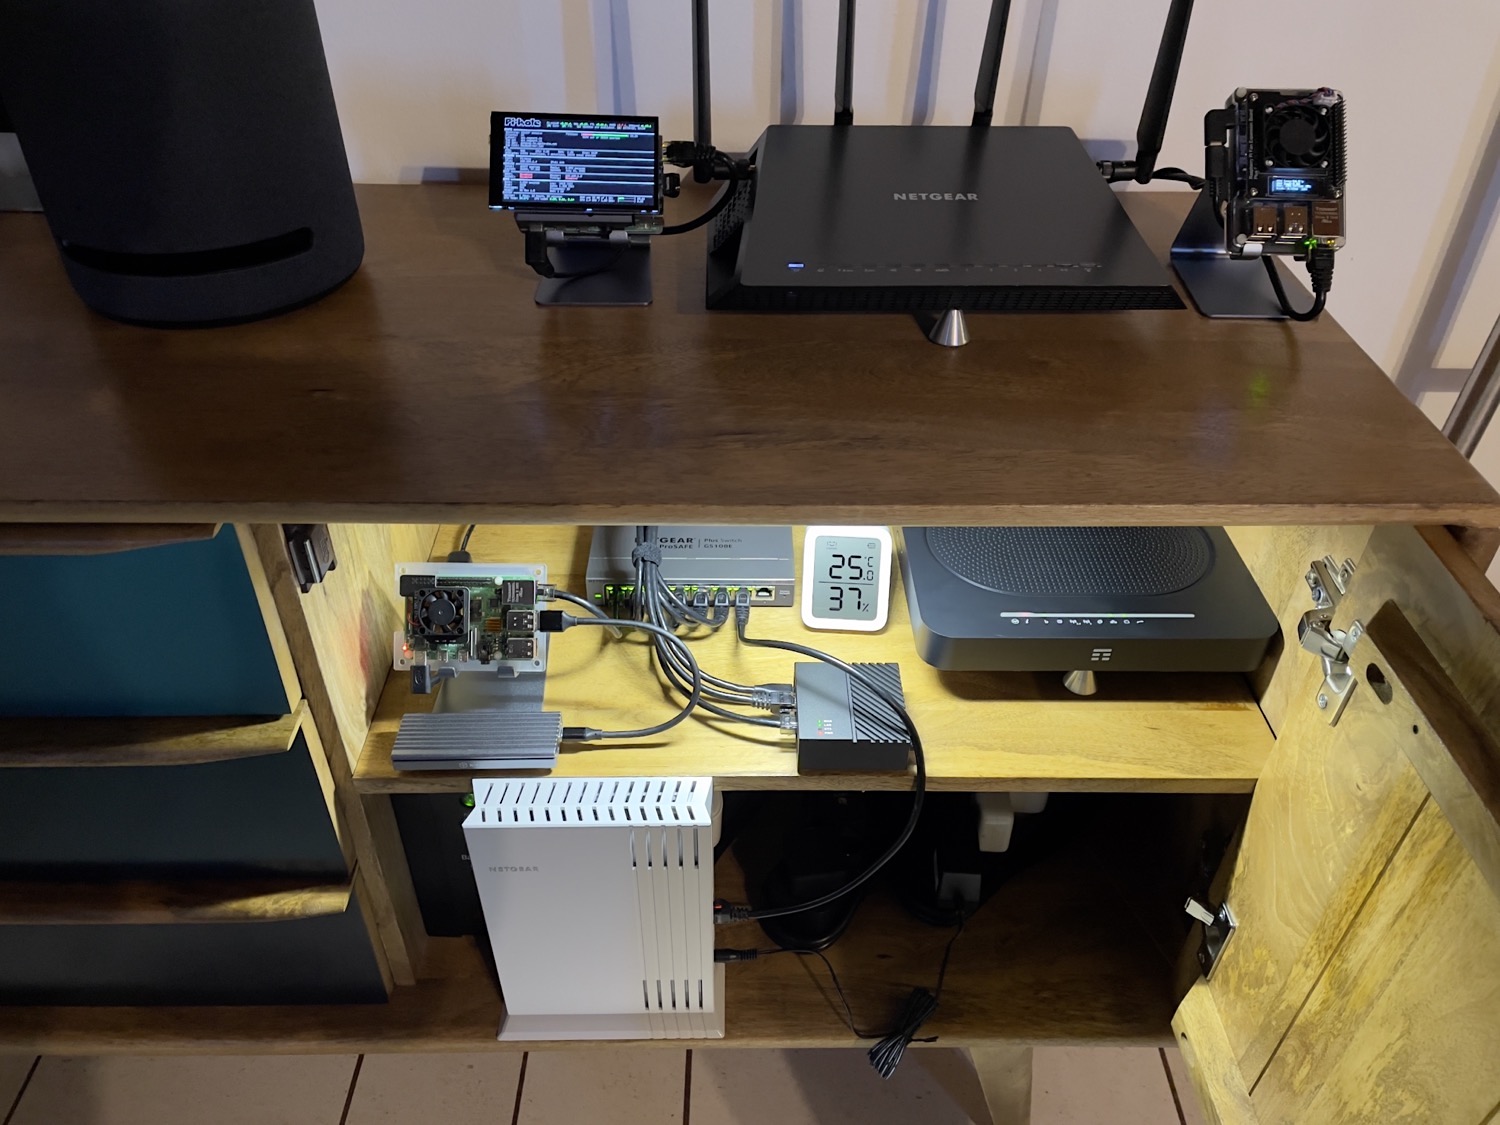
Improving some features and keeping almost the same settings. Here are some final photos:
Introduction
All is started because I wanted to improve my home network since I’m waiting for the FTTH upgrade at 1000/200Mbps. And my actual configuration is far to handle 1Gbps connection, the R7800 is fantastic but is unable to do NAT and SQM shaping at 1Gbps, and the new Macs M1/M2 are using the new Wi-Fi AX/6 that is not supported in the R7800. I get a maximum speed of 866mbps on 2x2 antenna with Wi-Fi 5. Ironically, my older intel iMac was able to use 1166mbps on 3x3 antenna on Wi-Fi 5. So I needed a more powerful router device capable to handle the speed of 1Gbps and I also need a Wi-Fi 6/AX access point.
My idea at the beginning was to buy a new router with Wi-Fi 6, but at the moment (July 2022) OpenWRT doesn’t support any serious AX router, it only supports some basic AX routers. So I have to use one of those for the Wi-Fi but I have to use a(nother) powerful device to route the traffic. For this feature I choose the NanoPi R4S (link) that’s a small ARMv8 device from FriendlyElec with a powerful exa core CPU, a WAN and a LAN port. Looks perfect to be used with OpenWRT (the default software is already OpenWRT, only maintained and customized by FriendlyElec). I also prefer the idea to have two different devices to do two different things.
This router is capable to handle SQM shaping at 900+mbps, is not very expensive (130€ on Amazon, and we’re inside the inflation crisis) and is well supported by OpenWRT community also in the latest master 22.02rc.
I had to be careful to choose the R4S model with 4GB of RAM, not the 1GB or R4SE model (because the 1GB version is not officially supported and the same for the SE because it has the microSD slot but also 32GB eMMC storage). I’ve also read about some issues such as random reboot or some issues with the soft reboot due to not enough power to the microSD card, but my unit (maybe because is newer) doesn’t suffer from any of these issues.
So I received the nanoPi R4S and started to replace the R7800 with it:
R4S configuration
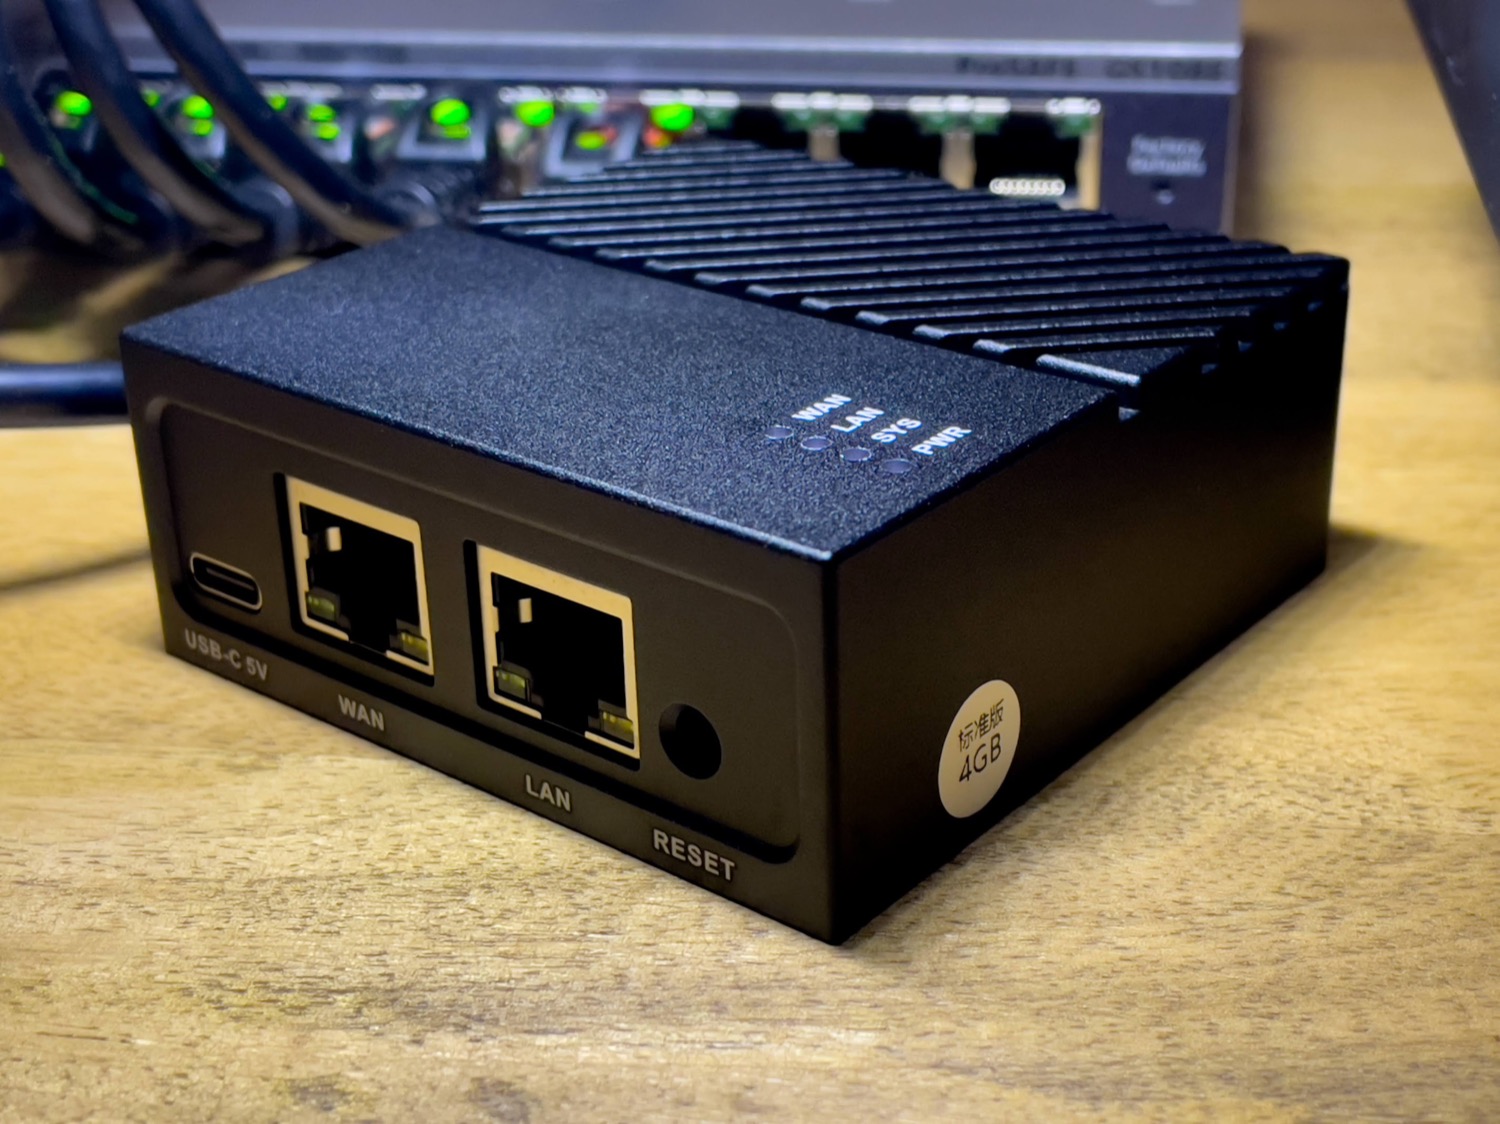
Official OpenWRT wiki page as reference: FriendlyARM nanoPi R4S
First step is to write the ext4 OpenWRT image to the microSD (link download), then ssh @root 192.168.1.1 and the first thing I’ve done was to install LuCi, so opkg update…and it was not working nor ping anything. So I checked the network config cat /etc/default/network and I saw that there isn’t the DNS and gateway.
Then I edited with VI the network config file and I added the gateway and DNS to the LAN (because opkg needs the DNS to resolve the repositories and install the packages):
config interface 'lan'
	option device 'br-lan'
	option proto 'static'
	option netmask '255.255.255.0'
	list dns '192.168.1.4'
	option ipaddr '192.168.1.2'
After, I downloaded LuCI, in order to have a comfortable view to start to configure all the settings, but before this I thought a lot on how to configure it to avoid to make a mess with the R7800.
I decided to use the address of 192.168.1.10 for the R4S (.1.2 the R7800) and I added an old TP-Link router in access point mode to .1.11. Why? Because with this setup I was able to test if the R4S was working as WAN router + access point, simply by turning off the R7800 and change the gateway of my test client to 192.168.1.10 (or the R4S IP to .1.2)., without make any change to the R7800.
Since I couldn’t simply import the R7800 backup to the R4S, because the R7800 has a switch that’s software based, and the R4S is DSA based, I had to rewrite all the network settings.
It’s possible also to copy/paste them but you have to be careful because some syntax names are different, i.e. eth0.1 instead of eth0 and other issues with VLANs. So I preferred to reconfigure the WAN, LAN, modem, firewall, etc…
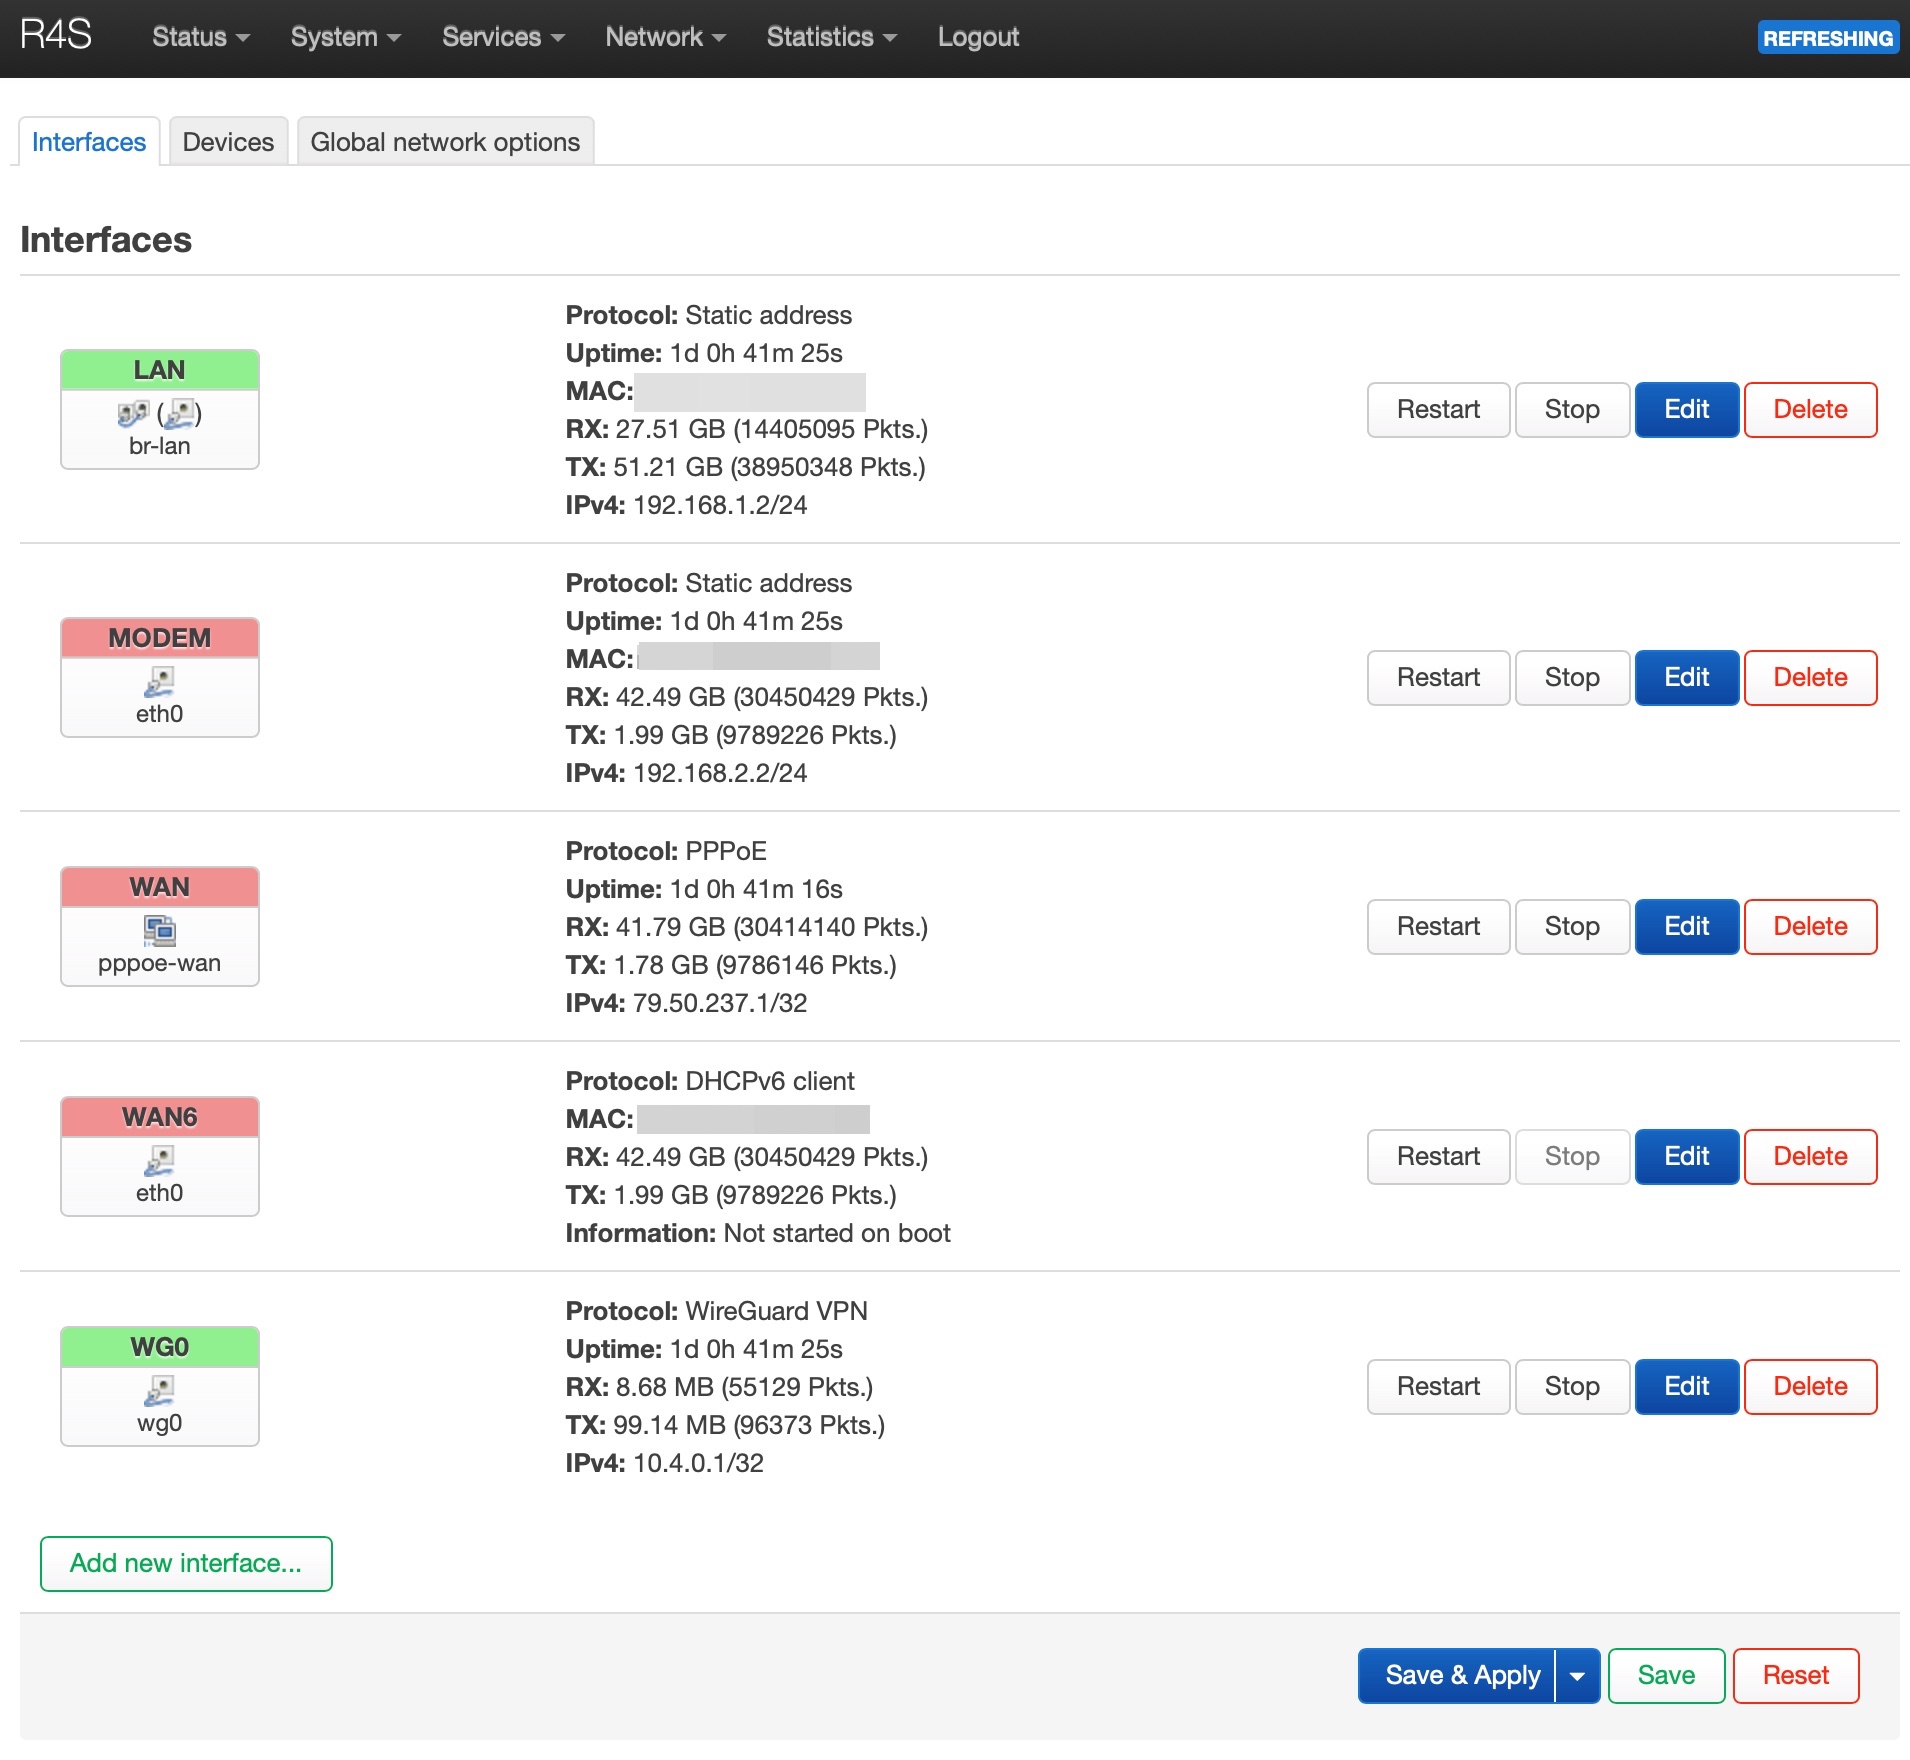
Tested it and it was working fine and it was acquiring the WAN IP.
So I decided to turn off the R7800, change the IP of the R4S to 192.168.1.2 (the IP assigned to the R7800) and use the old TP-Link router as an access point with the same SSID and password as it was on the R7800 (in order to have all the clients that can connect to it without knowing that is another router. For testing only obviously)
Rebooted all the devices and all was working fine. At this point I decided to use the R7800 as Access Point only and so, I disconnected the WAN cable from the it and I changed its IP to 192.168.1.3, in order to have the R4S -router- on .1.2 and the R7800 -access point- on .1.3 (with only LAN access).
Then I had to reconfigure in the R4S the same environment also for the packages and other settings.
For the opkg section I chosen to put one window of the R7800 behind one of the R4S and manually search-install only the packages I need, and since I love the minimal setup, if I didn’t remember if I was using one packet or not, I decided to not install it. So I installed all the the “Prometheus and collectd” exporter, the DDNS, SQM, WireGuard, Network Bandwitch Monitor, LuCi stats, etc… but it was easy and fast.
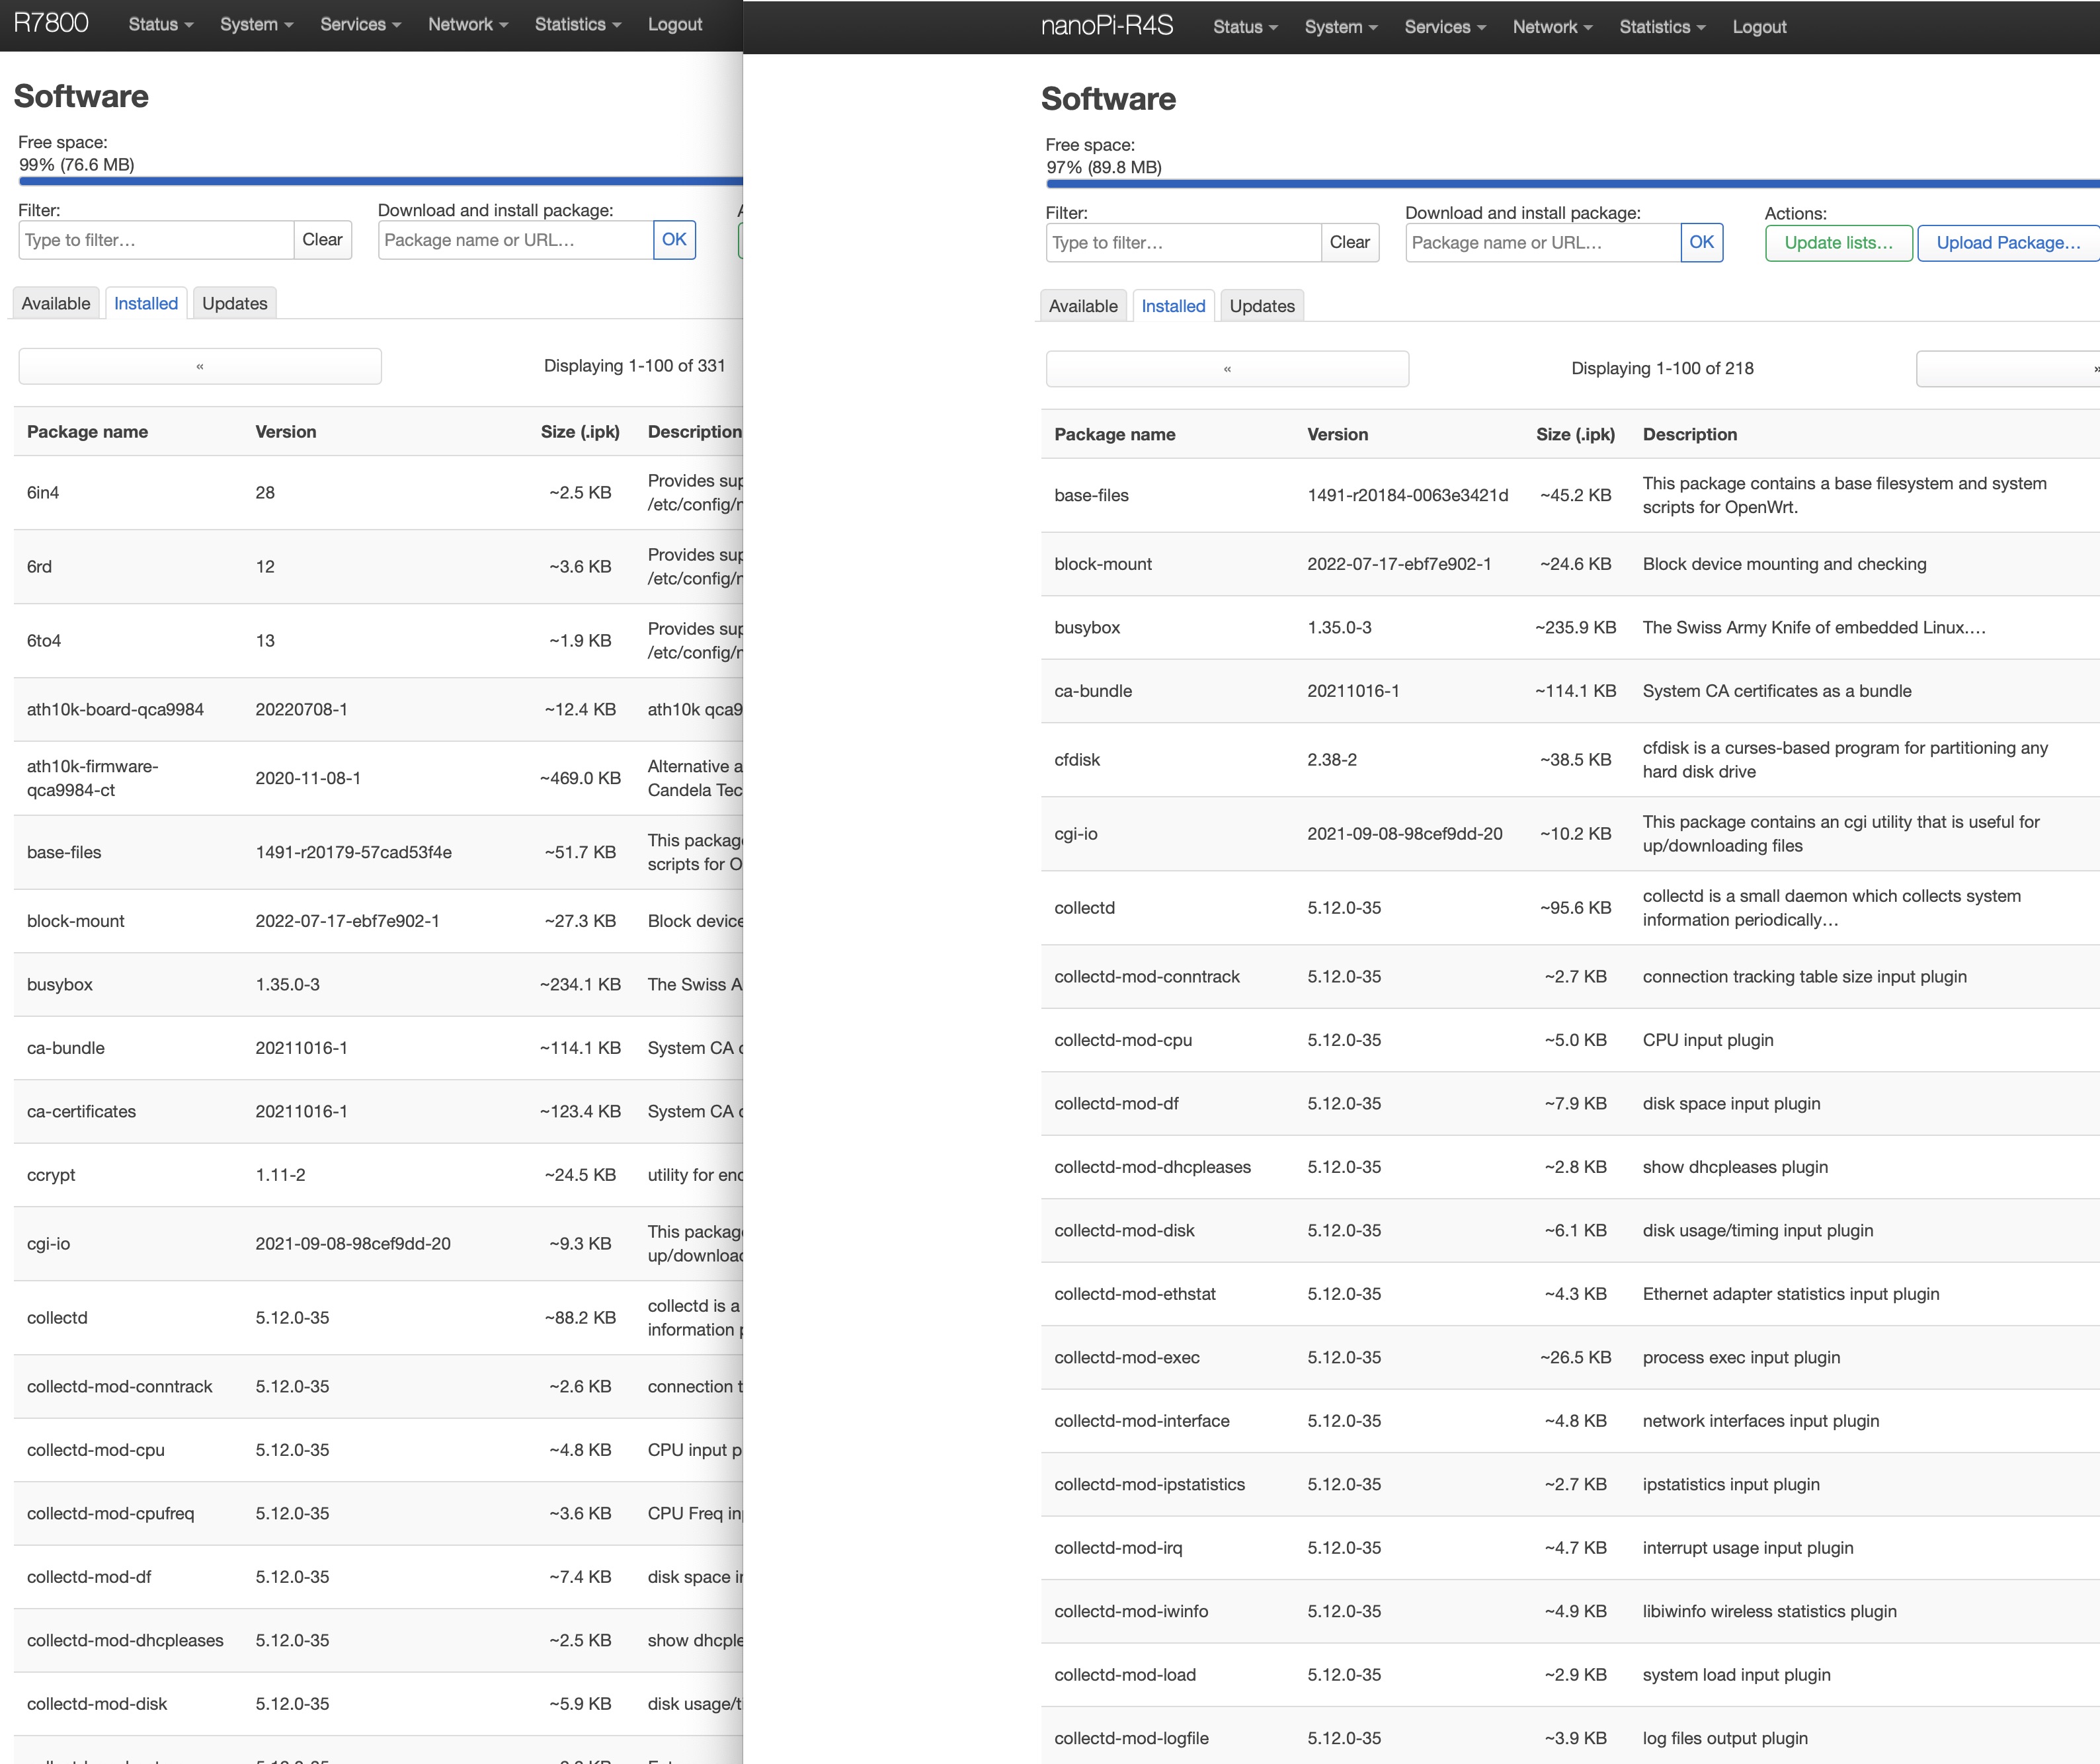
When I finished with the packages I configured them again following the previous settings as the R7800.
For the WireGuard setting I copied-pasted the keys and all the other settings, and my clients went able to connect to my VPN in the same way as before without re-configure all.
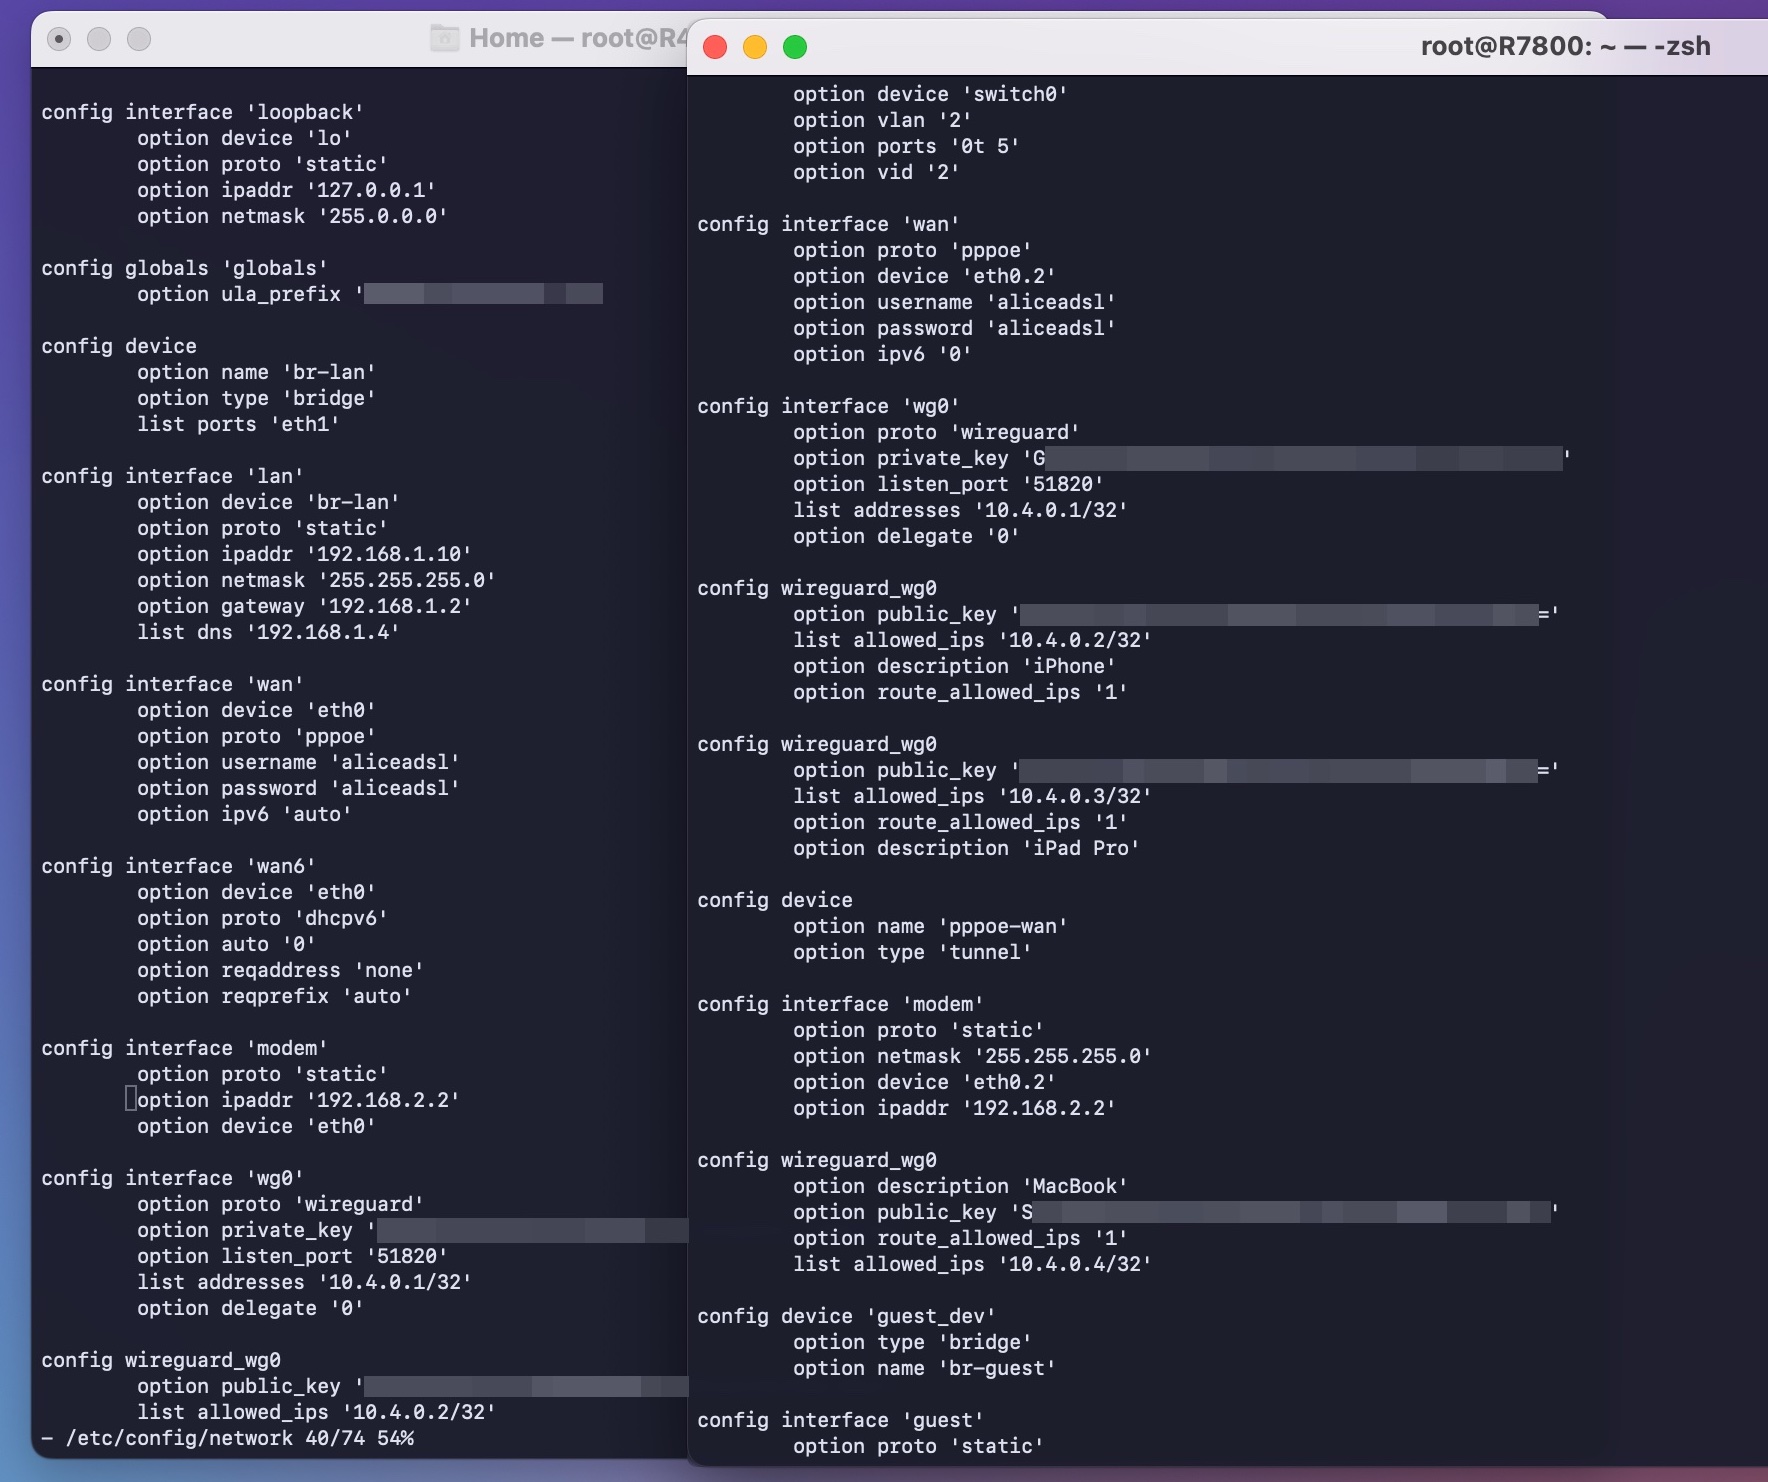 (as you can see the WAN was eth0.2 -sfw config- now eth0 -DSA config- )
Then I attached the USB drive I was using to save all the data of the R7800 captured by collectd and the network stats from nlbwmon, without format or delete something. I mounted the drive and configured the RRDtool to write on it (/mnt/sda1). It will create a new folder called with name of your device (R4S in my case) and your old folder -R7800- will remain intact. Same for nlbwmon.
All was working inside the R4S but the hard thing is to have all that work fine on the Grafana server.
As expected, when I opened the page of my Grafana server (192.168.1.6:3001) I saw lots of blanks graphs. But this was not due my fault but because the R4S don’t have Wi-Fi, normal and expected.
So I went inside the Grafana server (a RaspberryPI, see the old config post{:target="_blank"}) and I added to the Prometheus config file (prometheus.yml) also the R7800 field, in order to collect the Wi-Fi stats from the R7800 and the other stats from the R4S. All in the same Grafana instance.
   static_configs:
    - targets: ["localhost:9090"]
    - targets: ["192.168.1.2:9100"]
    - targets: ["192.168.1.3:9100"]
    - targets: ["192.168.1.6:9103"]

remote_write:
 - url: https://prometheus-prod-01-eu-west-0.grafana.net/api/prom/push
   basic_auth:
    username: #
    password: #
And I started to configure the Wi-Fi panels in order to retrieve the data from the changed exported_instance to R7800, as below:
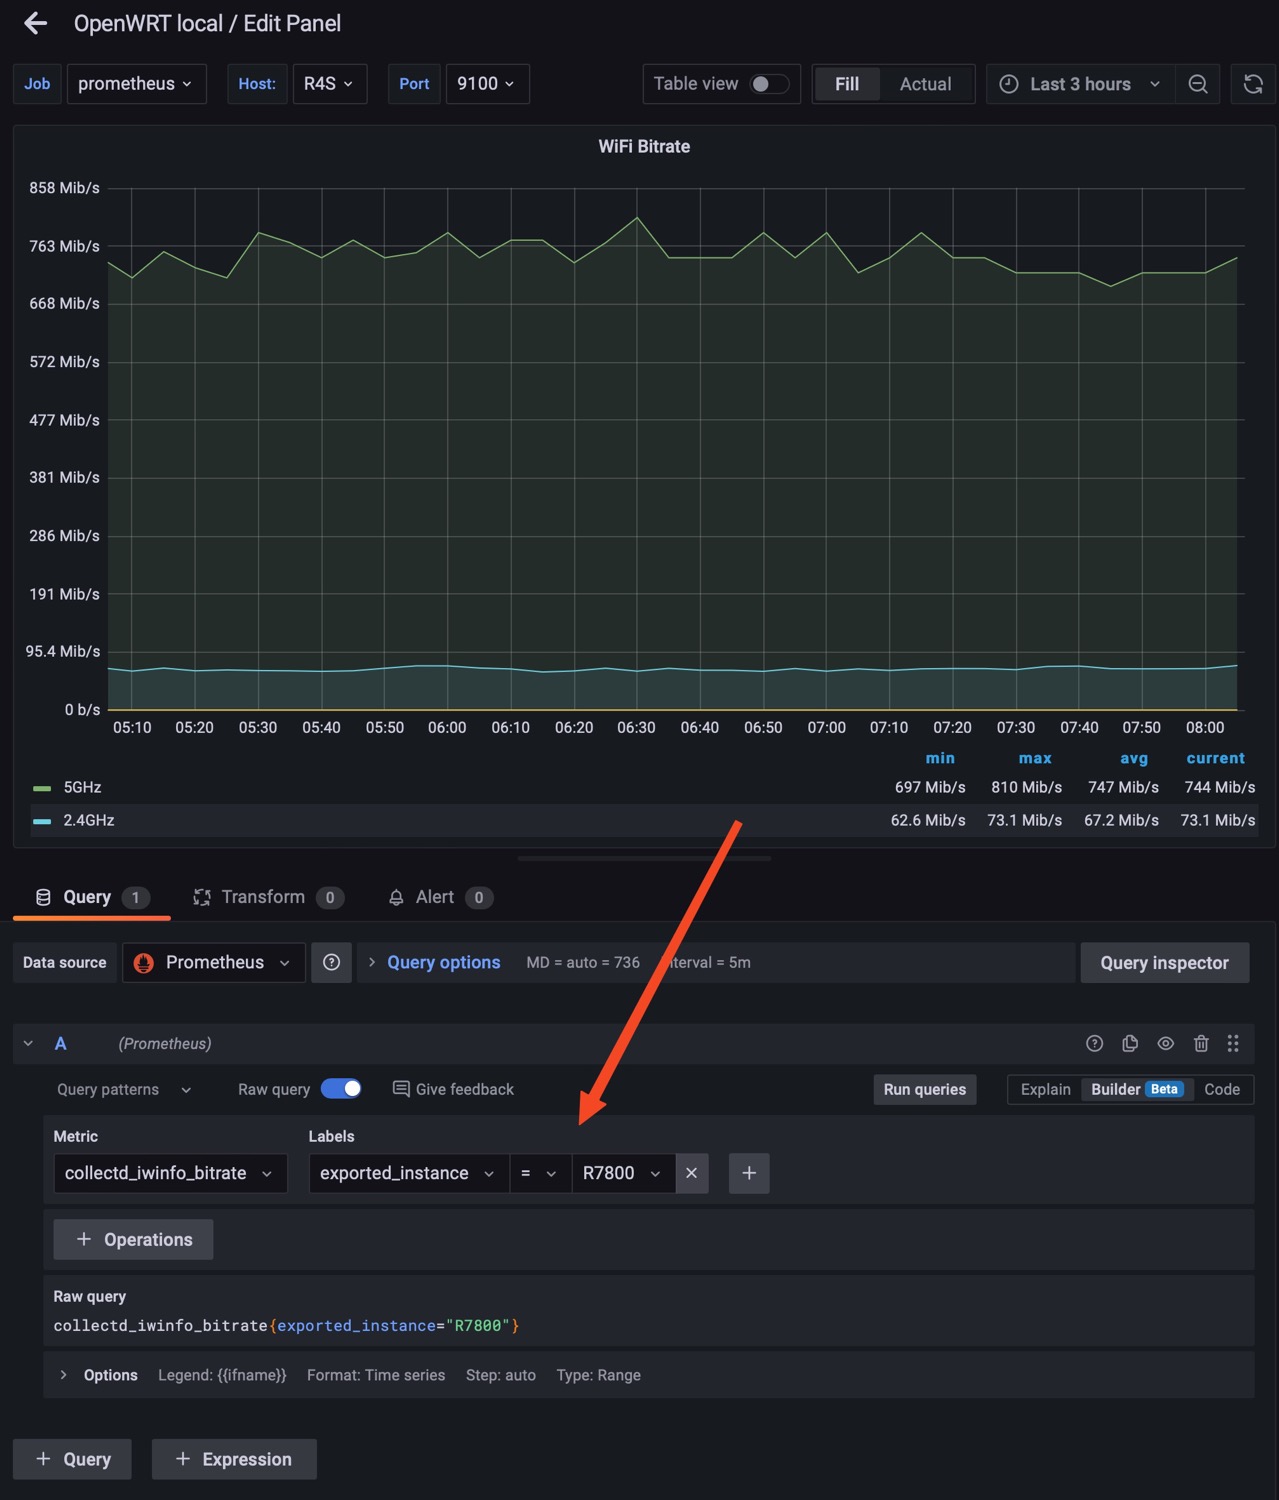
I also left the collect-node-exporter plug-in on the R7800, in order to retrieve also the temperature of it.
When all the graphs are configured I had a nice setup that gives me both the R4S stats and R7800 stats all in one instance/dashboard, but I can also switch to view the temperature, RAM and CPU usage of the R7800, by simply changing the host.
Watch the below gif:
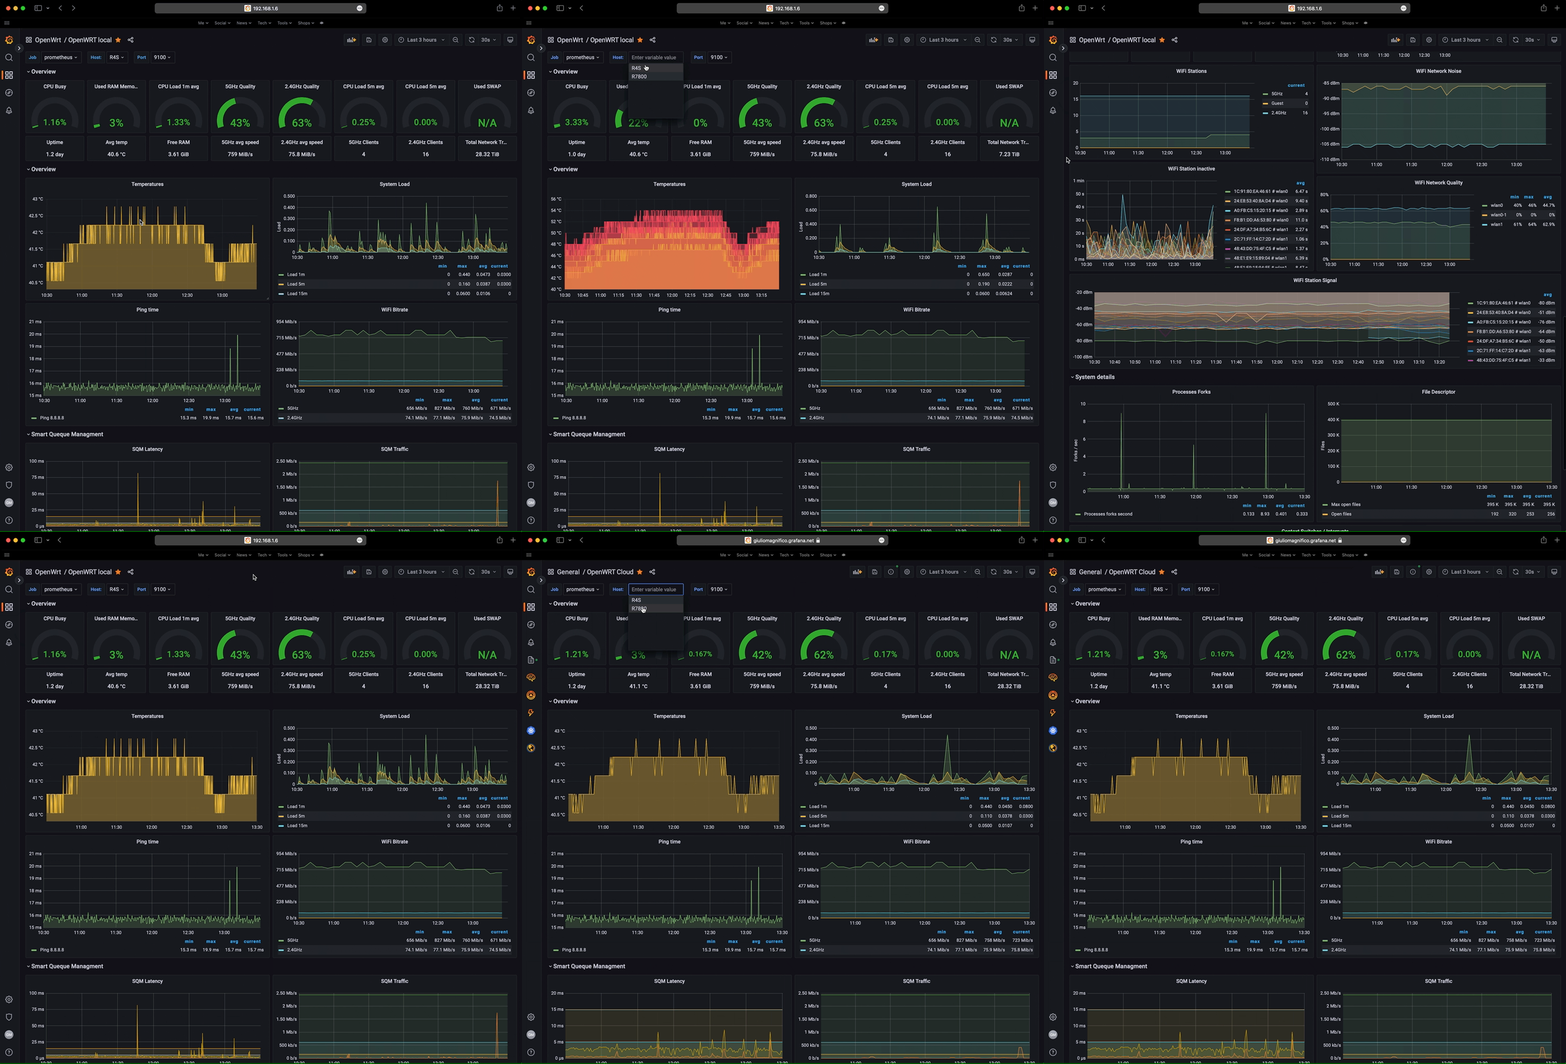
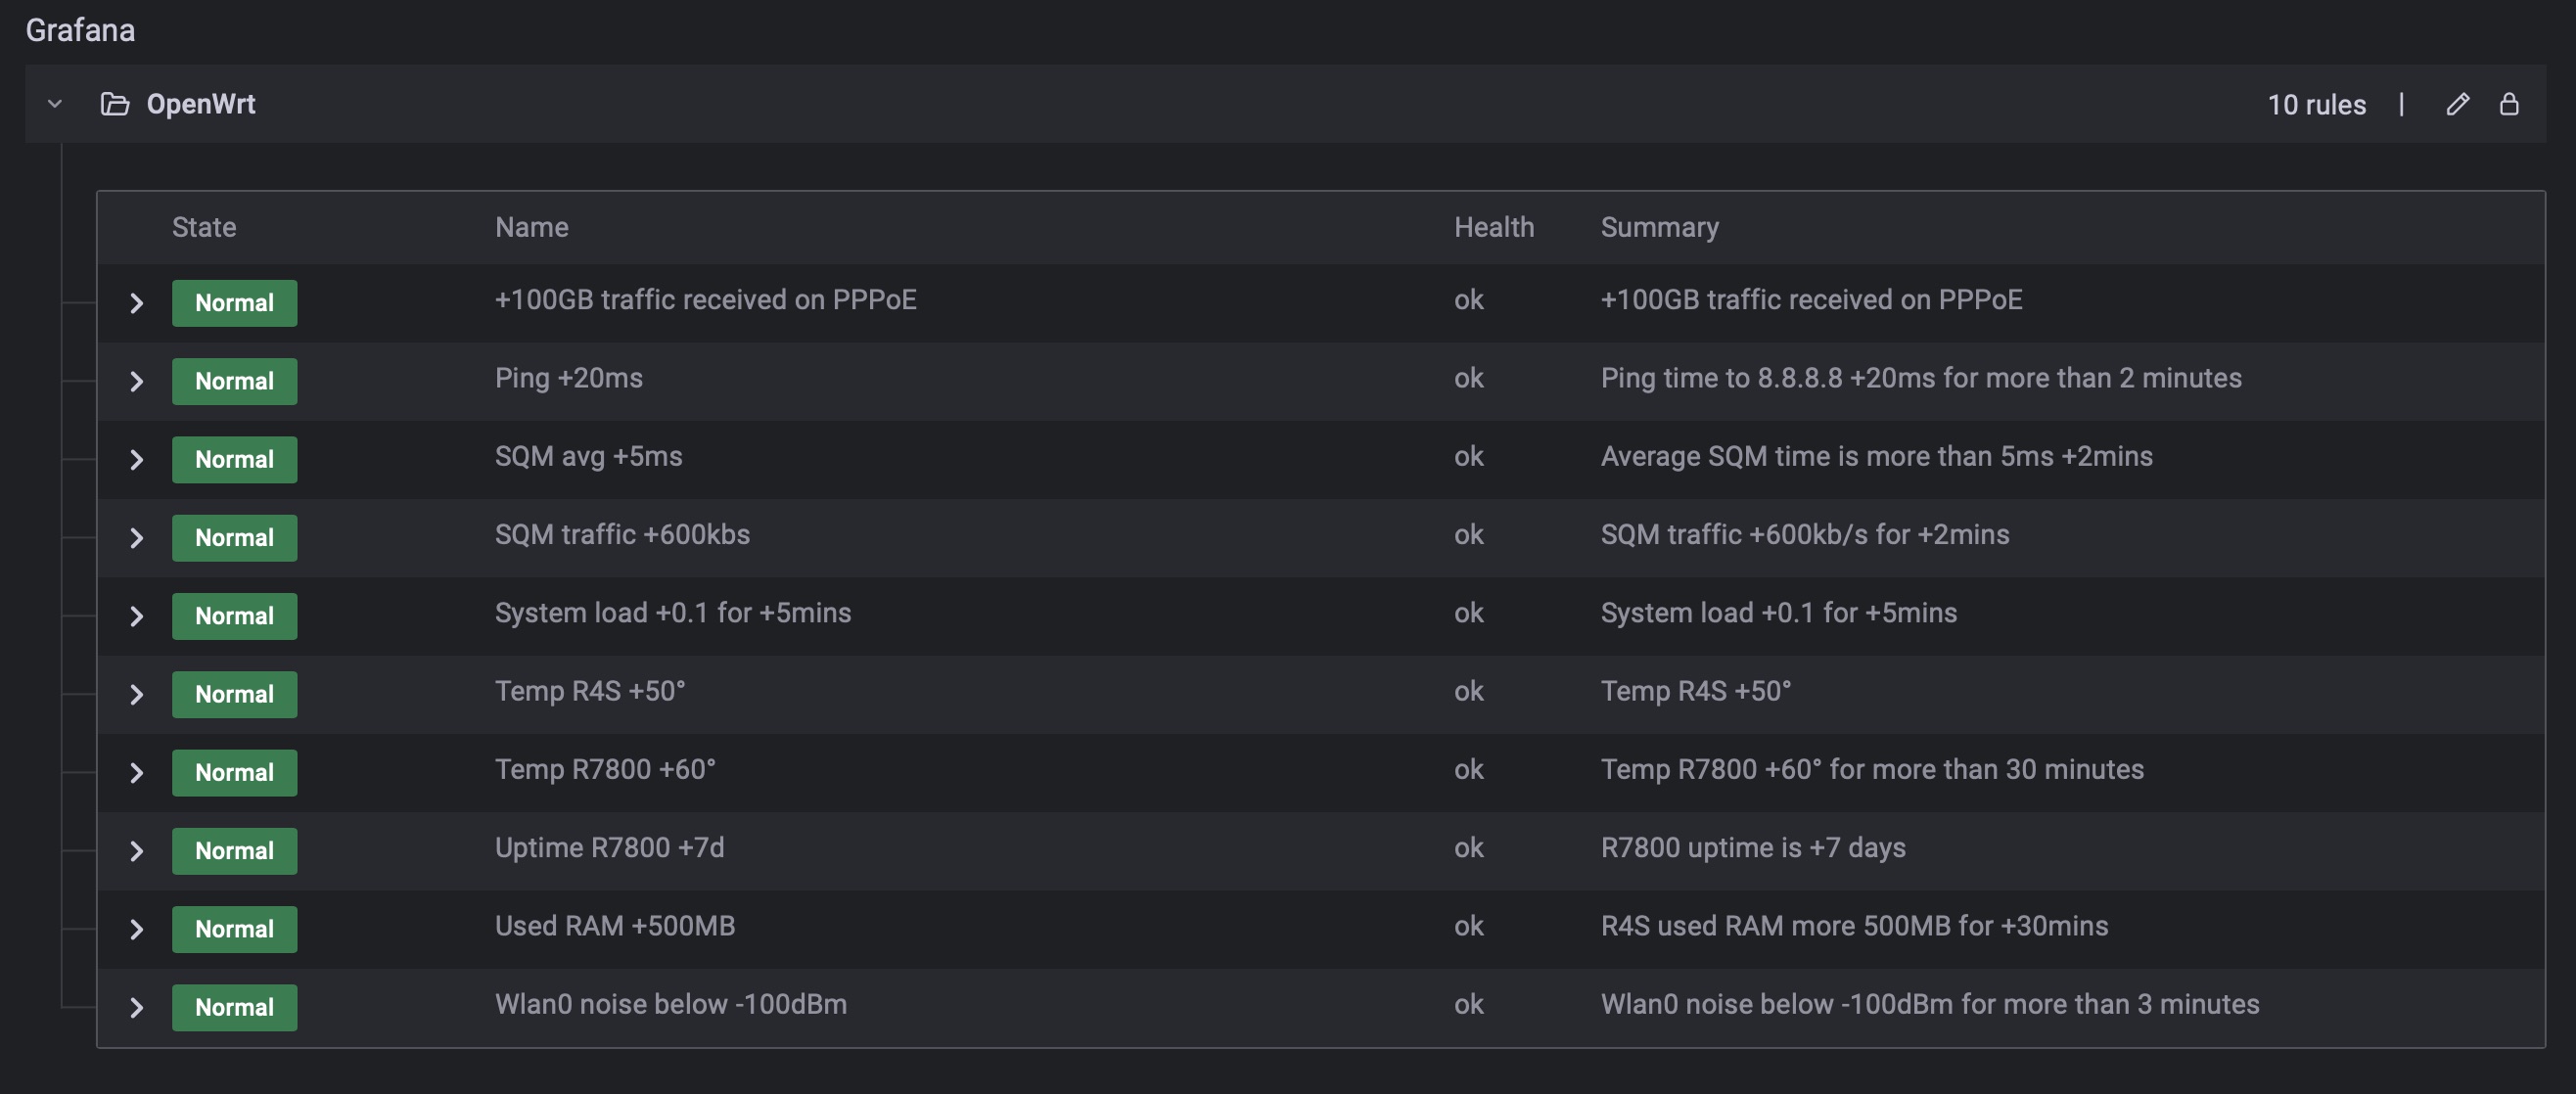
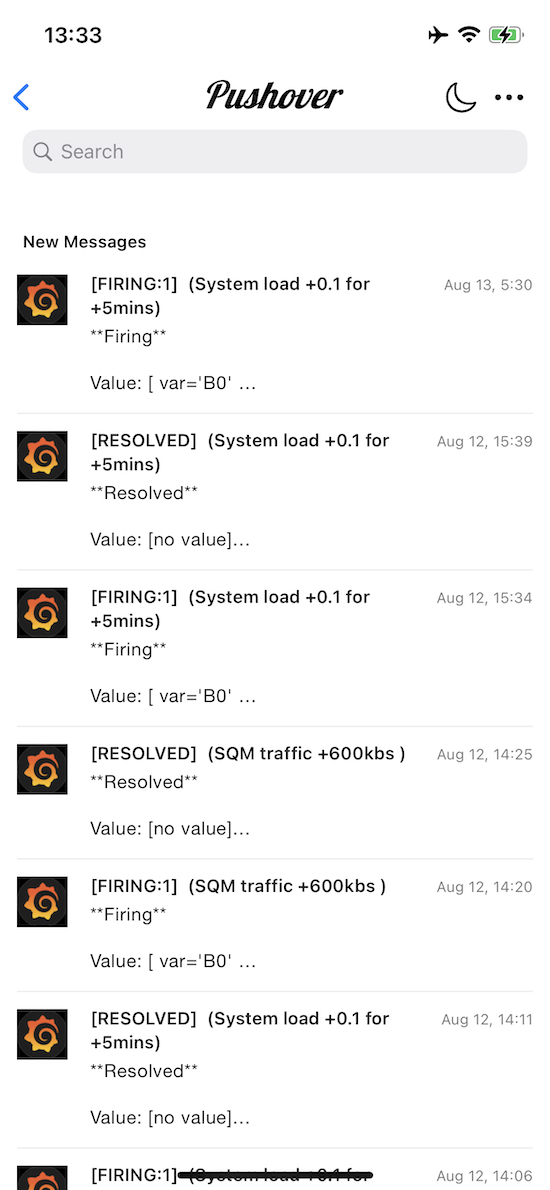
This is handy because with both stats/istances I can have also push notifications of different parameters for both the R7800 and R4S all together. For example when the R7800 records a Wi-Fi noise below -100dBm or when the temperature is over 60°C, but also the push notifications from the R4S for example when there’s a spike in the SQM istance, or load is over 0.1, etc.. here are some of my Grafana triggers that send me the push notifications via Pushover:
And since in the prometheus.yml I added also the remote_write setting, this mean the server is writing to my free Grafana Cloud account, and I can also view the same dashboard from everywhere outside my LAN and without turn on the home VPN.
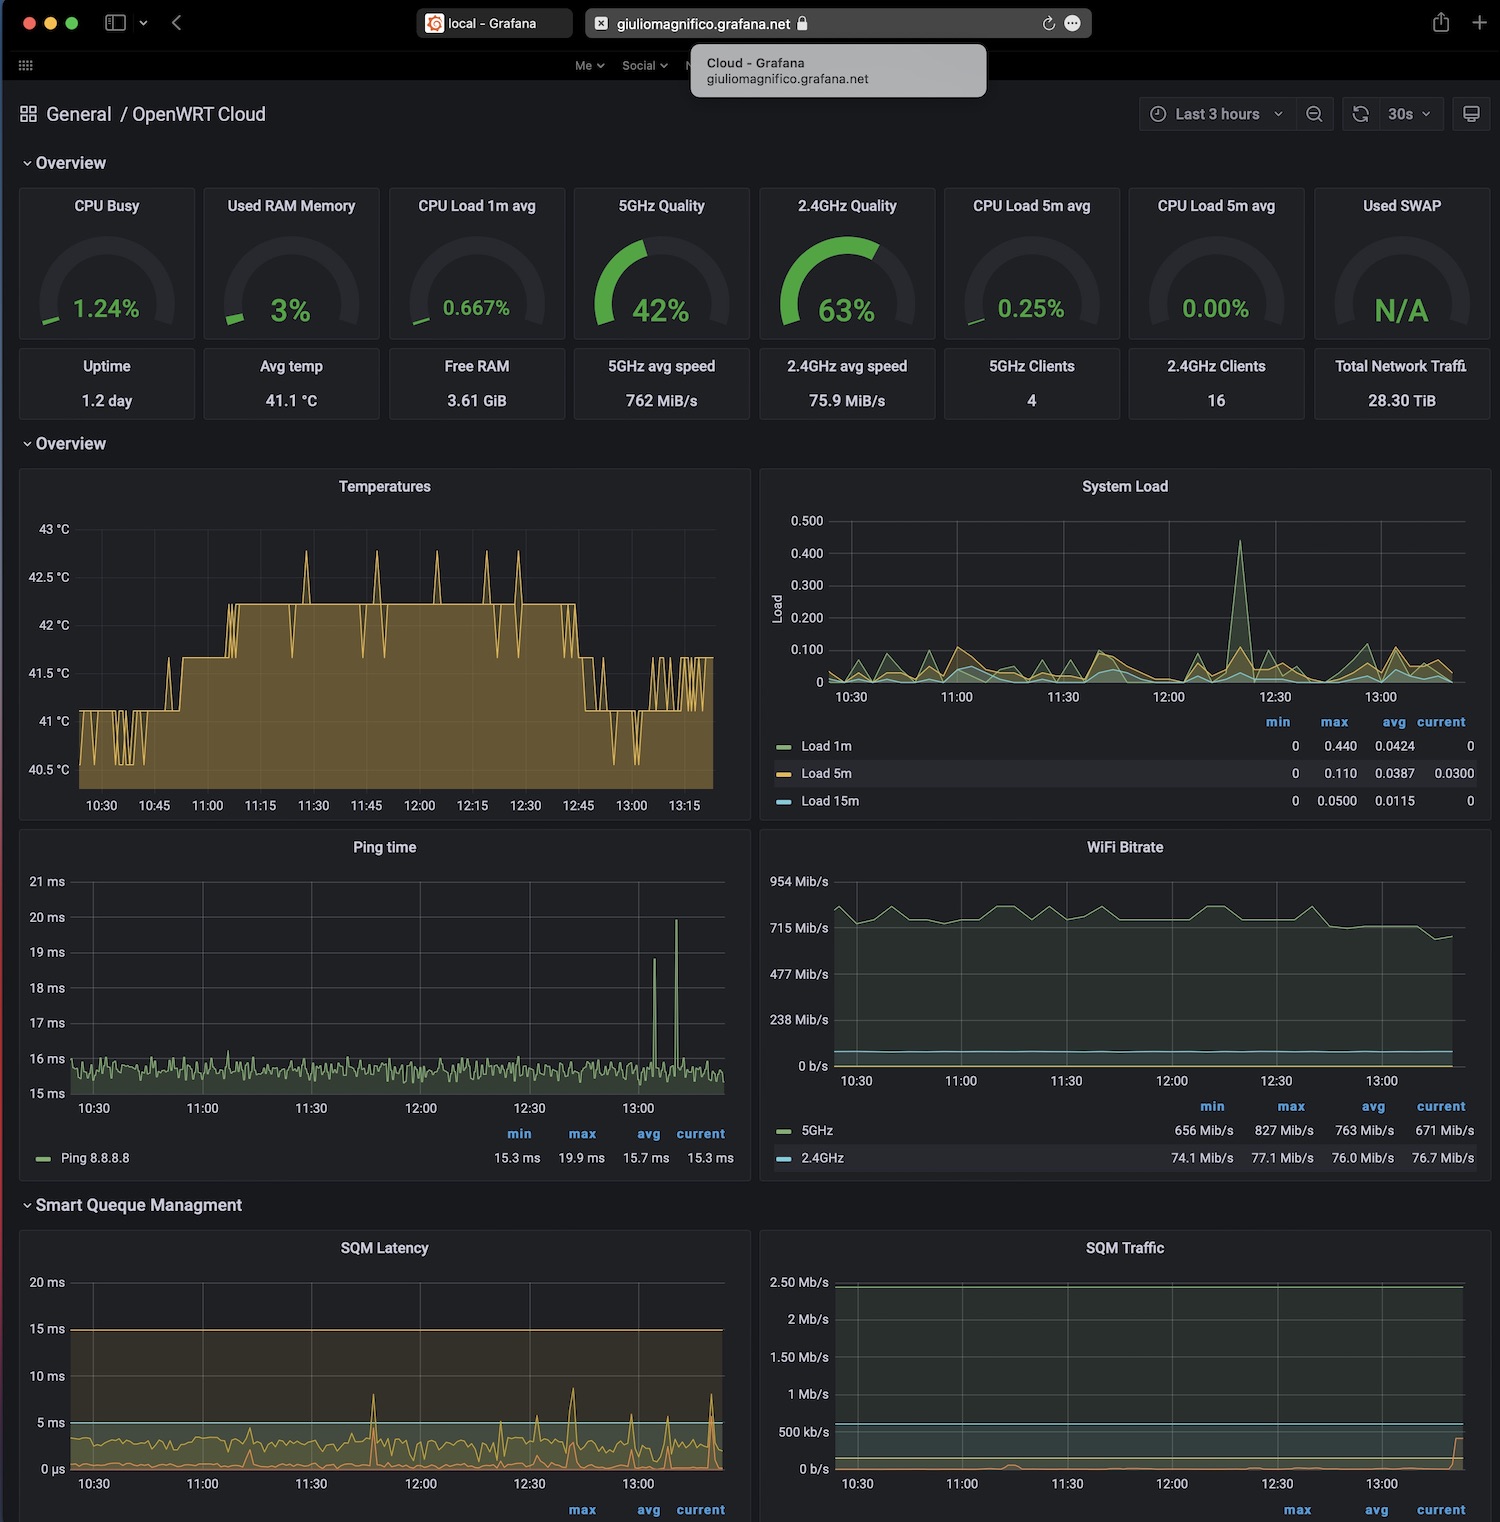
To have the same identical dashboard on the cloud account you need to paste your local .json config but remember that when you copy the .json from local to cloud, in order to save it without errors you need to change all the database source/id with the id of your cloud database of course. And also replace the dashboard id + uid:
"id": local21id, to "id": previous-cloud -id,
"uid": "local-xyz" to "uid": "your-grafanacloud-db"
and uid + version at the end of the json to match the cloud .json (save it before override):
  "timezone": "browser",
  "title": "OpenWrt cloud",
  "uid": "0CCohKrafr",
  "version": 33,
  "weekStart": ""
Access Point R7800
At the moment I’m still using the R7800 as access point, because I’m waiting for a better support of OpenWrt for this protocol, since I tried the Netgear WAX202 with OpenWrt but I was not happy of the Wi-Fi coverage and speed. If you’re near the router the speed is superior to the R7800, but just few meters/one wall away and the speeed decreases consistently (ax drivers are still quite new)
Anyway in order to setup the R7800 (or any other OpenWrt router) to work as an access point is very easy. I deleted all the network interfaces and I left only the LAN, then just assign to it another IP (192.168.1.3), and the gateway of your main router (.1.2). And I left the wireless interfaces as they were. I also deleted all the QoS packages/scripts because this will be done by the R4S, and I also deleted a startup script that was keeping the R7800 CPU stuck at 1.7GHz, because now I prefer that it’s able to scale from 0.6GHz go 1.7Ghz, since I don’t need all the CPU instant power (and heat) to work only as AP. But anyway there’s an easy guide on the OpenWrt website: Wireless Access Point / Dumb Access Point{:target="_blank"}.
And a new configuration that I had to do on the Access Point -R7800- was the Guest WLAN. These are a new wireless and network interfaces that are separated and isolated from the main LAN, in order to let the clients connected to the Guest Wi-Fi able to have internet access, also retrieve DNS and DHCP, but unable to have access of the main LAN.
This could have been done in different ways: by creating a virtual interface on the R4S and assigning it to a separate VLAN, or using the VLAN feature in the switch, but I don’t like virtual interfaces nor dedicate a switch port to a VLAN.
I’ve made this on the R7800 in this way:
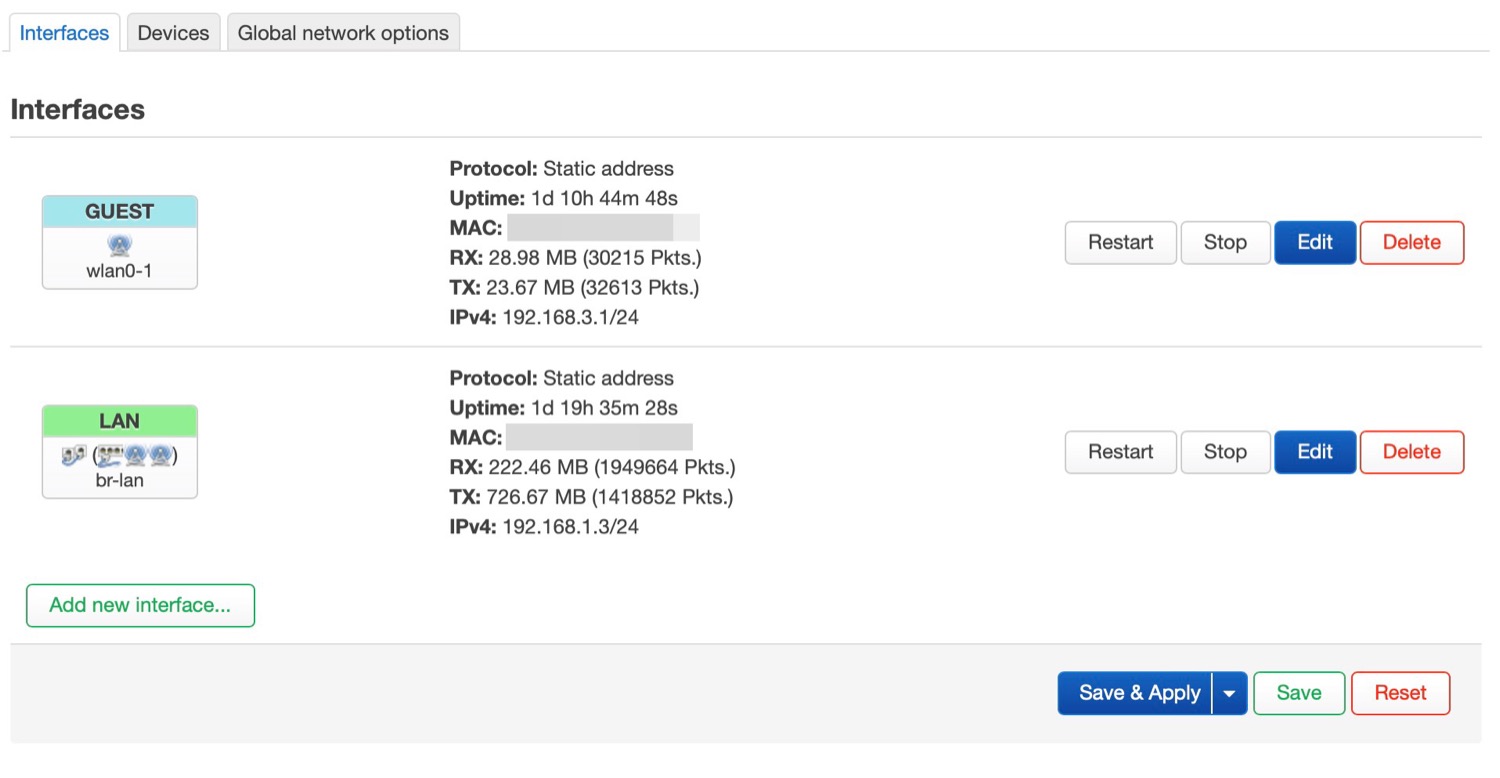
- I created the network interface on a different subnet (192.168.3.1), assigned it to a new firewall zone and enabled the DHCP on this interface
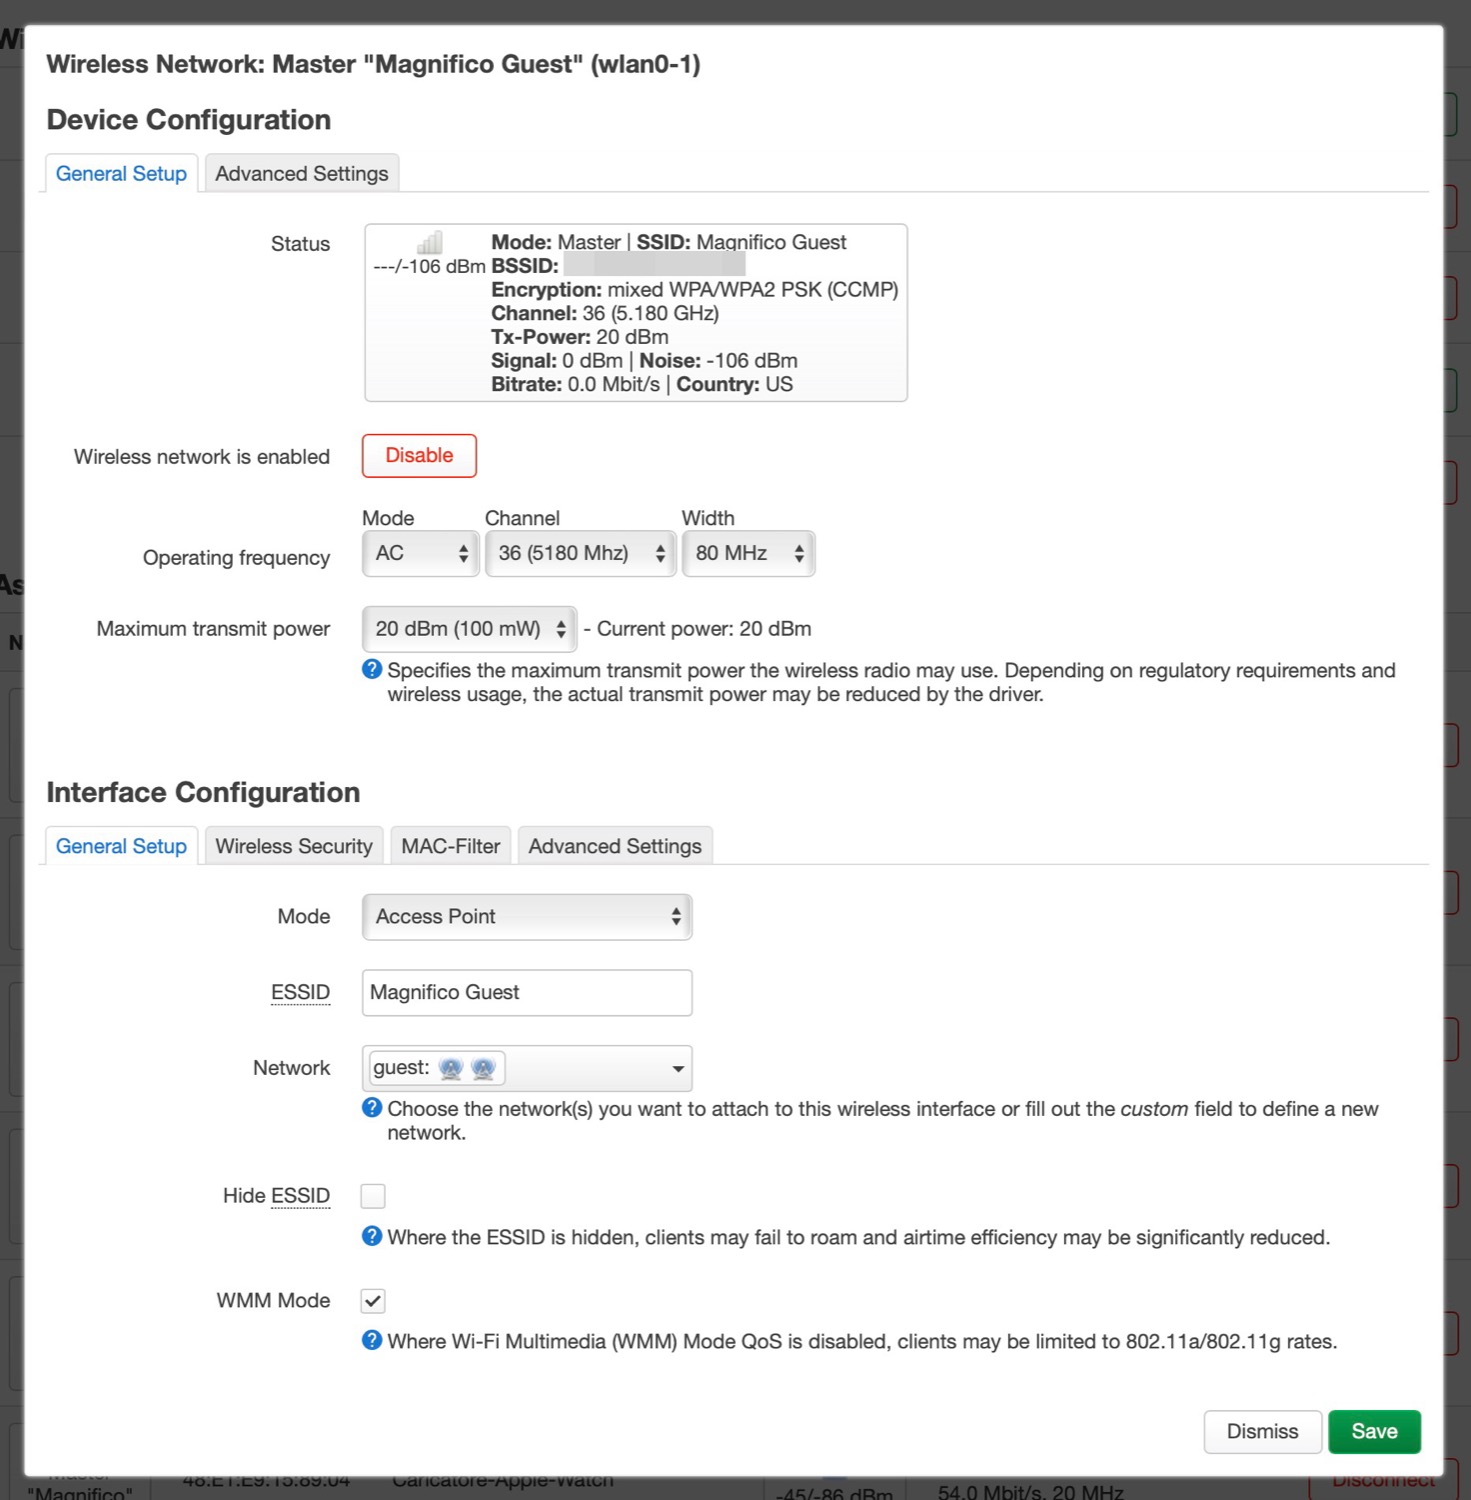
- Then I created a new wireless interface -Magnifico Guest- bridged to the Guest network interface and with isolated clients.
- Inside the firewall I assigned the masquerades option to the Guest interface to LAN so the clients can retrieve the DNS informations from my local Unbound recursive server from the main LAN, and the clients can also benefit from the Pi-Hole adblocker, but they can’t browse other devices on the main LAN
Network interface:
config interface 'guest'
	option proto 'static'
	option ipaddr '192.168.3.1'
	option netmask '255.255.255.0'
	option type 'bridge'
	option device 'wlan0-1'
	list dns '192.168.1.4'
Wireless interface:
config wifi-iface 'guest'
	option device 'radio0'
	option mode 'ap'
	option ssid 'Magnifico Guest'
	option key '###'
	option encryption 'psk-mixed'
	option isolate '1'
	option network 'guest'
Firewall:
config zone 'guest'
	option name 'guest'
	list network 'guest'
	option input 'REJECT'
	option forward 'REJECT'
	list device 'br-lan'
	option masq '1'
	option output 'ACCEPT'
	option family 'ipv4'

config forwarding
	option src 'guest'
	option dest 'lan'

config rule
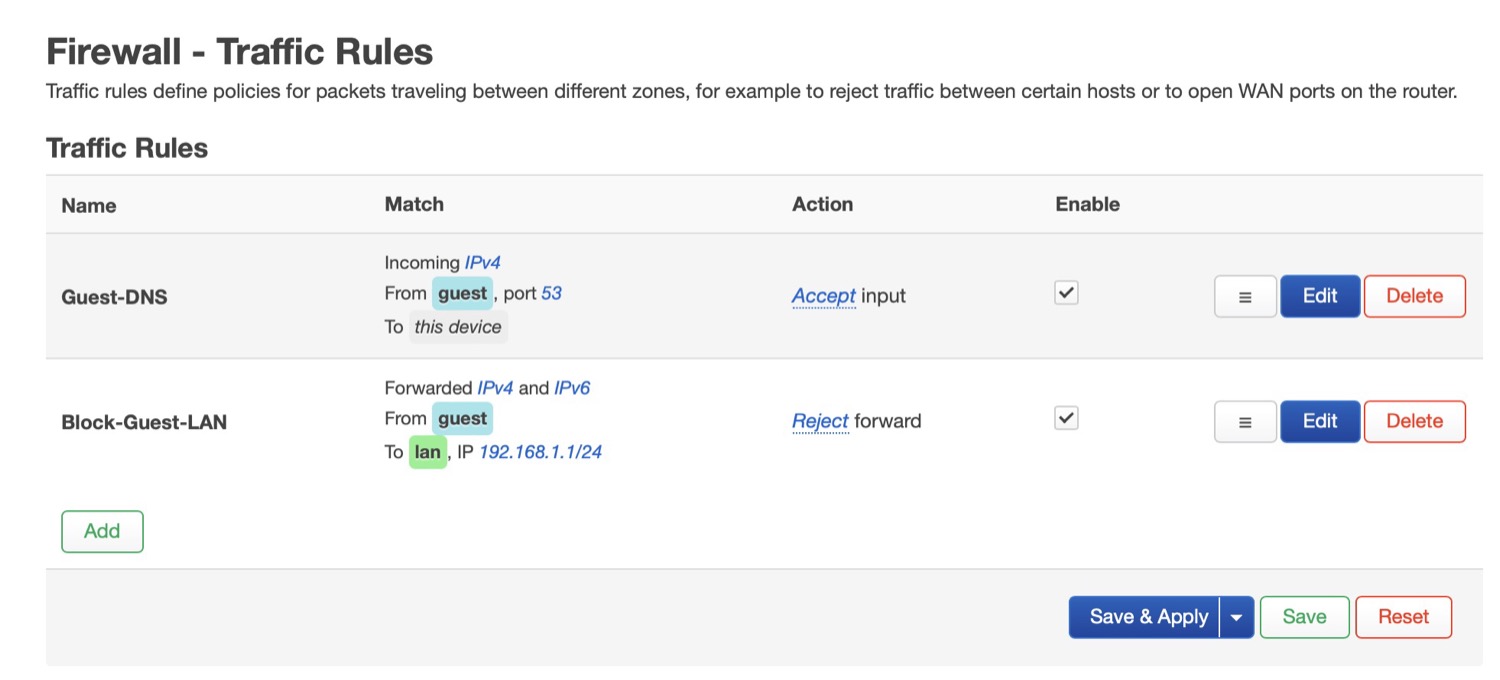
	option name 'Guest-DNS'
	option src 'guest'
	option target 'ACCEPT'
	option family 'ipv4'
	option src_port '53'
	list proto 'all'

config rule
	option src 'guest'
	option dest 'lan'
	option name 'Block-Guest-LAN'
	list dest_ip '192.168.1.1/24'
	option target 'REJECT'
The configs in LuCi:

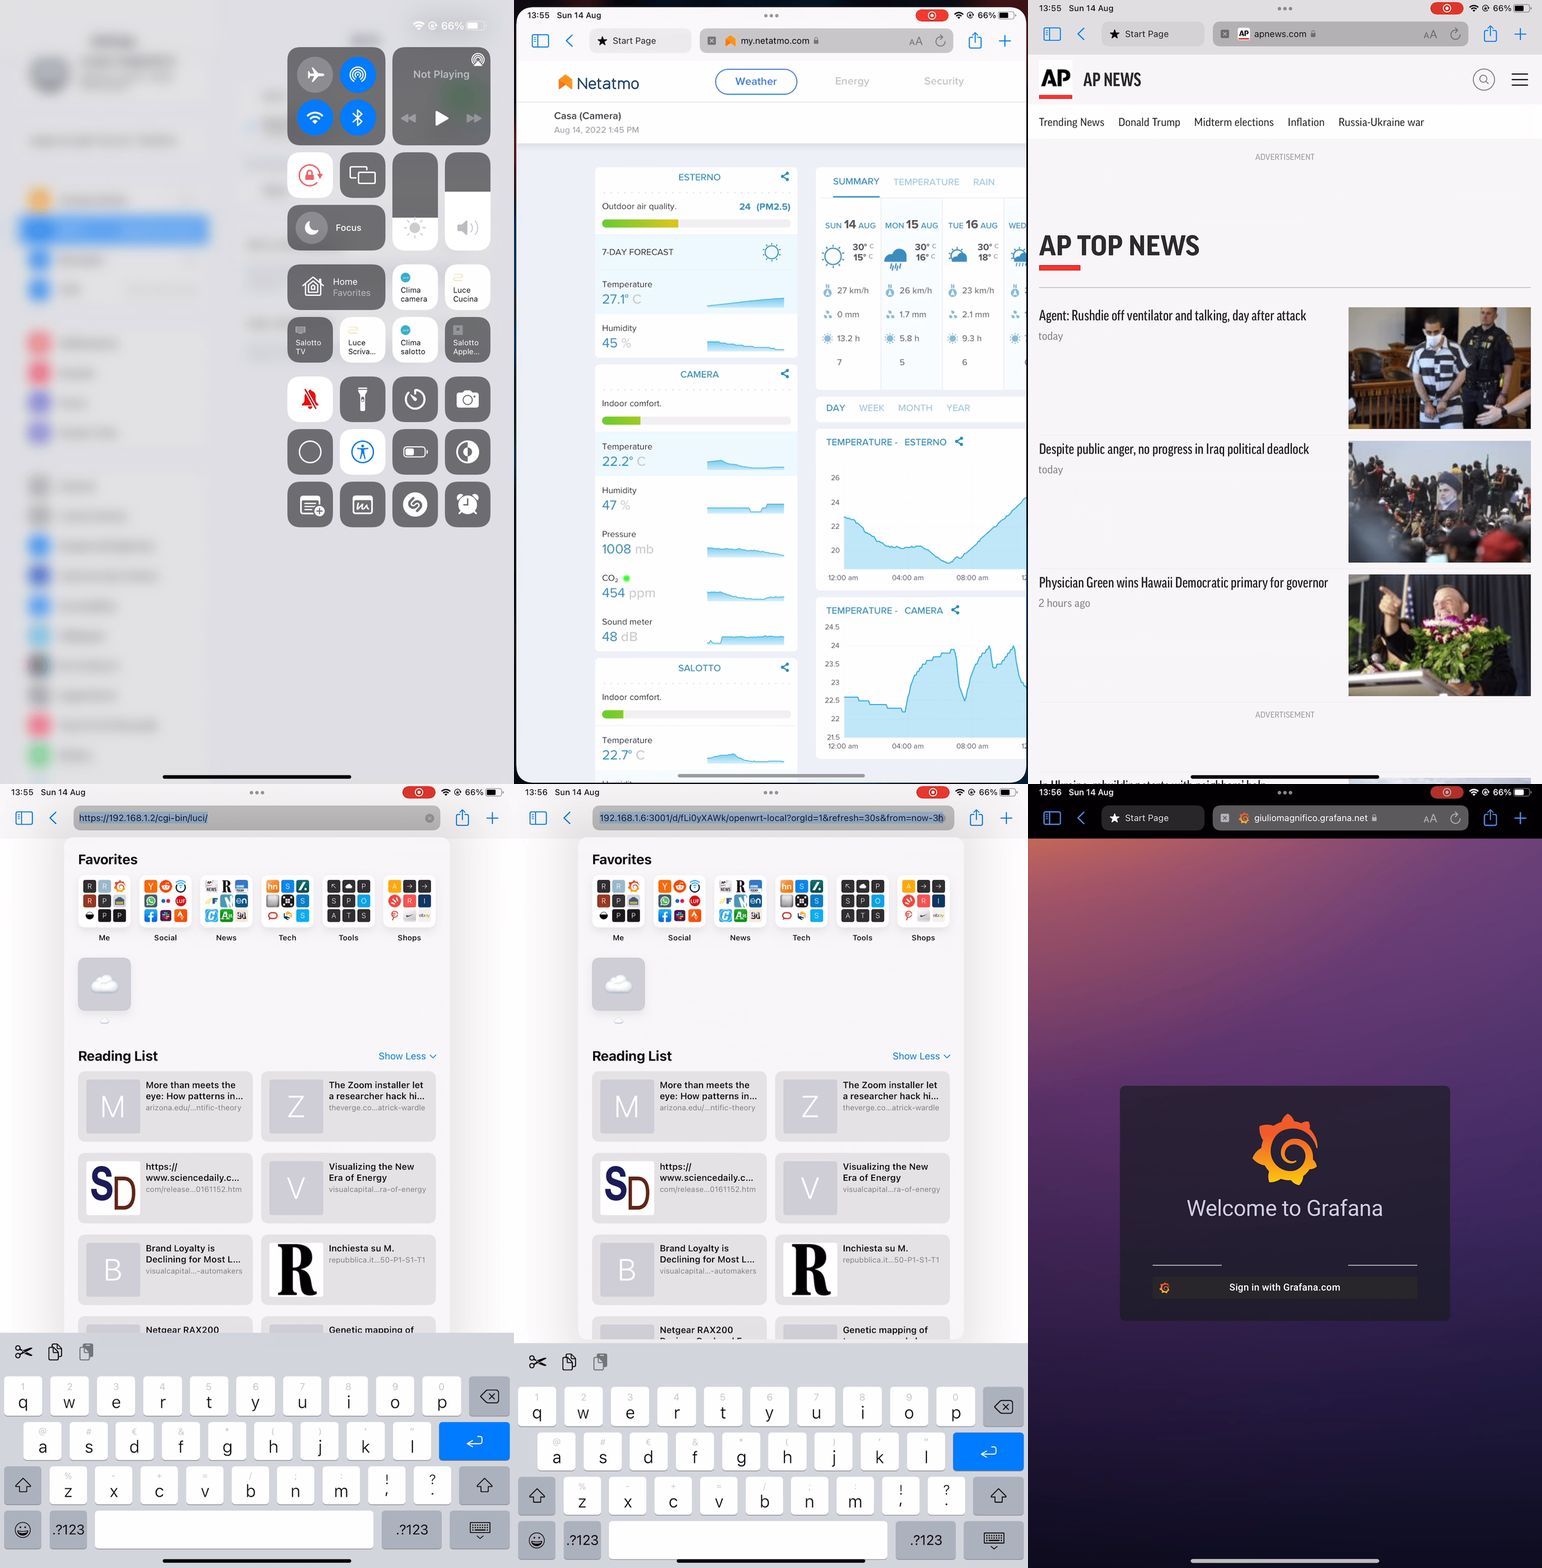
And a gif of the result of what I mean for “unable to browse the other devices in LAN”:
Just to make a recap, in the end the overall configurations are:
- On both, router and AP, the Collectd instance with Prometheus exporter plug-in
- The prometheus.yml that retrieves info from two local addresses
- remote_write of Prometheus to my Grafana cloud
- A simply touch to view the stats of the router or the AP
- A unique Pushover instance that send on my phone the alerts from both the devices
- The AP with a guest WLAN separated from the main LAN but able to use the Pi-Hole/Unbound for the DNS resolving and adblocking.
Conclusion
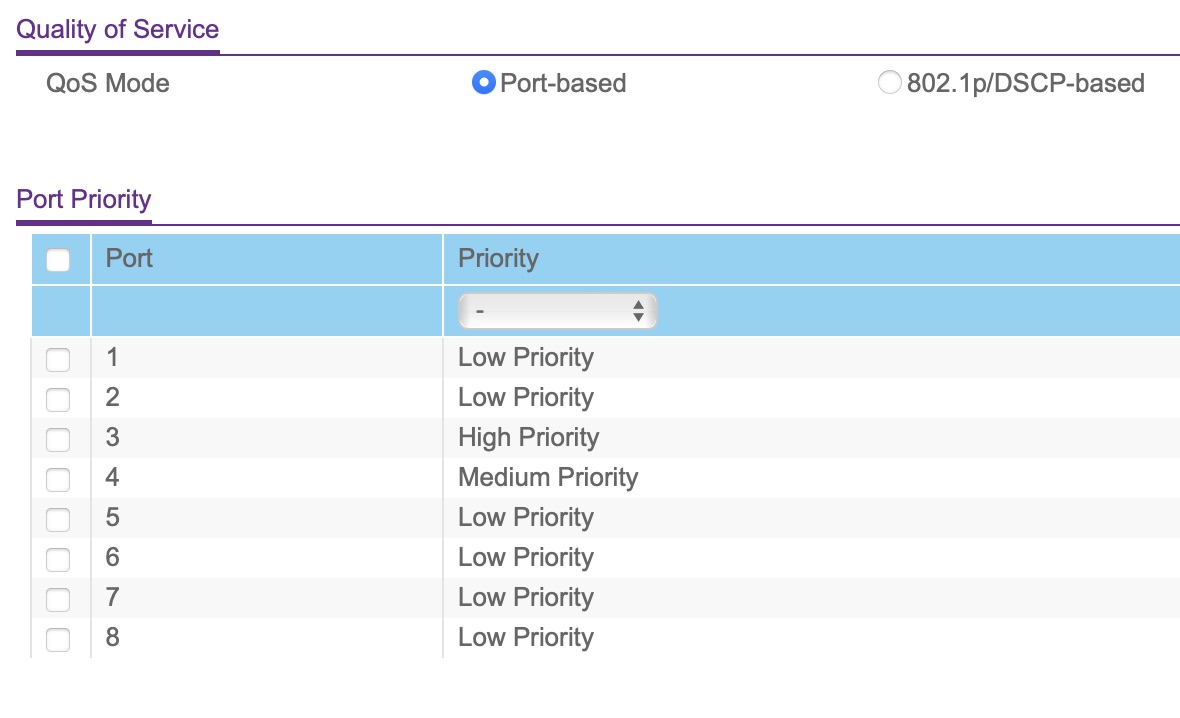
Latest things to do were only to configure the QoS ports priority on the Netgear switch
I’ve build some ethernet cables ethernet with the correct length, and with these beautiful black RJ45 plugs{:target="_blank"} (I will rebuild all of the cable plugs)
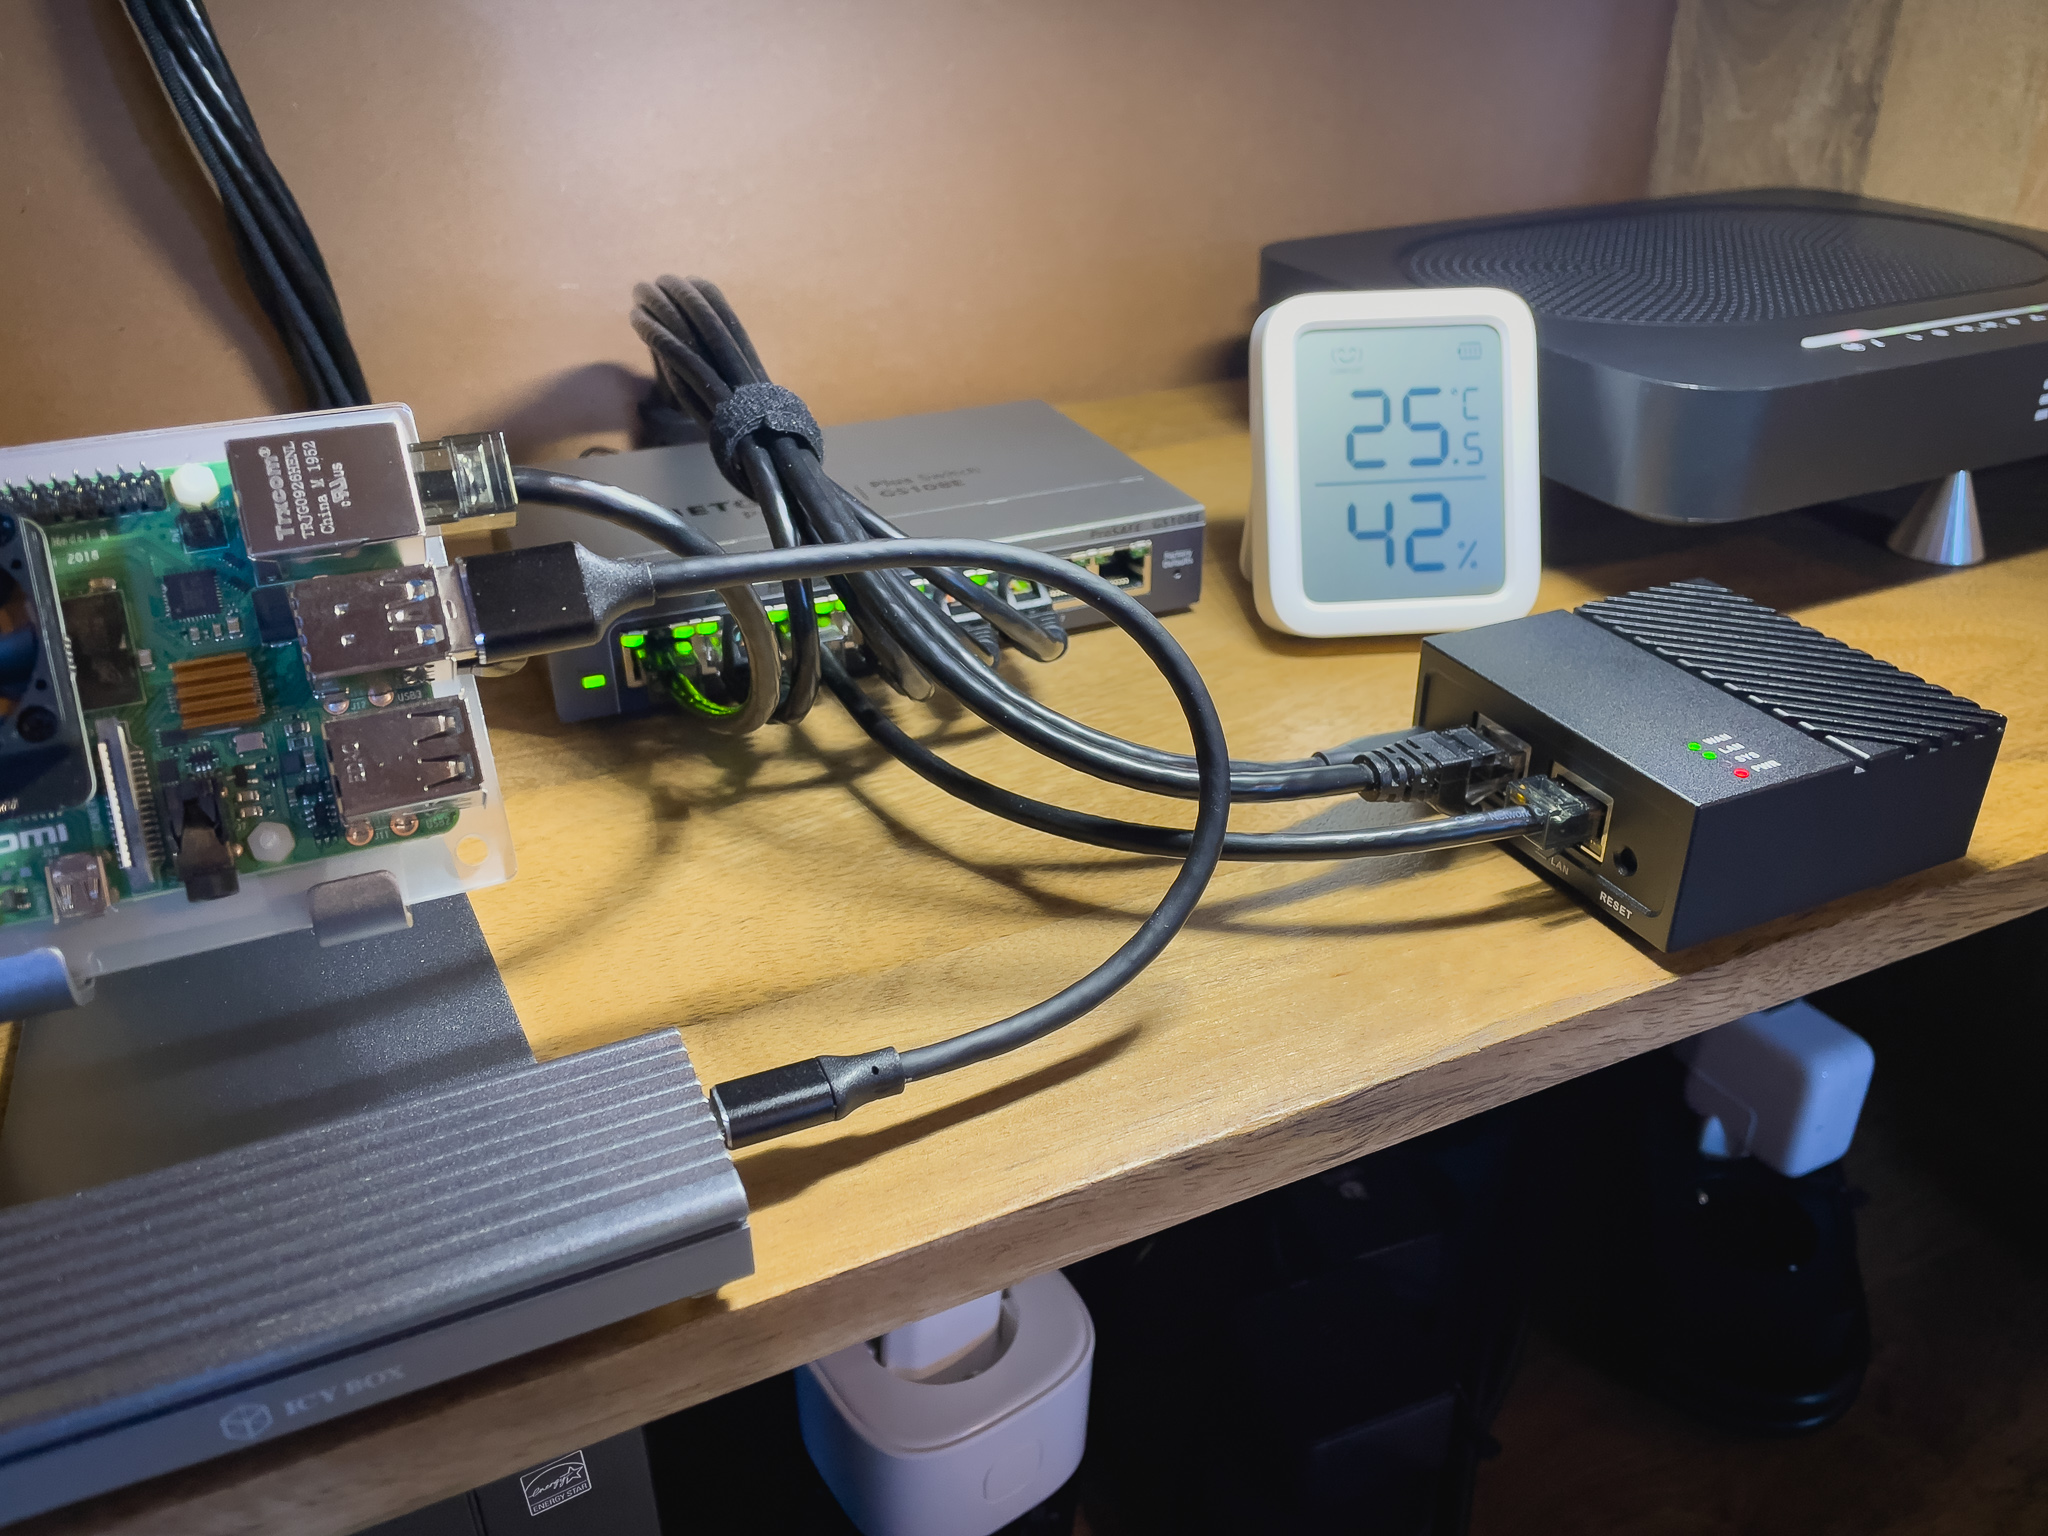
And finally tested the connection wired
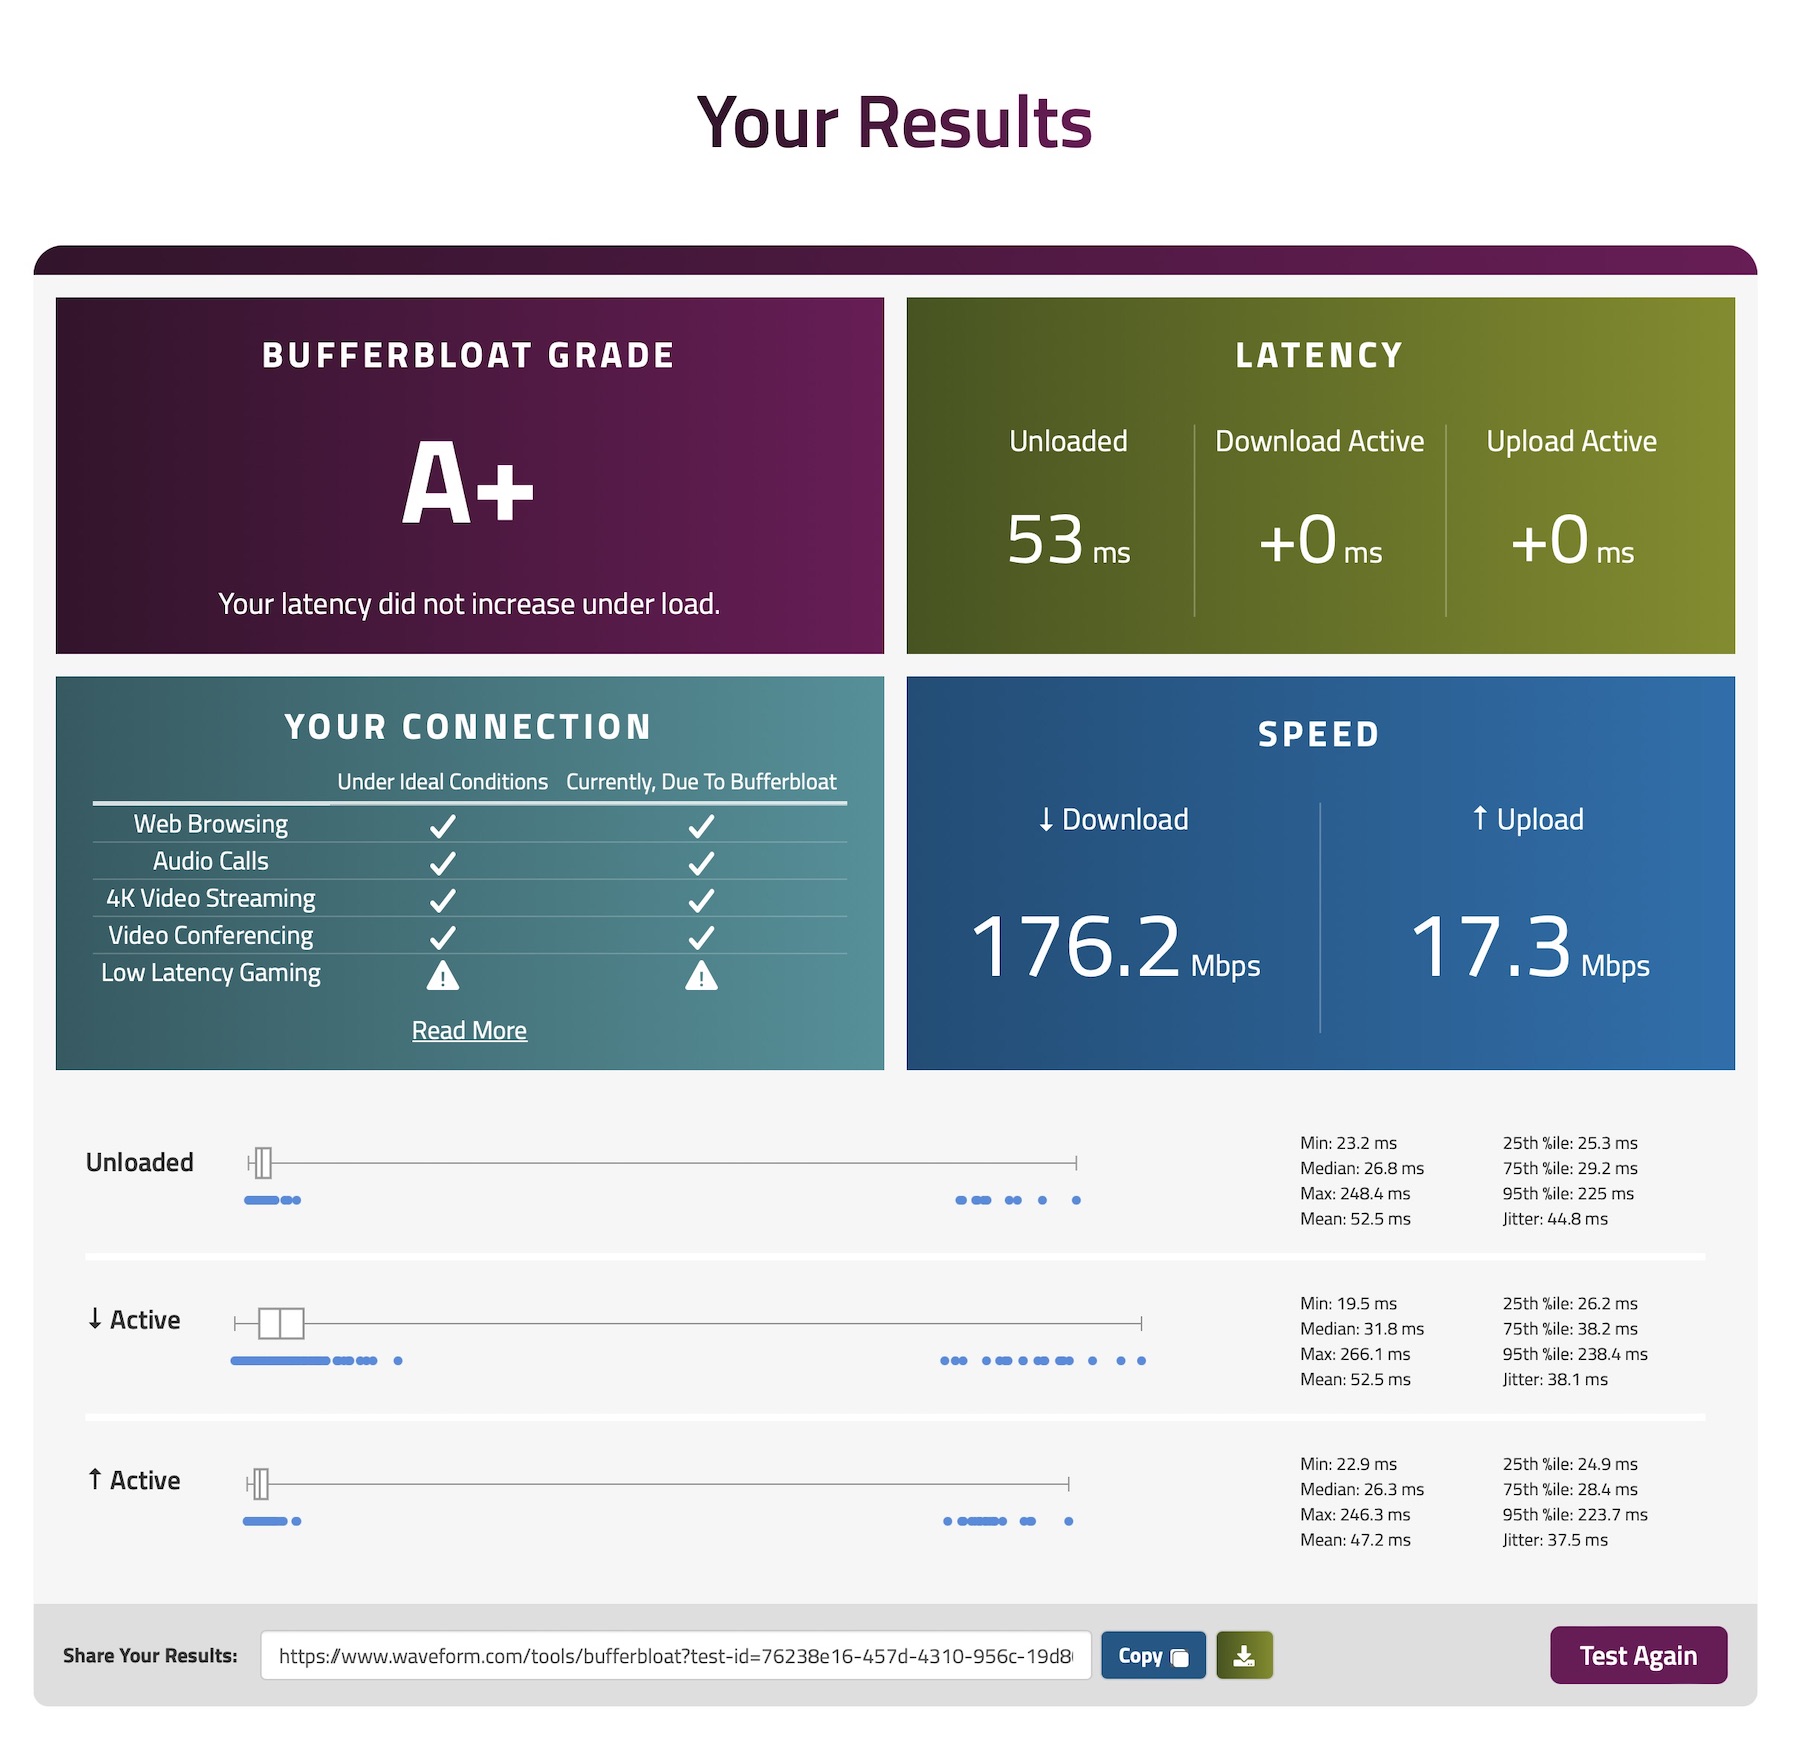
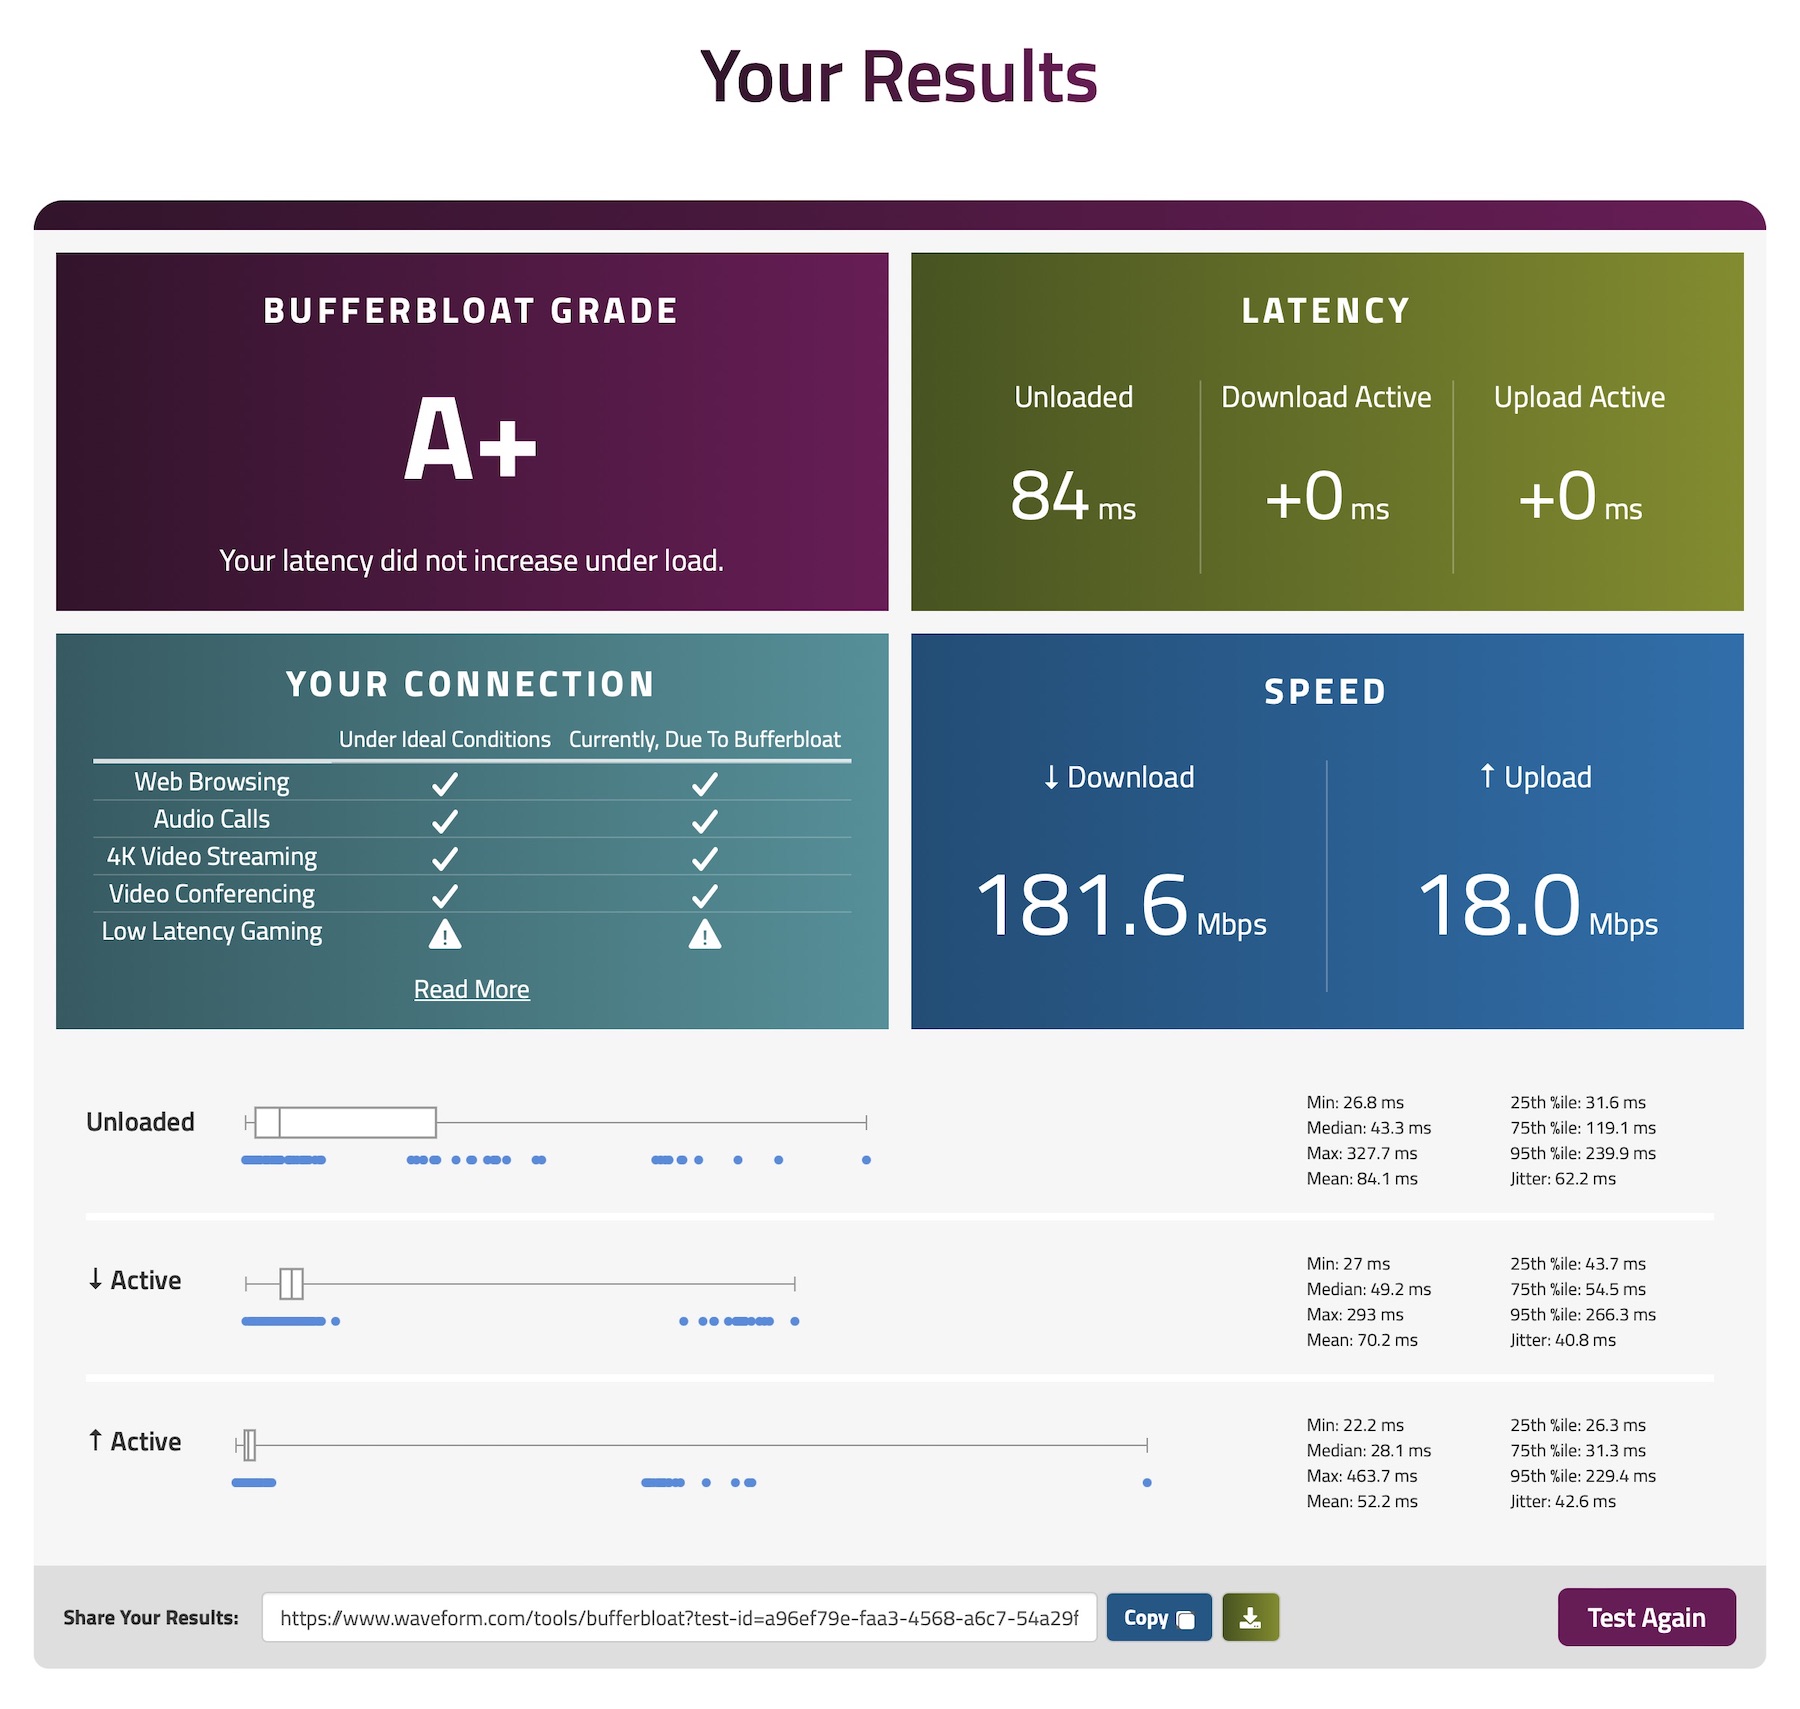
And wireless
