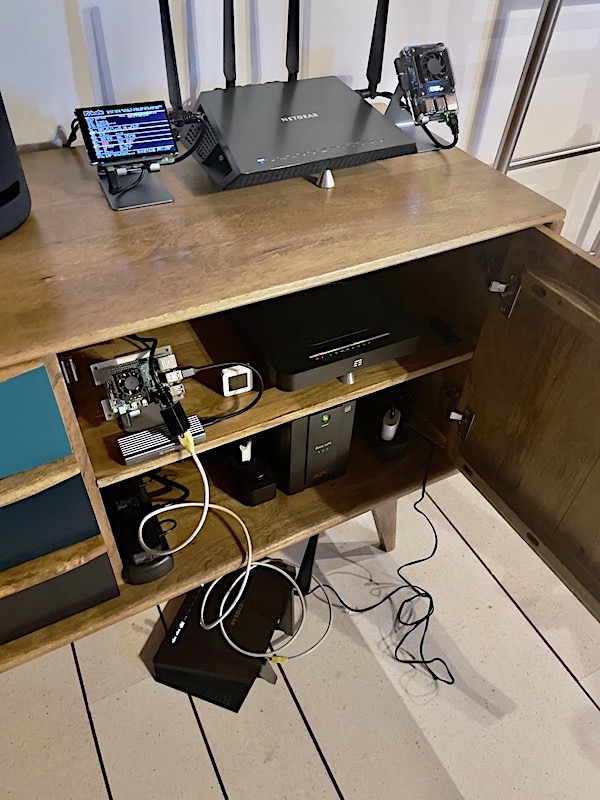
In this hot summer I can’t survive without “doing nothing”, so since my parents are on vacation for one month, I started a new easy project to give my parents a better home network without spending nothing. Since I have already at home all the hardware: a Netgear R7000 router and a RPi Zero W.
Goal
The goal is to achieve a stable network, with some basic privacy features, and blocking the ads/requests via DNS. Plus obtaining an optimized network for FaceTime/iMessage, because me, my parents and my sister are using a family chat on iMessage and I always call my families with FaceTime. And last, a network that I can manage remotely, in order to update, check the clients, etc…and resolve the troubles when my parents call me saying “We don’t have internet”.
Router setup
The router -unfortunately- is a Broadcom device, so I can’t use OpenWRT (or better, I’ve already installed OpenWRT on it, but since there aren’t the antenna drivers, I can’t use the wireless features, so it’s useless) but I can use DD-WRT, and that is what I did.
The R7000 was already running OpenWRT (for test), so I simply downloaded the latest DD-WRT firmware for it and I flashed the build straight via web interface from OpenWRT to DD-WRT (is possible to do this without troubles in this case).
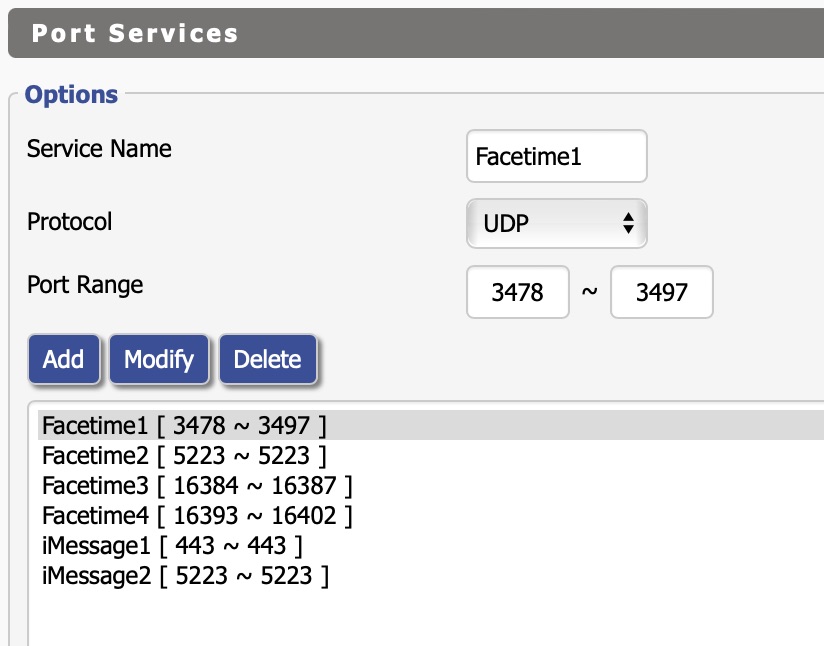
After that I started configuring the basic -but important- stuff of DD-WRT, like the PPPoE connection, Wi-Fi, firewall, DNSmasq, SSH access, etc… and I spent a bit more time for QoS features, I created the new services optimization for FaceTime/iMessage:
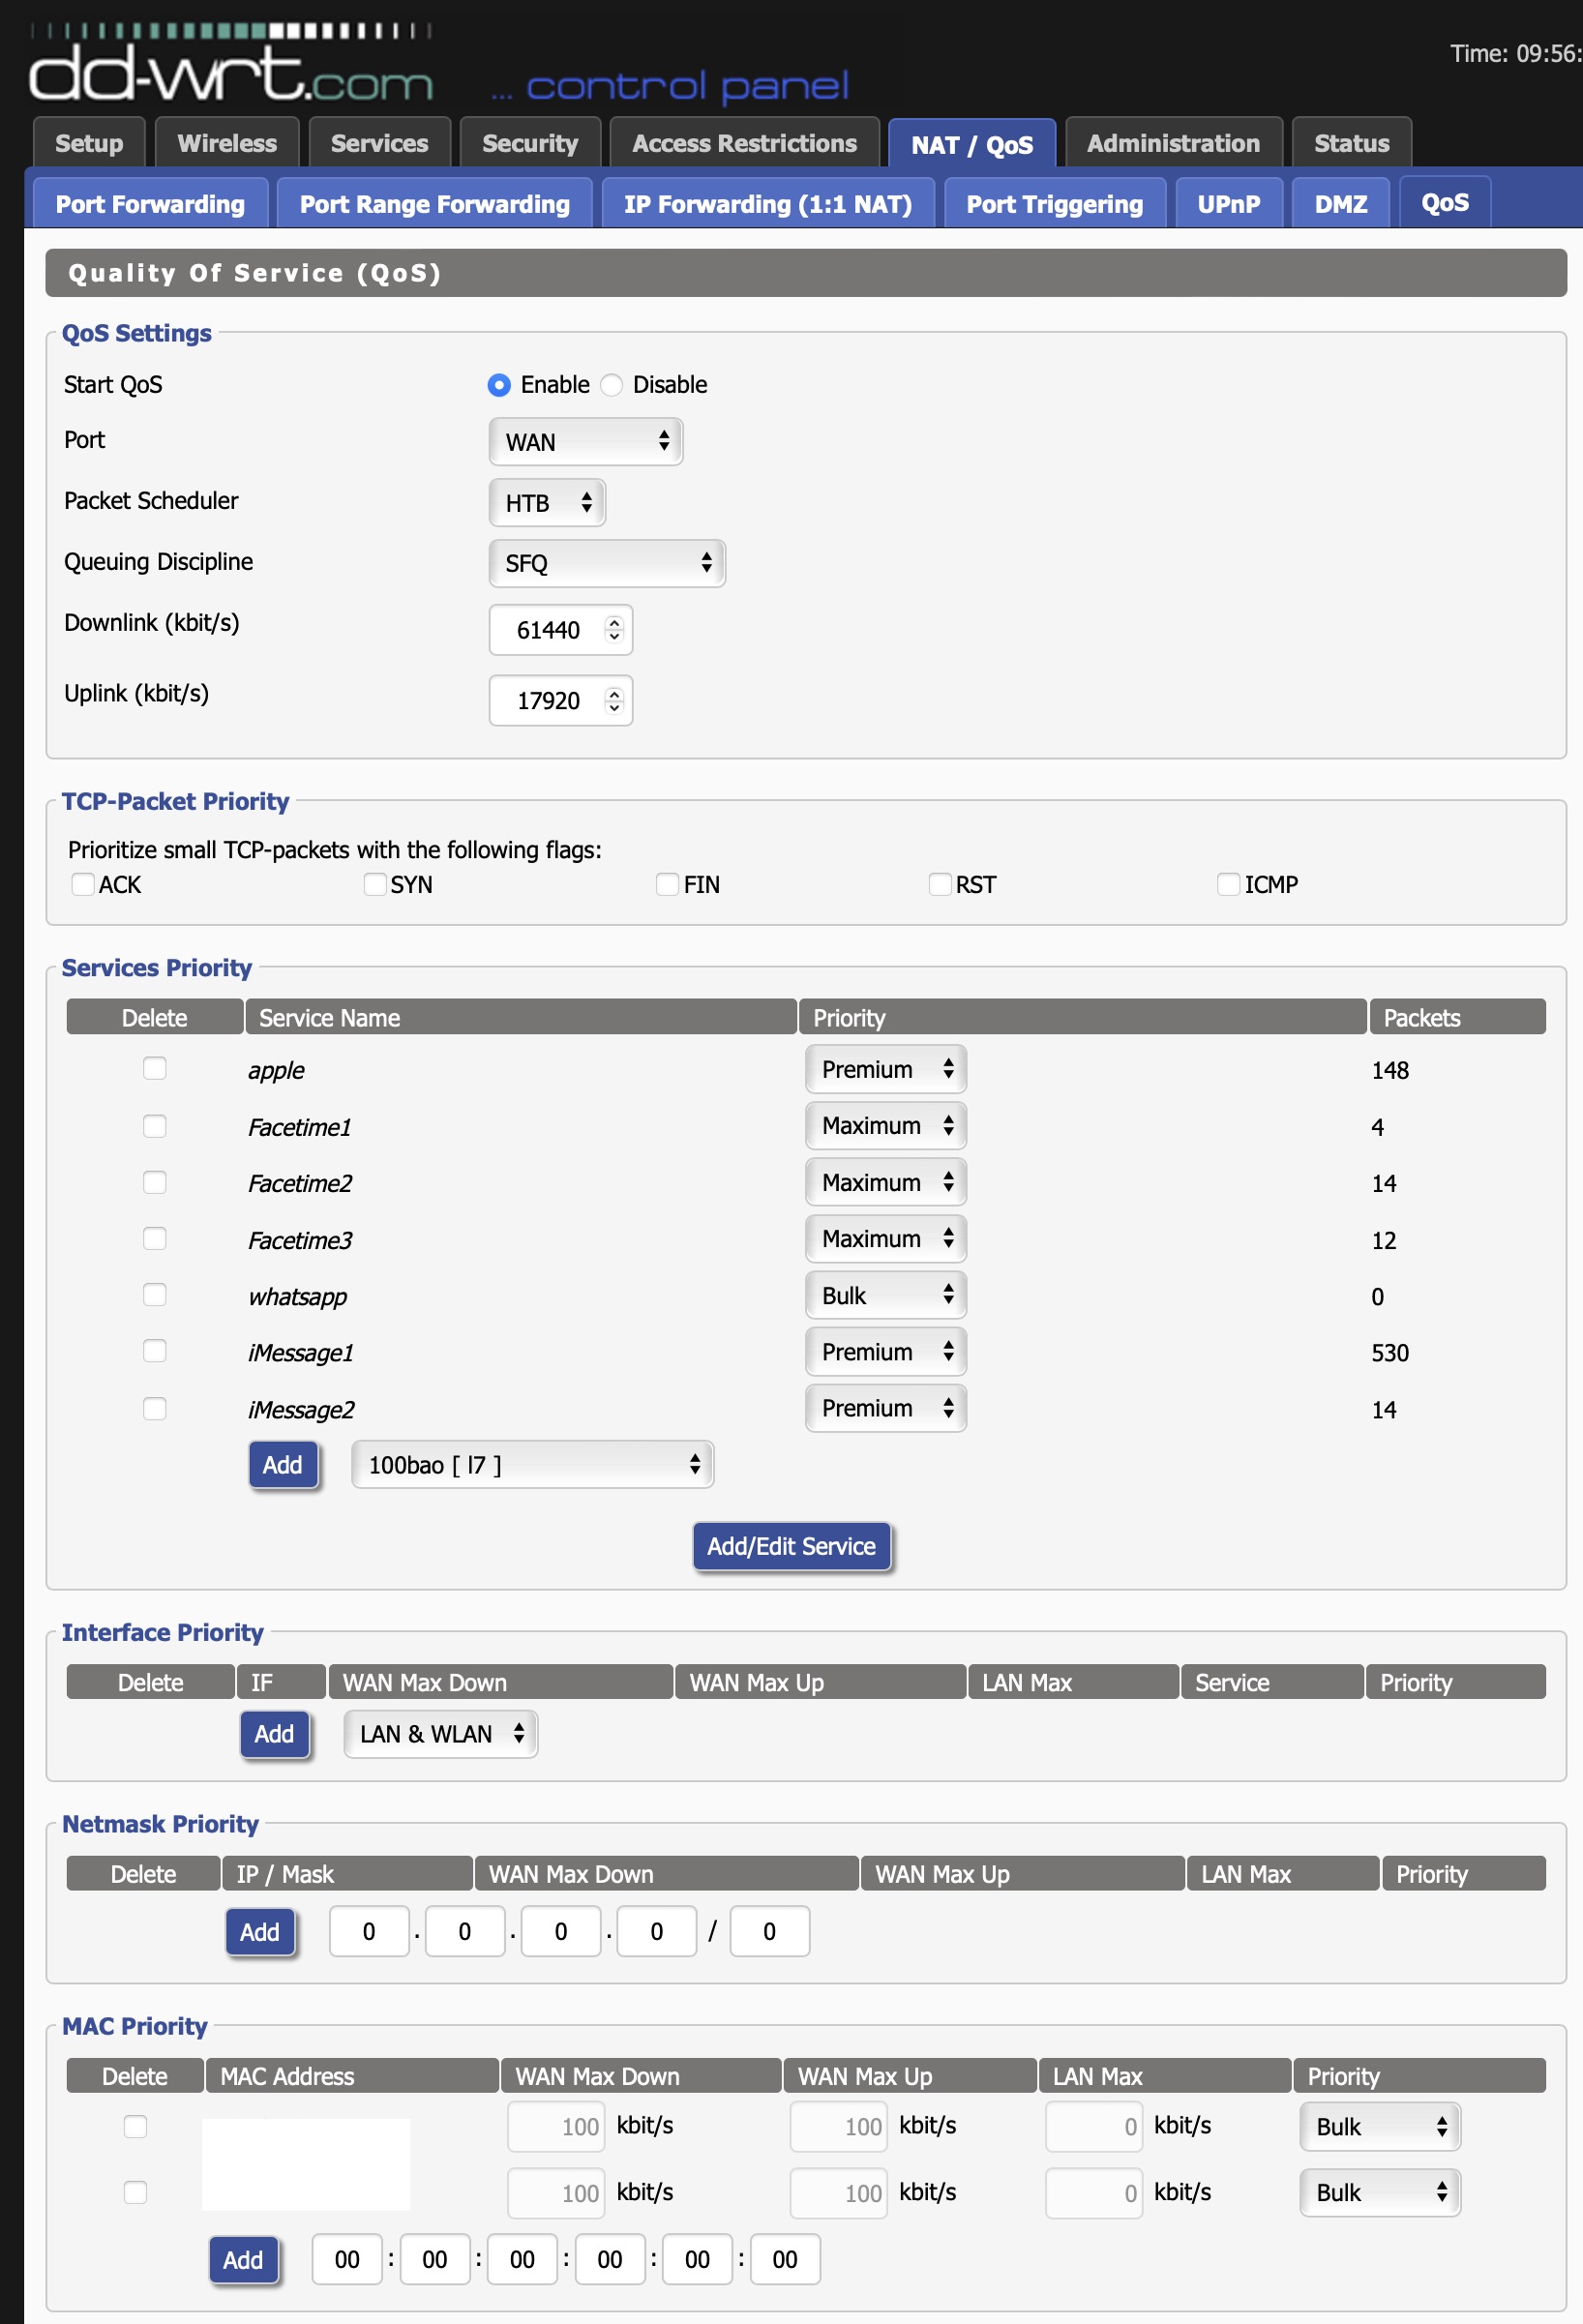
Then I configured the Amazon devices with a low (a bit more than “low” ) priority. Just in case one of the Echos decide to download a firmware upgrade when I’m calling via FaceTime my parents:
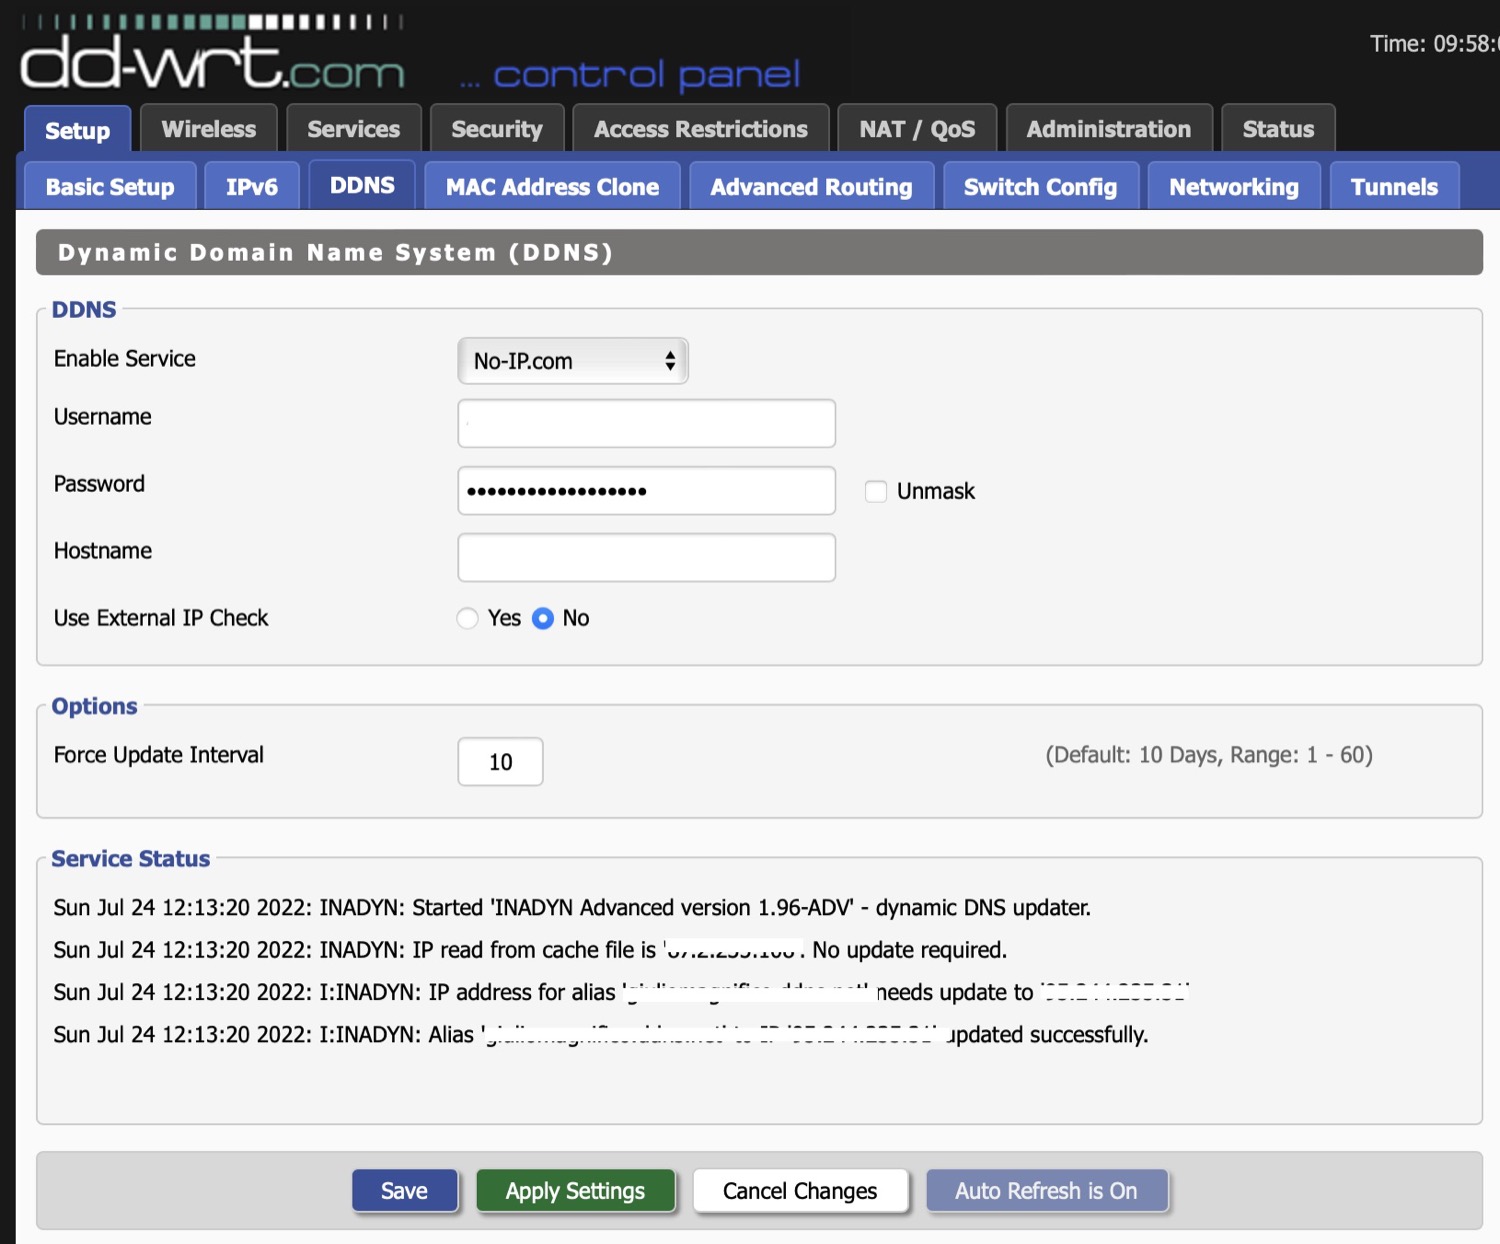
But, as said, I would be able to upgrade the firmware, or check if there’re troubles, also remotely. So I created a WireGuard tunnel that automatically update the IP with a dynamic DNS service:
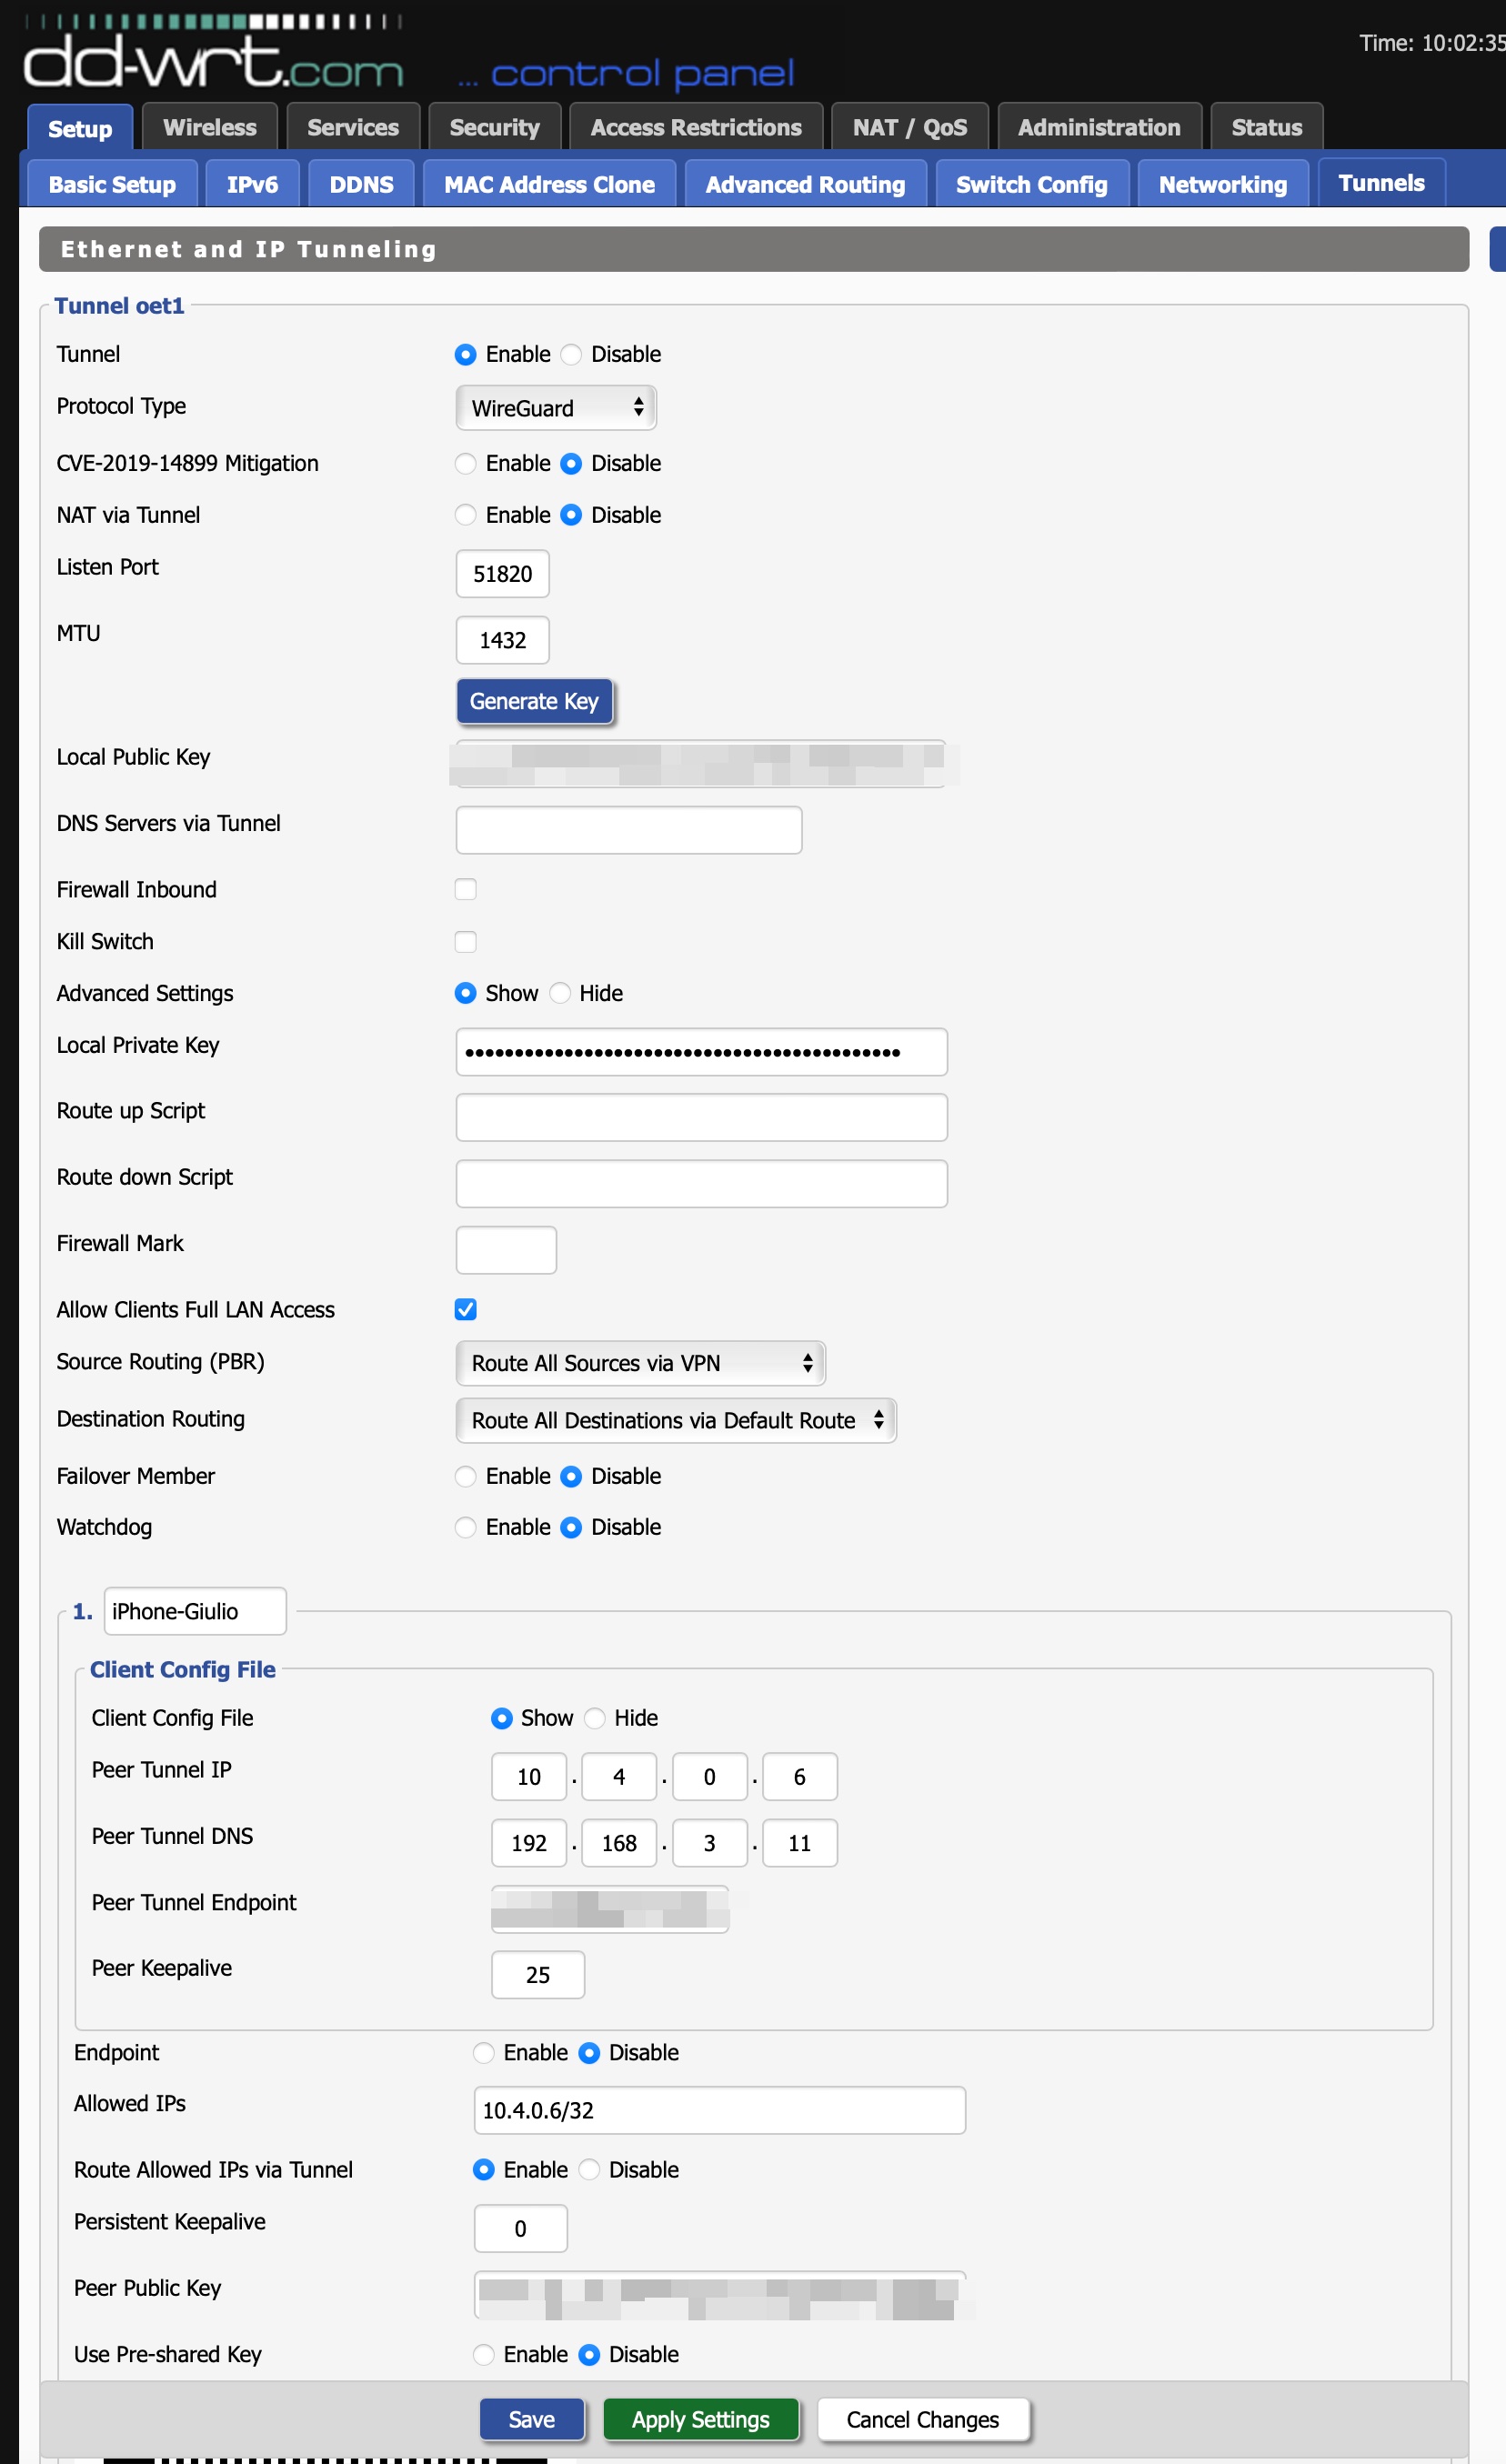
Last, I added the configuration to my WireGuard app:
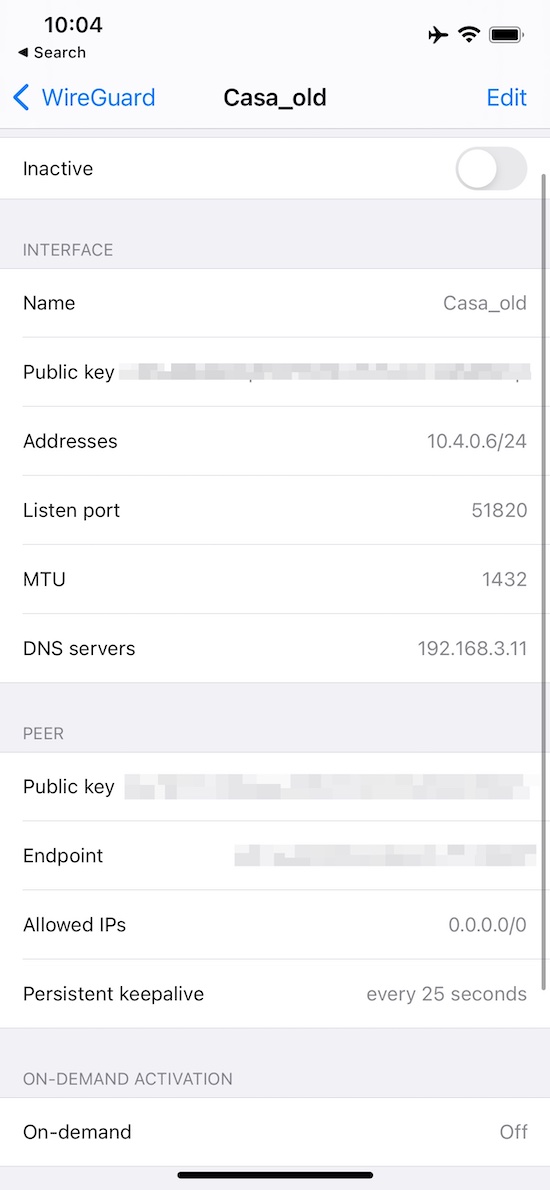
Note: if your home LAN is in the same subnet (192.168.1.x) as your parents LAN, you can’t browse their LAN. Opening their router page, you will see your router, to avoid this you must use a different subnet (i.e.: 192.168.x.1, where x is different from your LAN). Remember to set the DNS IP of the RaspberryPI in the main page of the admin panel, if you want to use it as your DNS.
In the end the setup of my parents will be:
- Modem 192.168.1.1
- Router 192.168.3.10
- Pi-Hole 192.168.3.11
- WireGuard 10.4.0.6/24 (.7/.8…the peers)
- DHCP managed by the router
And all should be fine here, we can go to the
RaspberryPI
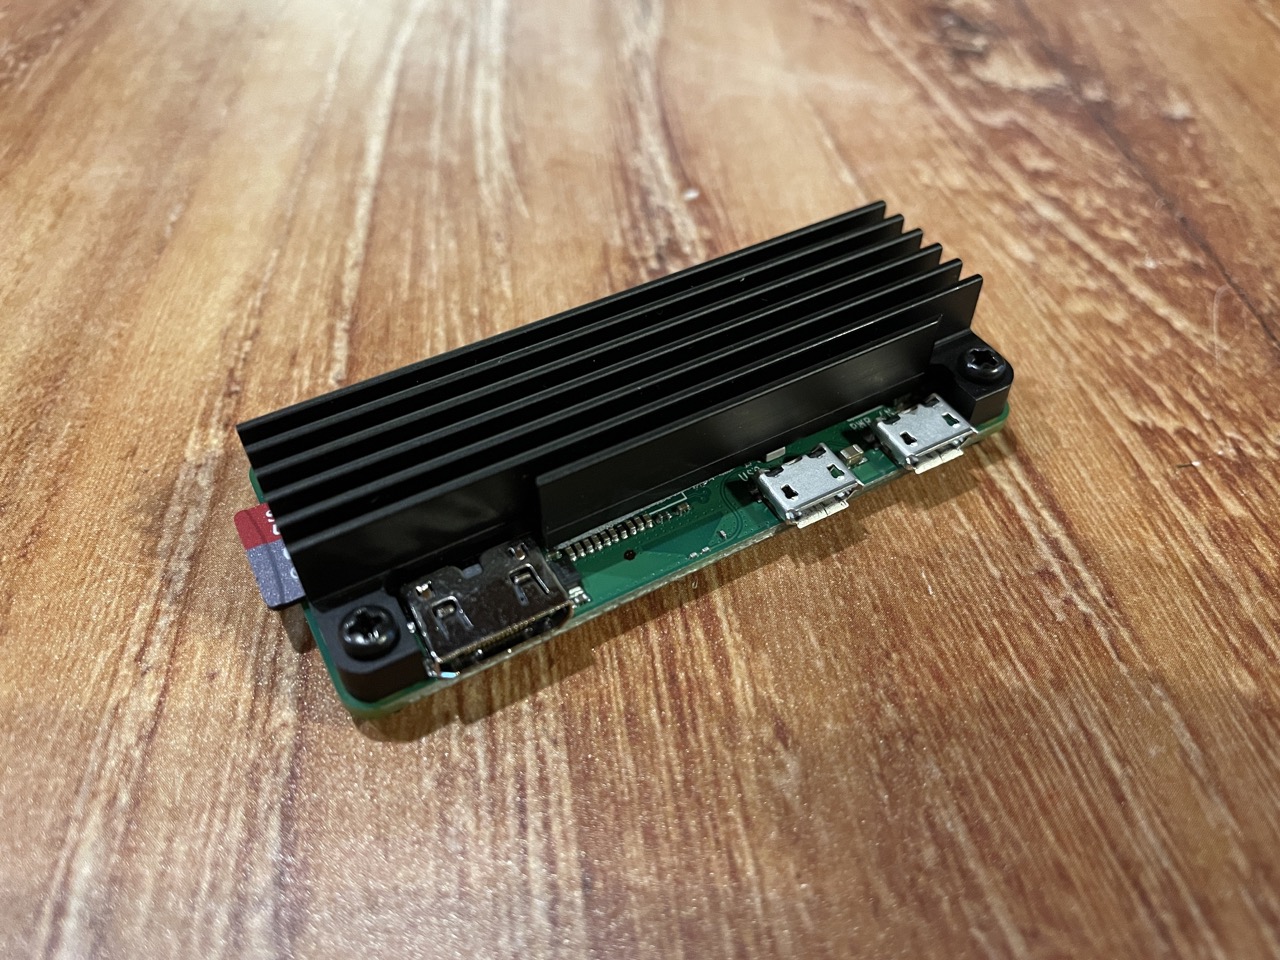
The RaspberryPI Zero W should fit well for my needs: run a Pi-Hole instance with Unbound and Lighttpd as web server. I would suggest to use at least a ZeroW 2 if you need something… not fast but normal, the ZeroW is quite slow to update the lists and install all the software, but my parents will not touch it, and I will configure it to auto-update during the night, once per week, and relax.
My OS choice for it, and I have to repeat it every time I write about the RaspberryPI, is DietPI because it’s lightweight and it has lots of easy tools to manage it, without going crazy and write lots of commands in the terminal. Especially with a RPi Zero W that is very slow to execute the commands. With DietPI you can make the first installation, select the software you need, launch the installer and wait until it runs all the things. You don’t have to launch the installer of one software, then wait , then run the other installer script, then another, etc… no, just select all the software from the list using ‘dietpi-software’ and DietPI will do all the necessary actions together.
Ok, start the installation of DietPI: download the distro (I have to remember every time that the ZeroW has ARMv6 architecture and not v7), then BalenaEtcher to flash the microSD. You can follow the instructions on the DietPI webpage to configure the first boot, because you don’t have to modify the boot.config like Raspbian, but you have to use the dietpi.config and dietpi-wifi.config to configure it. Tip: if you set something wrong (i.e.: you make a typo in you SSID) and you insert and boot the microSD into the RPi, then you need to flash again the SD with BalenaEtcher, is not sufficient to edit again the dietpi-wifi.config file (I realized it after I spent a lot of time on this 🙄 )
When all is done, you can use the dietpi-software command to search, select and install
- Pi-Hole
- Unbound
- Lighttpd (as an automation, I installed OpenSSH over Dropbear, due to the SFTP access, but with this installation isn’t necessary to have a FTP server)
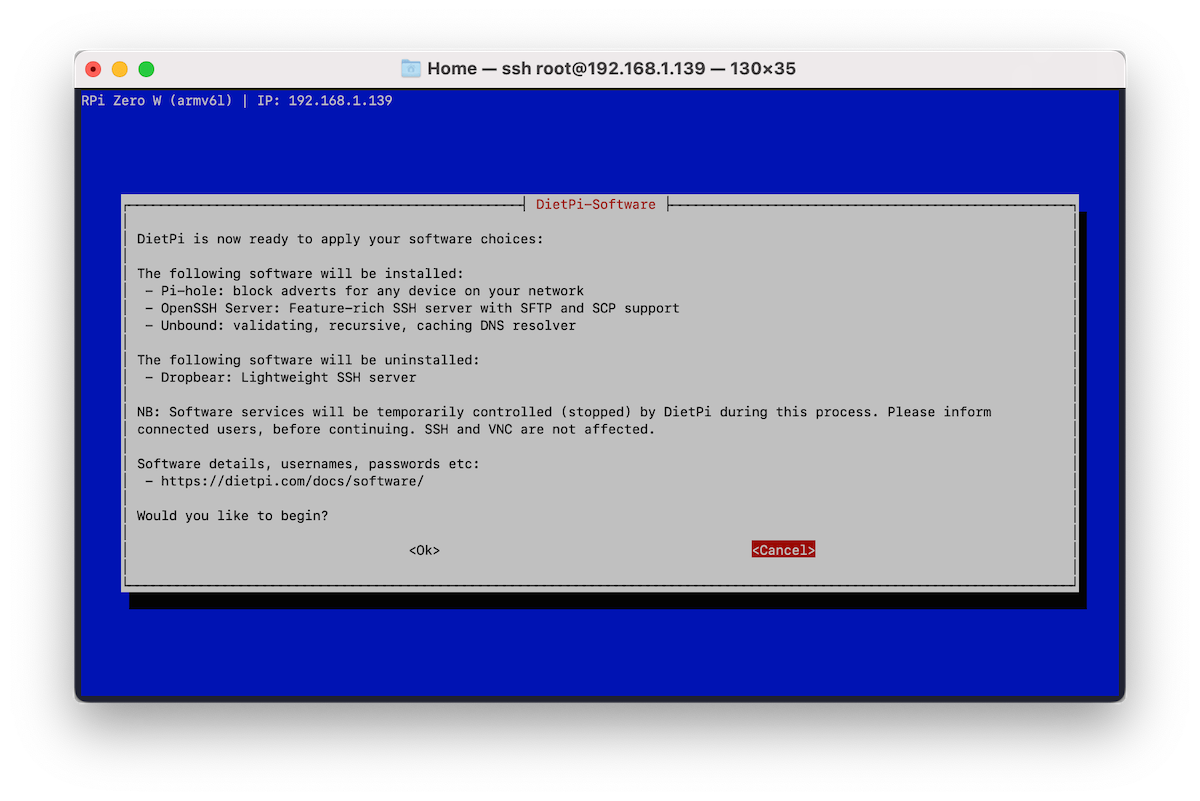
Then wait… …wait… …oh, wait again, I told you the ZeroW is slow.
After about 30 minutes all should be installed and, with my surprise, I also found a new installer for Pi-Hole (few years ago wasn’t there).
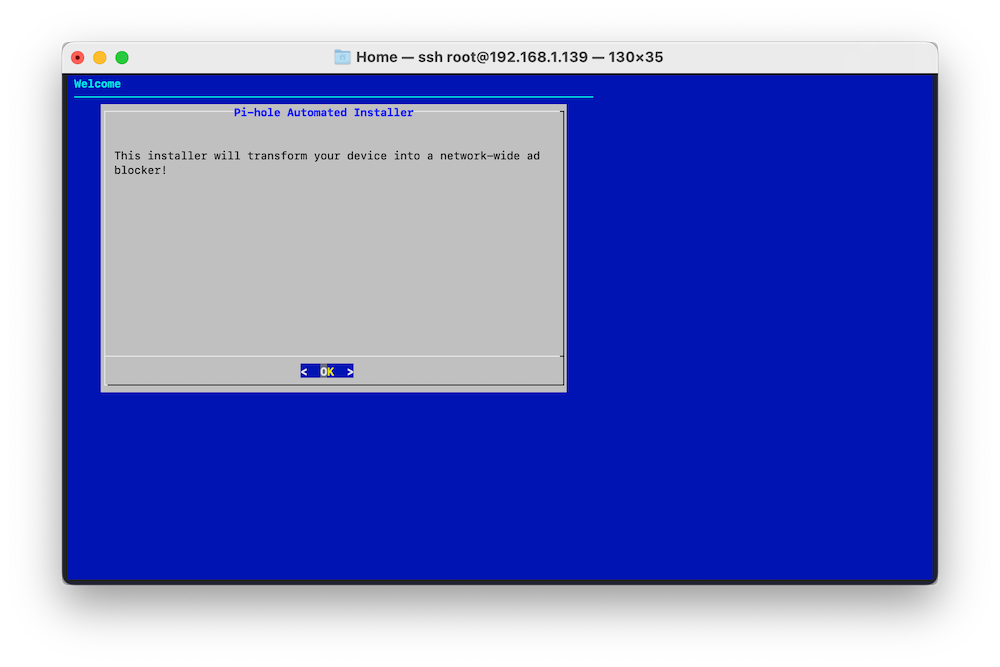
When all it’s completed I exported my Pi-Hole configuration with Teleporter and imported it into my parents Pi-Hole instance. To have the same configuration on both, since in the years I’ve made lots of useful regex blocks that I want also my parents have.
PS: remember that this is not a tutorial on how to install Pi-Hole, there’re lots of intermediate steps that I’ve omitted. Search the guide on Pi-Hole website if you need it or you encounter in errors.
After that, there’s still one step: edit the crontab file in order to let the RPi to be able to check and install the updates itself once per week at 4AM. To do it, just open crontab and add this line
#auto-update every sunday at 4am
00 4 * * sun sudo apt-get update && sudo apt-get upgrade -y && sudo apt-get autoremove -y && sudo apt-get autoclean -y
Then I went to configure all things
At my parents home
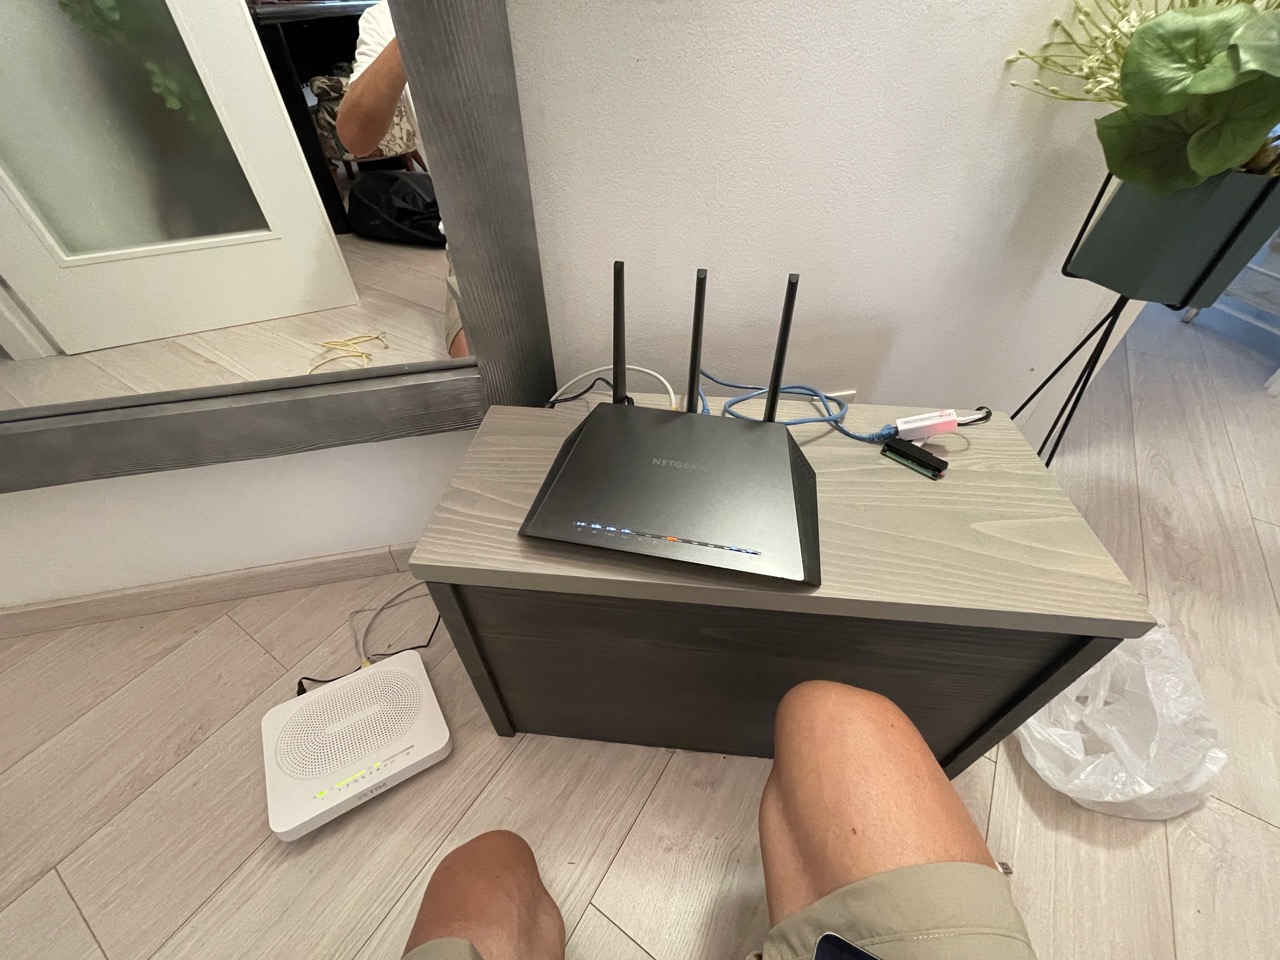
Here started the funny and curious things.
First of all I forgot my MacBook at (my) home, but I needed a shell to configure the final things, so I used a very, very old MacBook that I found at my parents home.
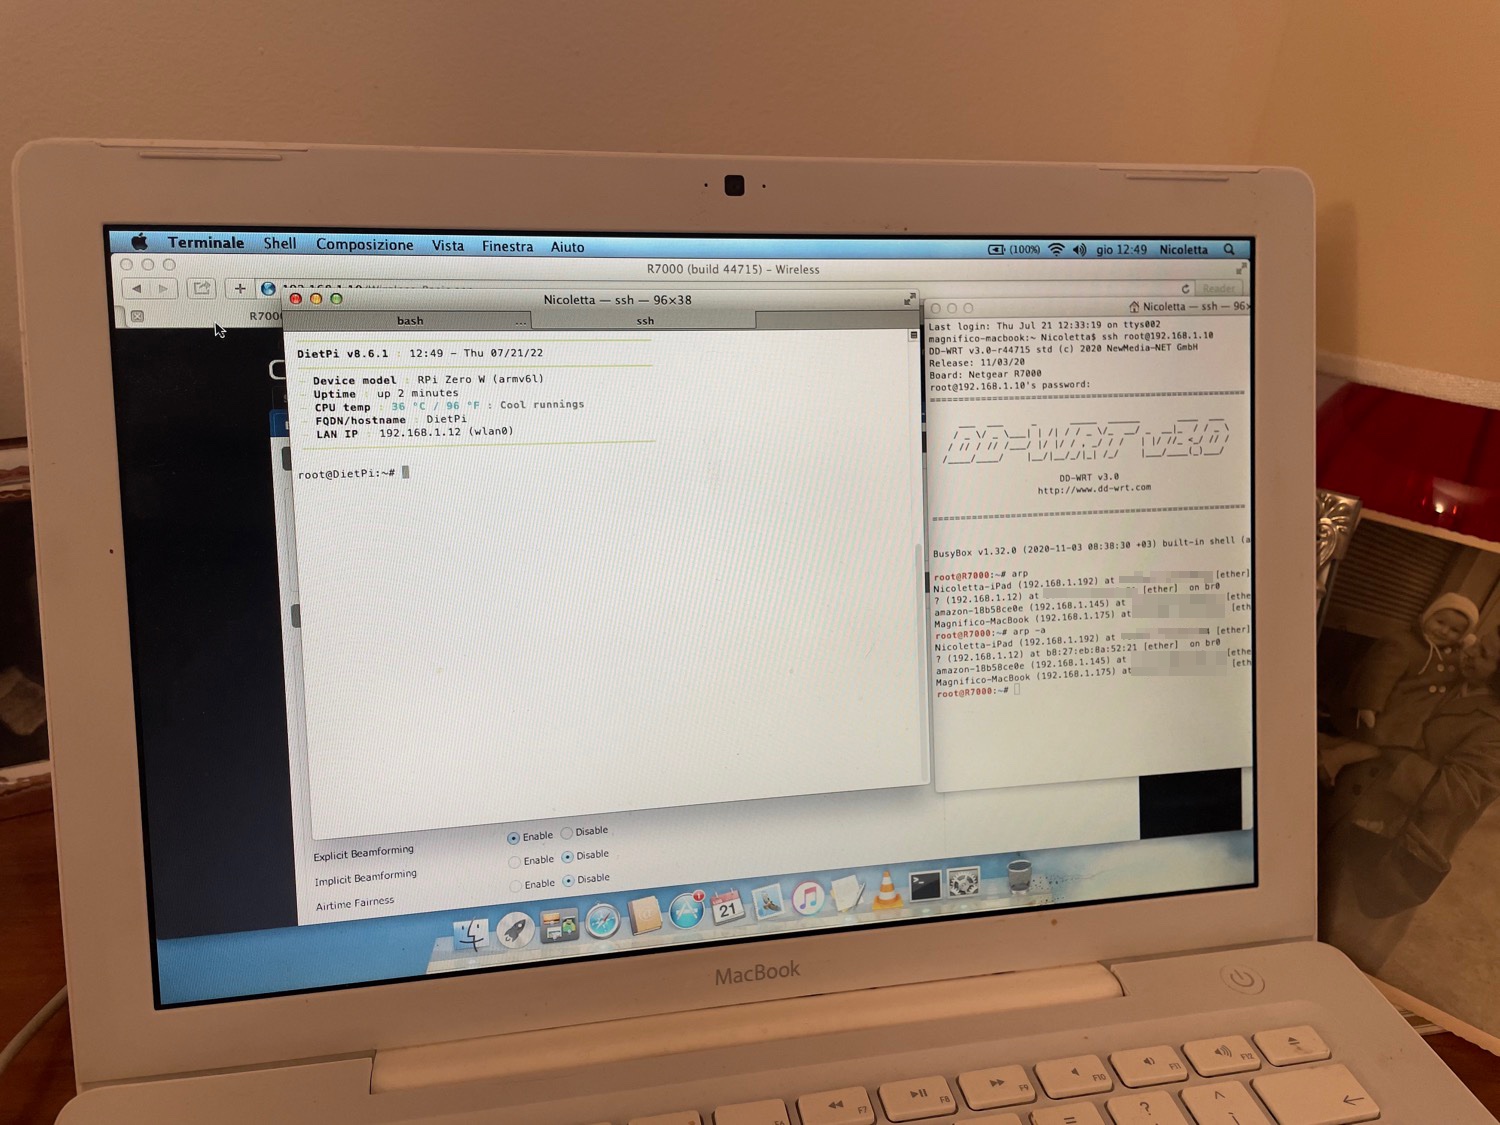
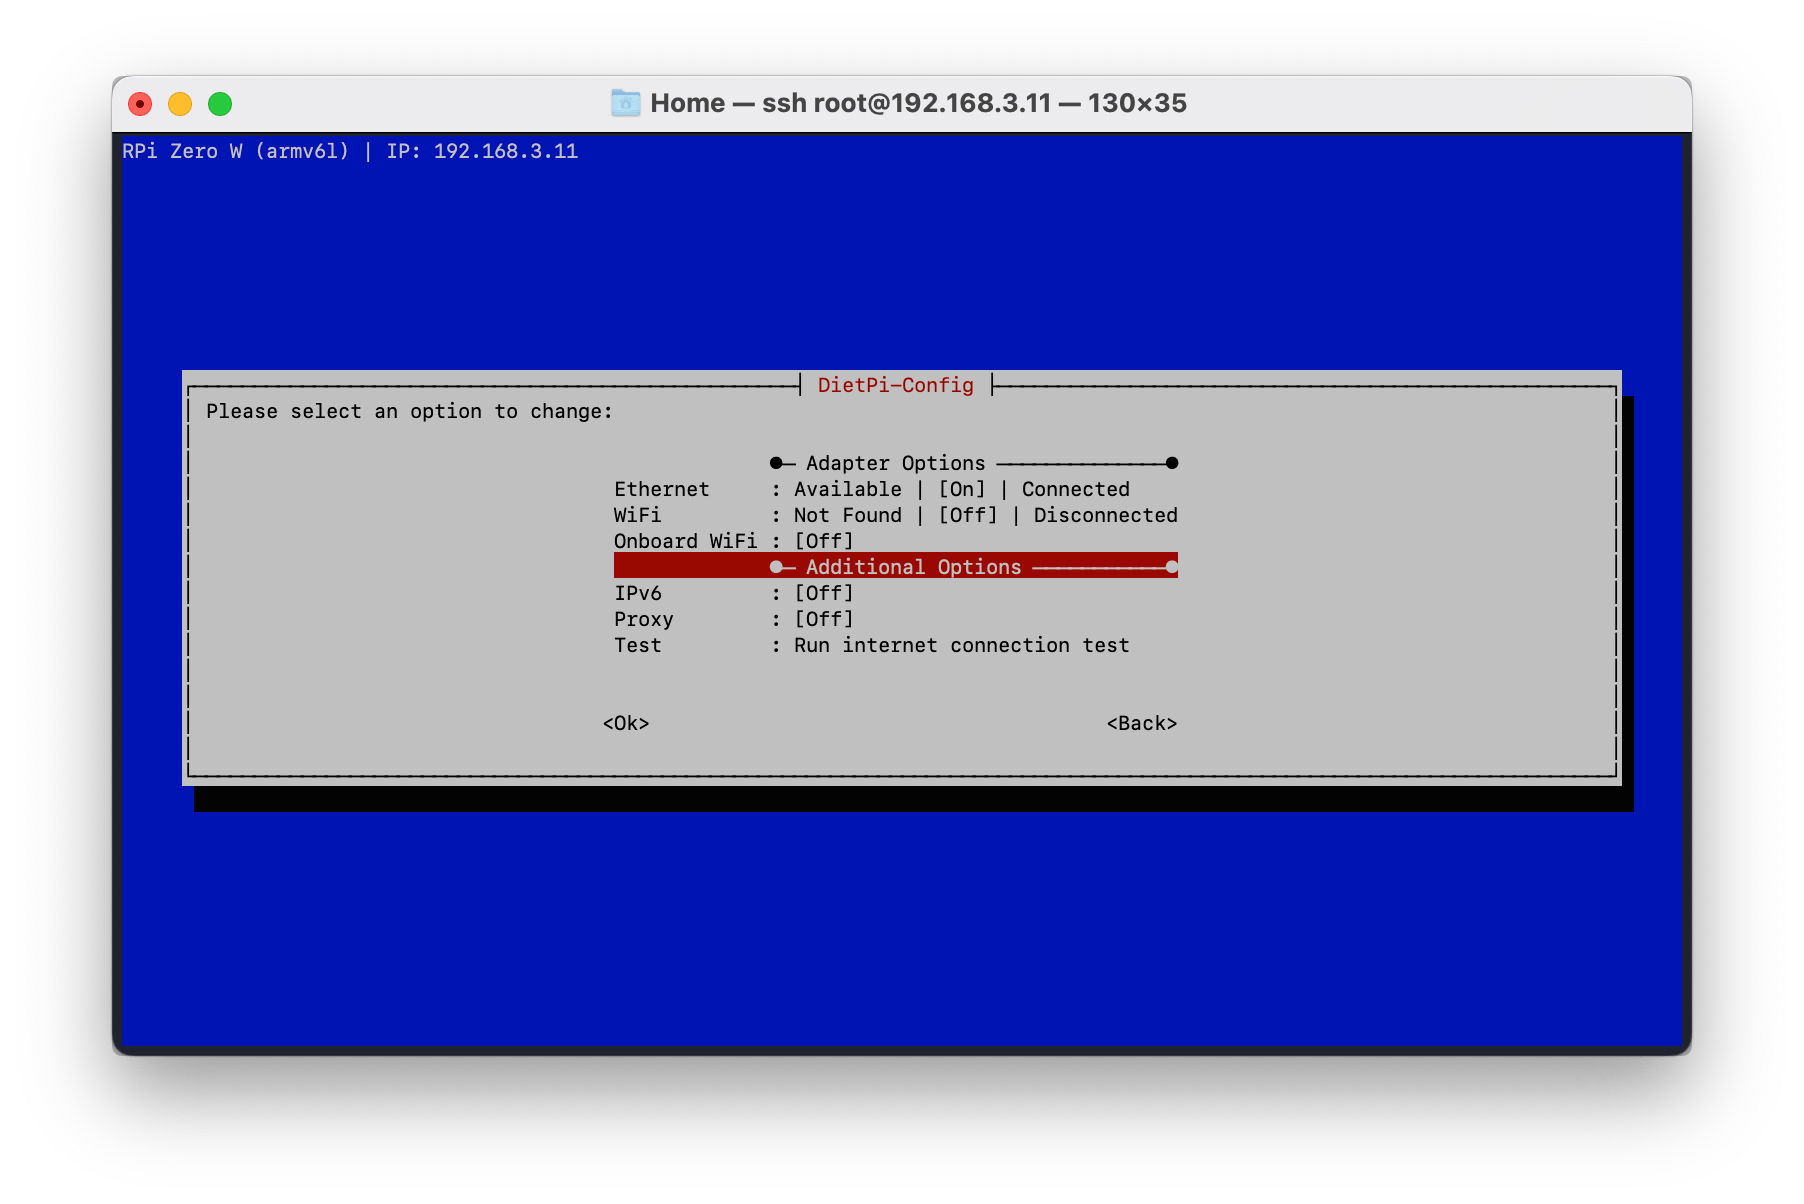
I powered the router, the RPi and all was up and running but the RPi Zero W was still running on Wi-Fi because to configure the microUSB to Ethernet adapter it needs to be connected to the router.
After that, I went to the Pi-Hole homepage to check if all was running, and I was waiting for the graphics to come up
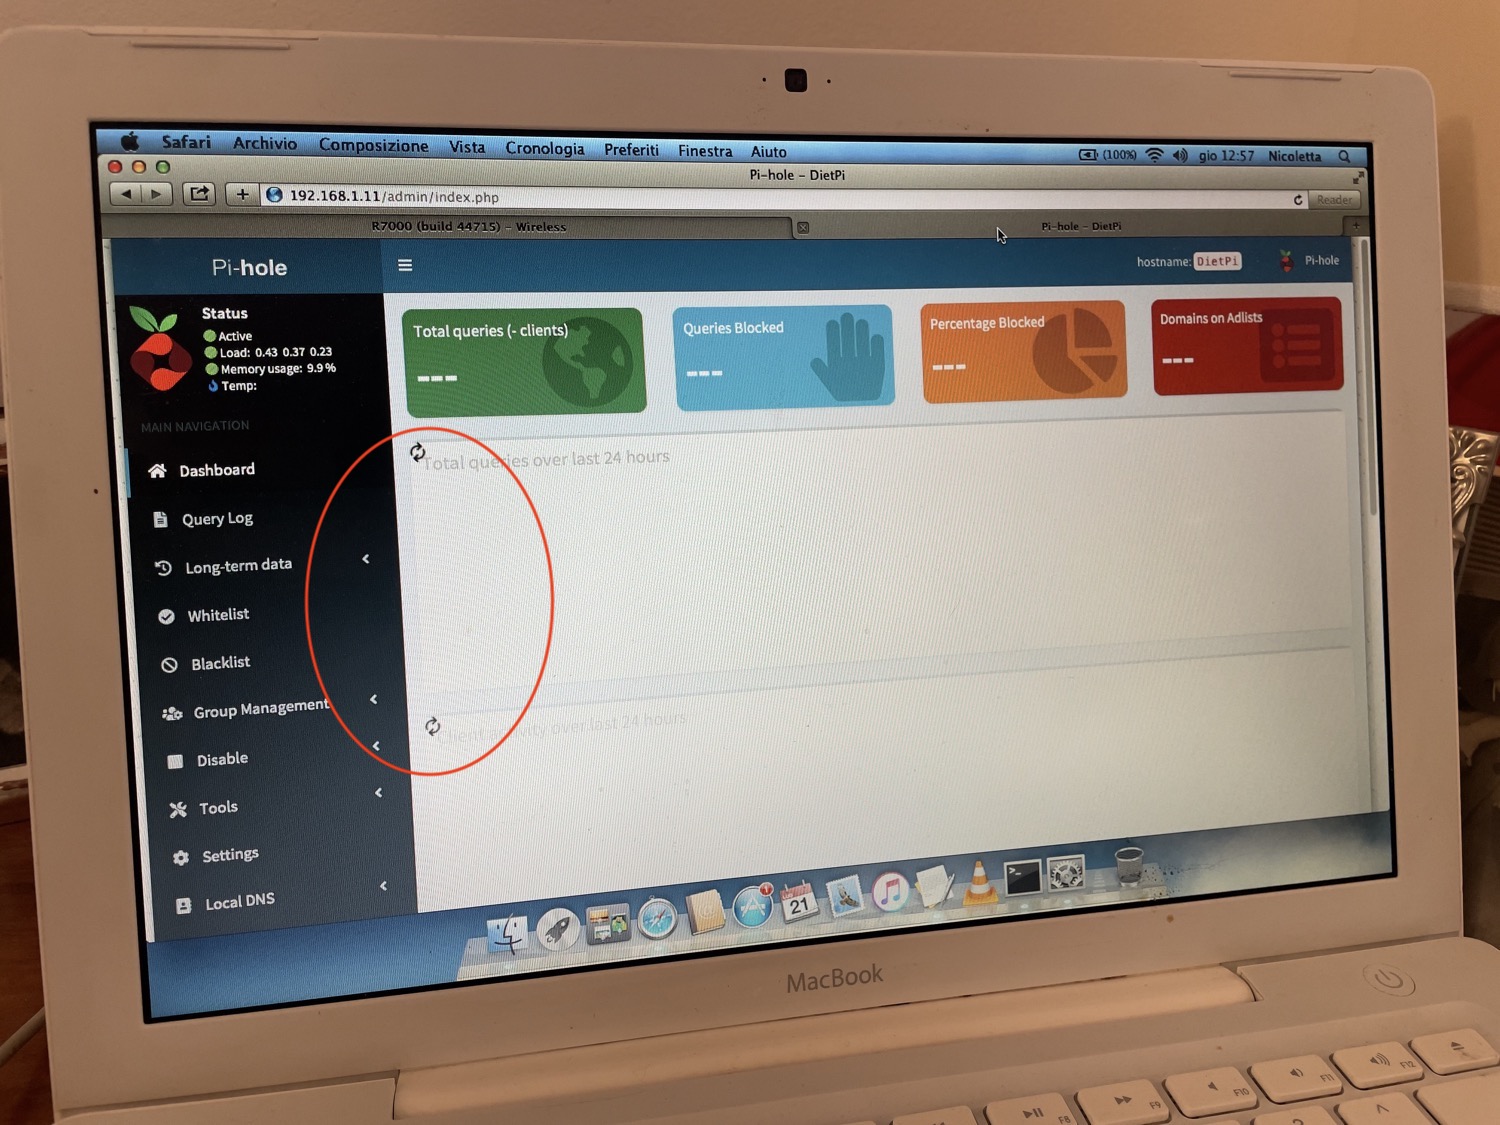
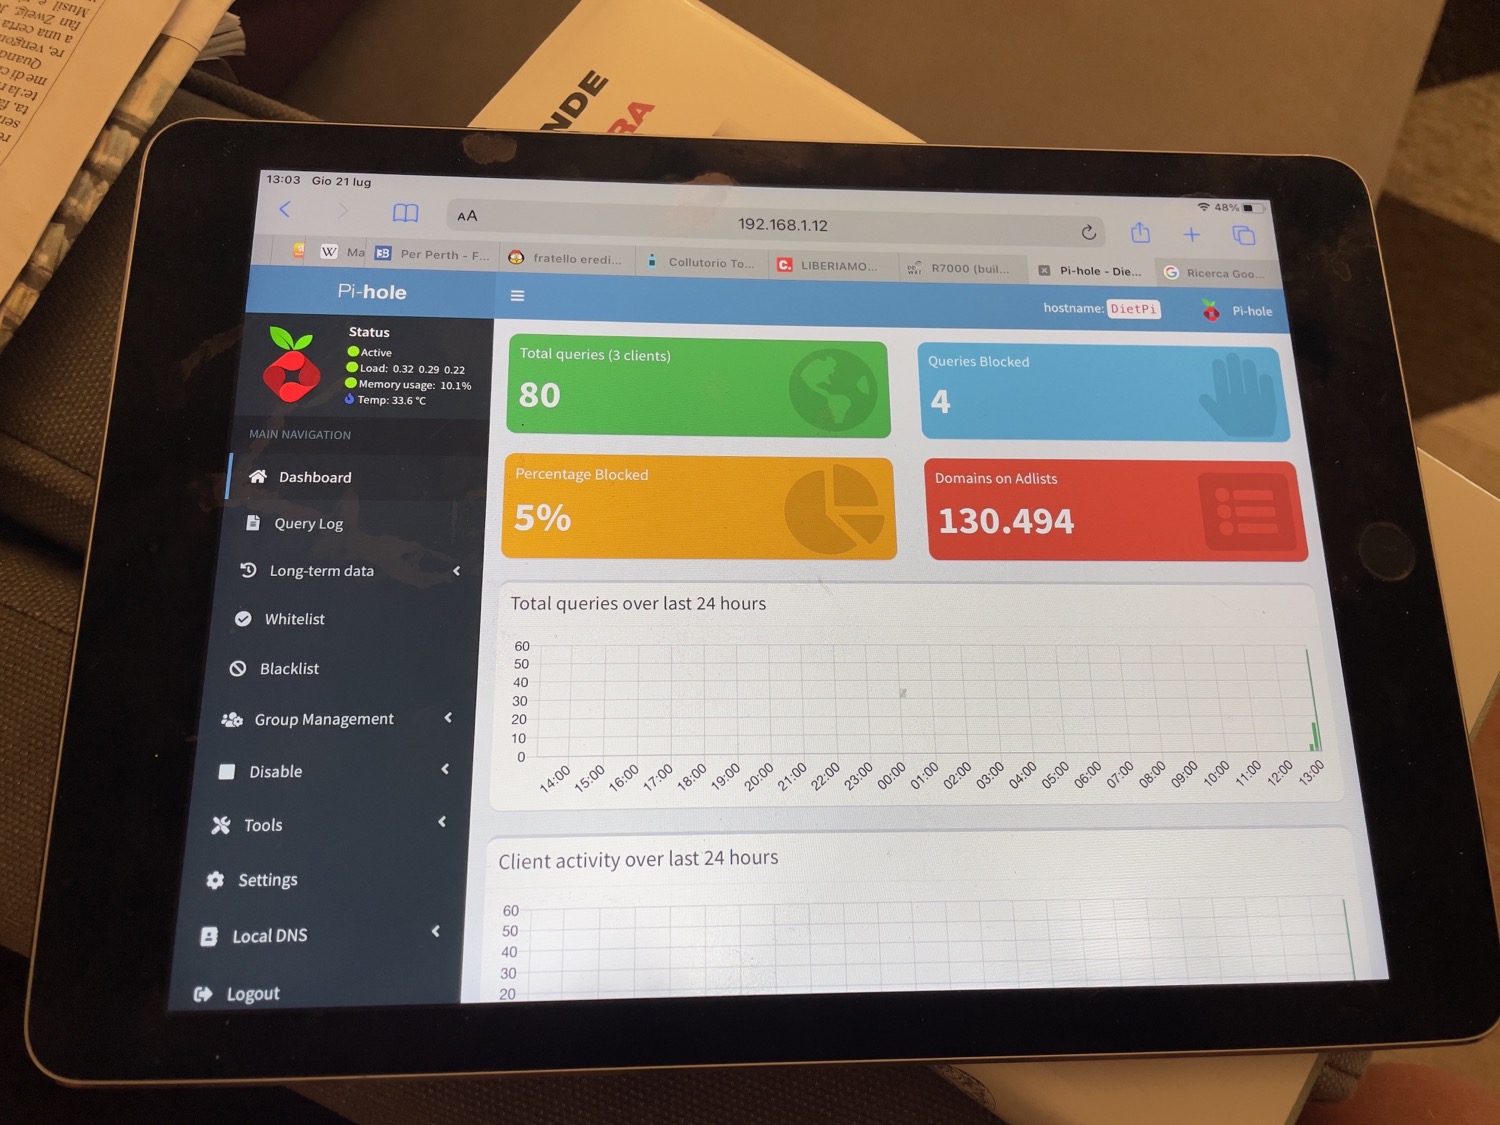
…waited…waited… (you see the gears) and after few minutes I realized that the browser was so old that it was unable to load these JavaScripts, ahaha 😅 So I switched to my mum iPad and all was okay. What a stupid.
Another configuration is to add a rule for Iptables in order to be able to access from the router LAN to the modem that’s in a different subnet, as I wrote in the beginning.
To do this just add to:
startup
ifconfig `nvram get wan_ifname` :0 192.168.1.2 netmask 255.255.255.0
firewall
iptables -t nat -I POSTROUTING -o `nvram get wan_ifname` -j MASQUERADE
When I reached the modem I also disable the Wi-Fi, firewall, DHCP and other useless services.
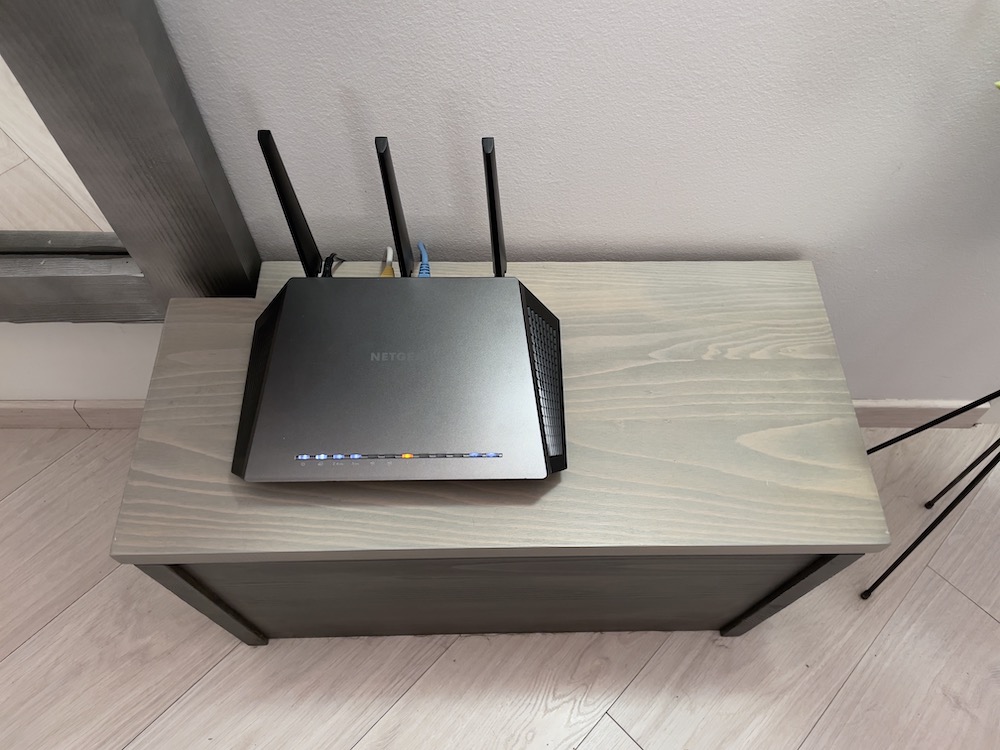
Last step I’ve done was hide the modem and RPi inside the box and now I have only to wait that my parents will come back from their vacation to Scotland and test in real life the improvement (I will update the post in some months with my impressions and opinions).
In the end this setup is also useful for me, because when my parent call me saying “ehy Giulio, we don’t have internet here, what’s going on?”. I have only to enable the “casa_old” VPN, enter inside the modem and check if it’s trouble of the ISP or the router. Pretty useful. I can also check the name/addresses of the connected devices just in case my mum call me saying “I can’t print from the AirPrint printer” or “I’m connected to the Wi-Fi but it doesn’t work”, so I can check if the printer or her phone are really connected to the Wi-Fi not. All without going physically to my parents home.