Few days ago I bought for 16€ a very nice and useful Raspberry PI 4 fan/hat with a small OLED display, that fits perfectly on the Pimoroni Pibow Coupé 4 and can be turned on only when the CPU reach x ºC (60°C for me).
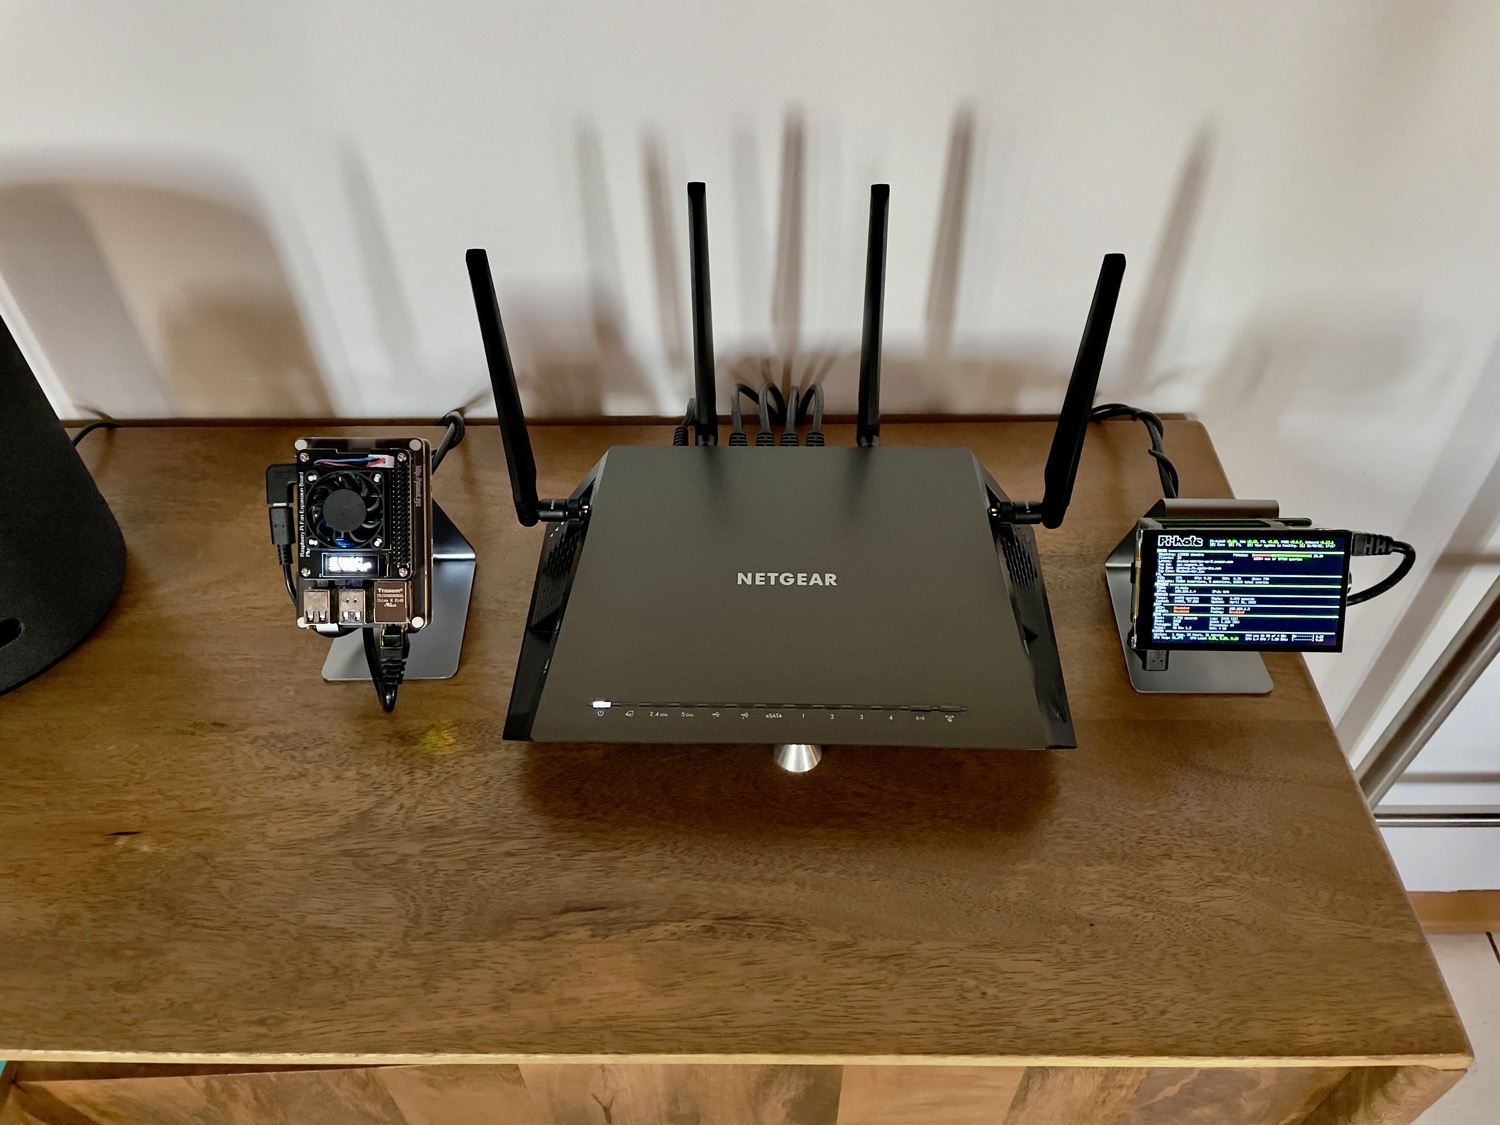
Here are some photos:
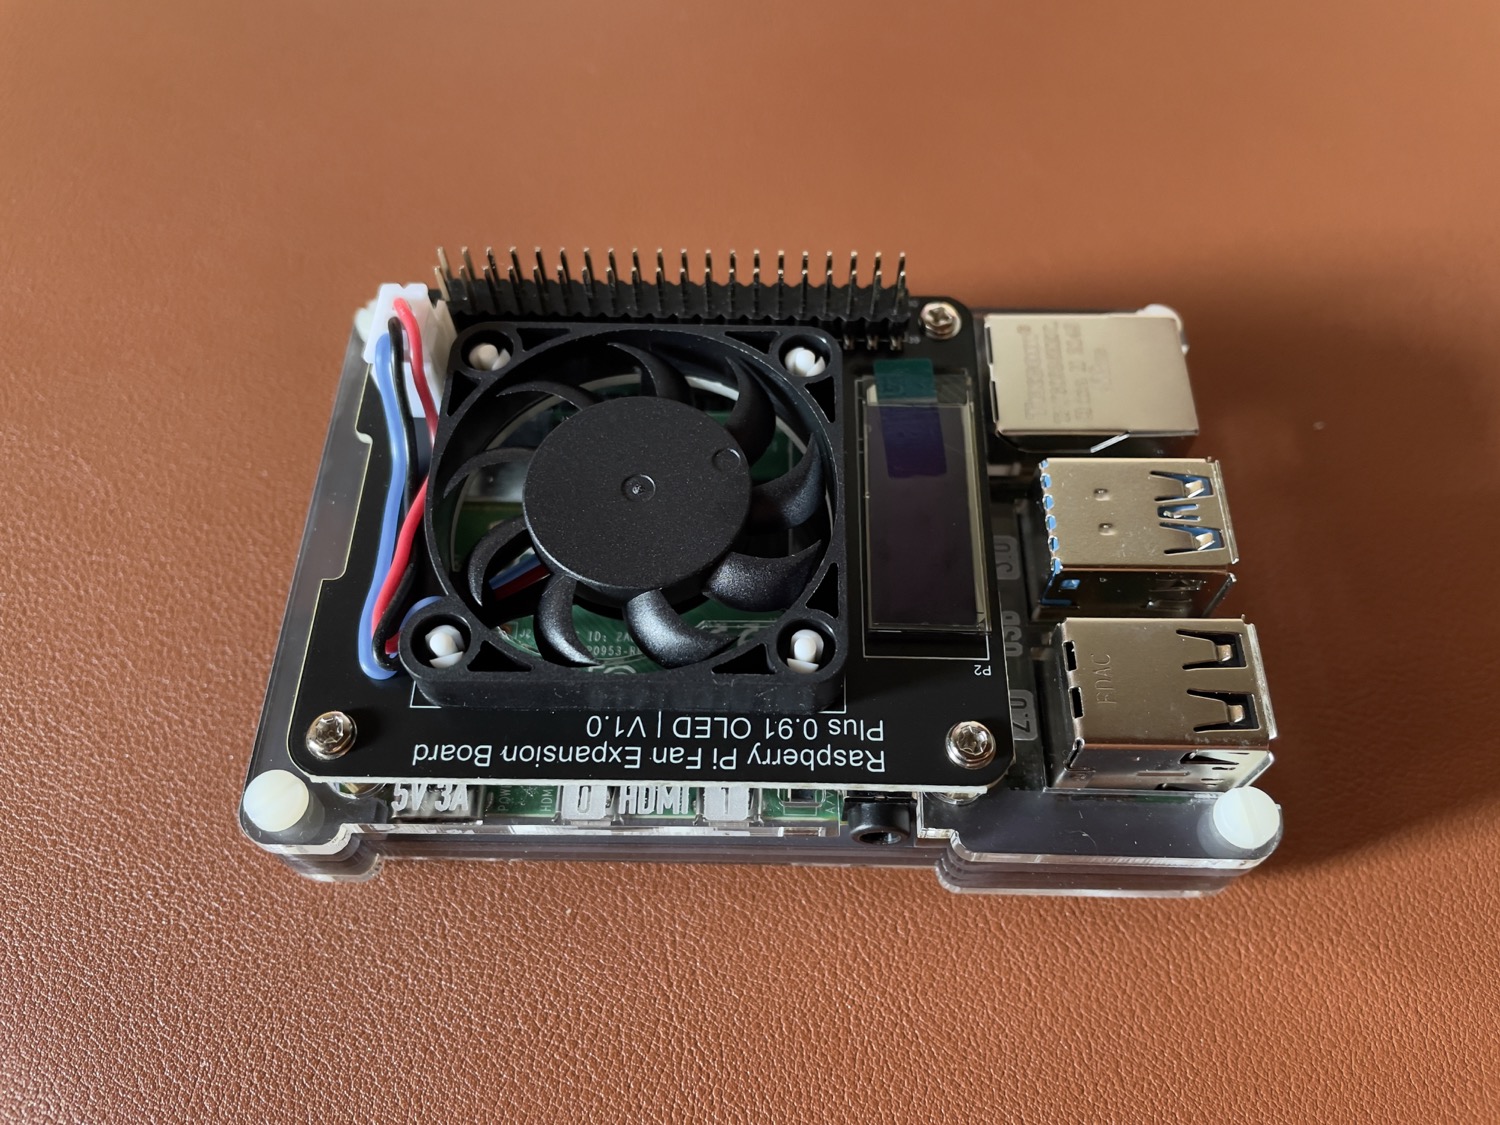
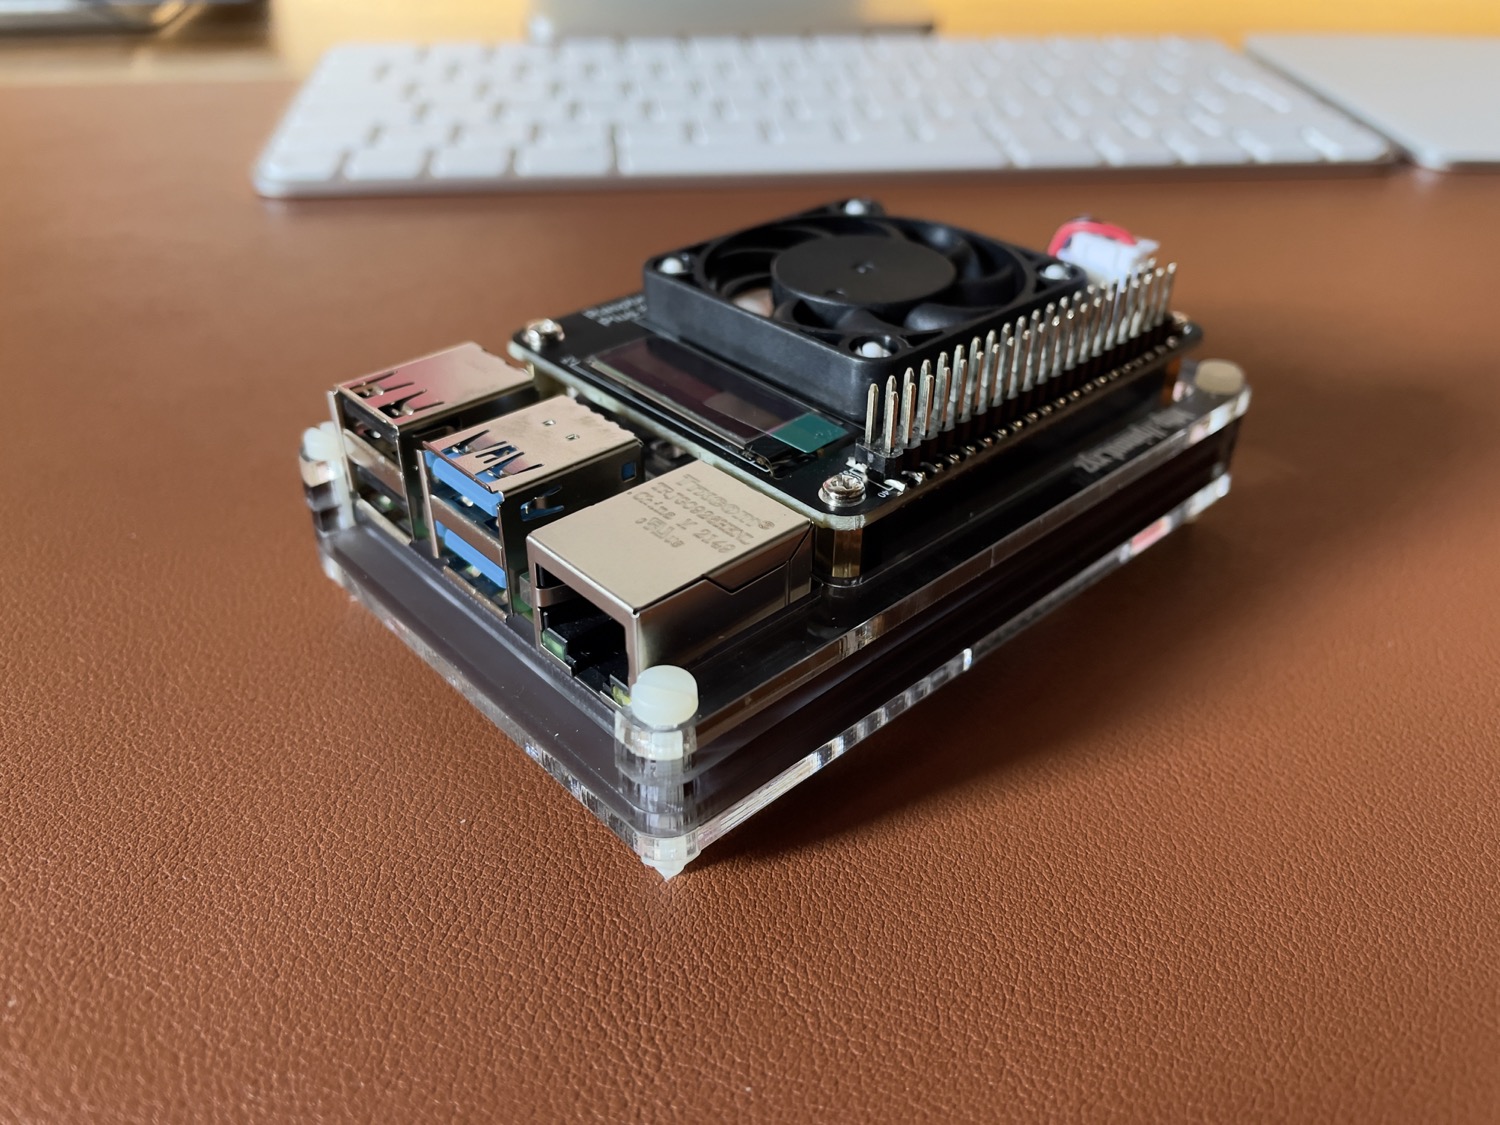
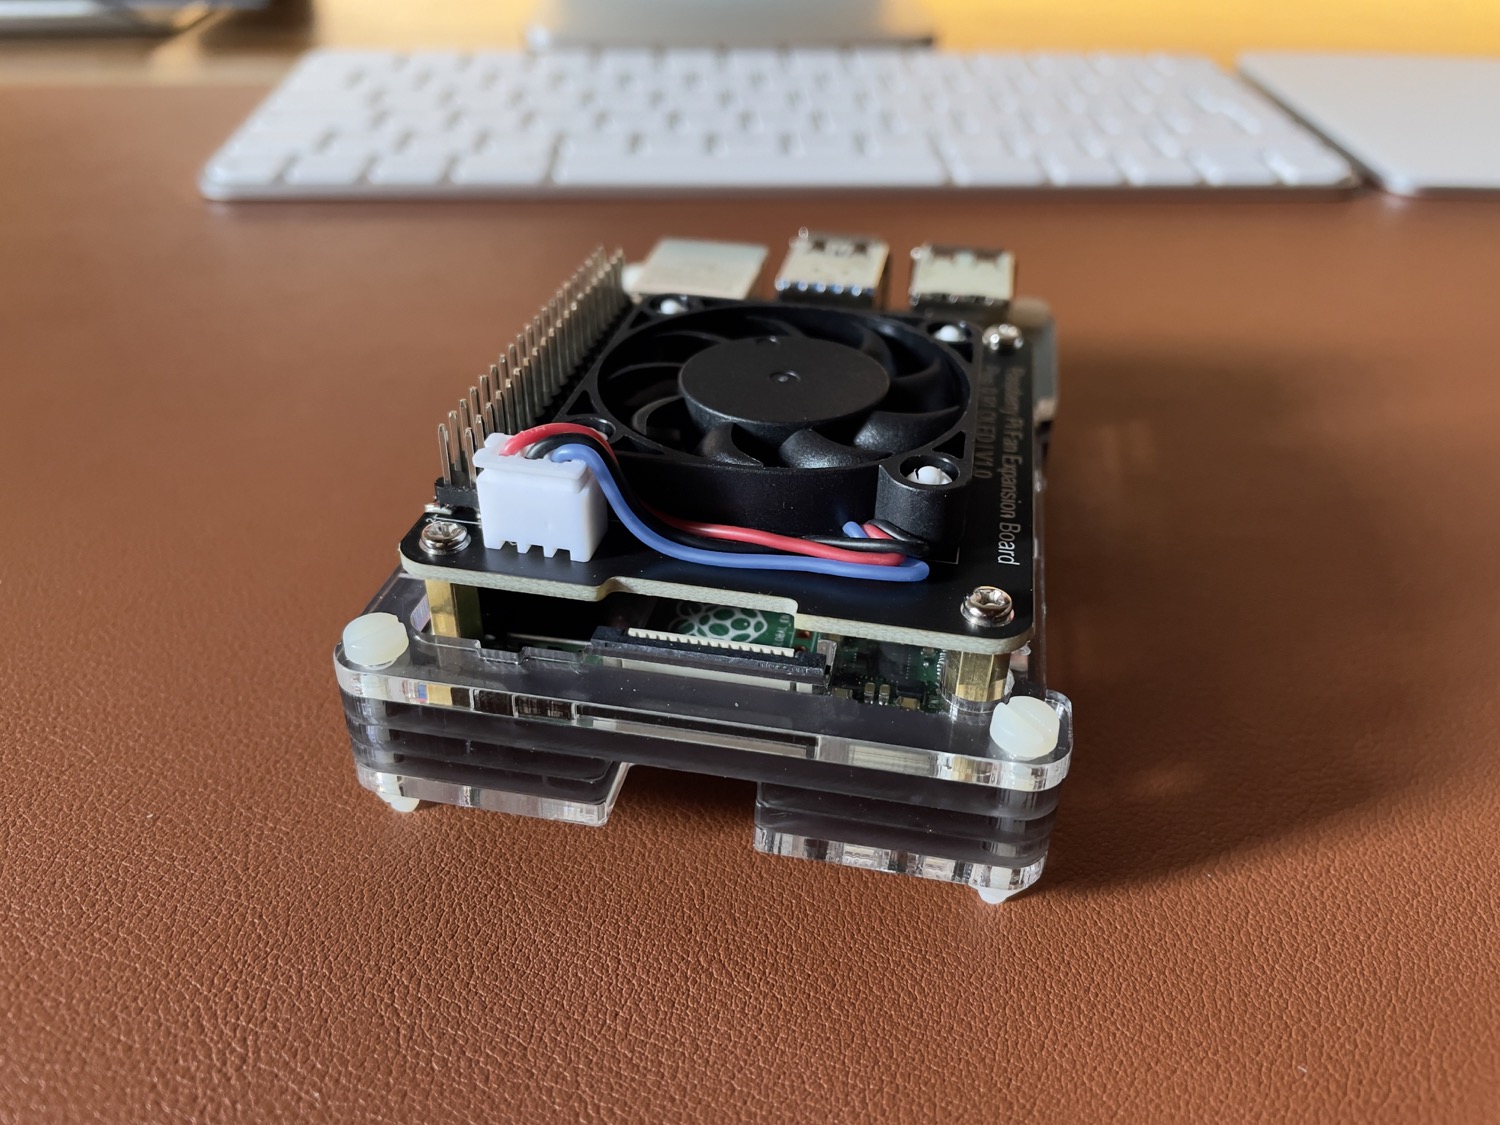
P.S. I haven’t followed the original instruction for the bolts and screws, but I reversed them, because I think that is nicer to have the screws on top and the bolts hidden on the rear (image). Here is mounted with the original instructions: image
But I noticed that the official tutorial, reported on the instructions and on Amazon, (available here: Raspberry Pi Fan Expansion Board Plus 0.91 OLED V1.0 ), uses old/discontinued Adafruit library, so I had some headaches in order to make it works. And when I got it working the layout was cutter because my RPi has 2GB of ram, and the script is made for a 512MB RPi Zero. So I tuned it a little also to include the CPU temp instead of the useless IP.
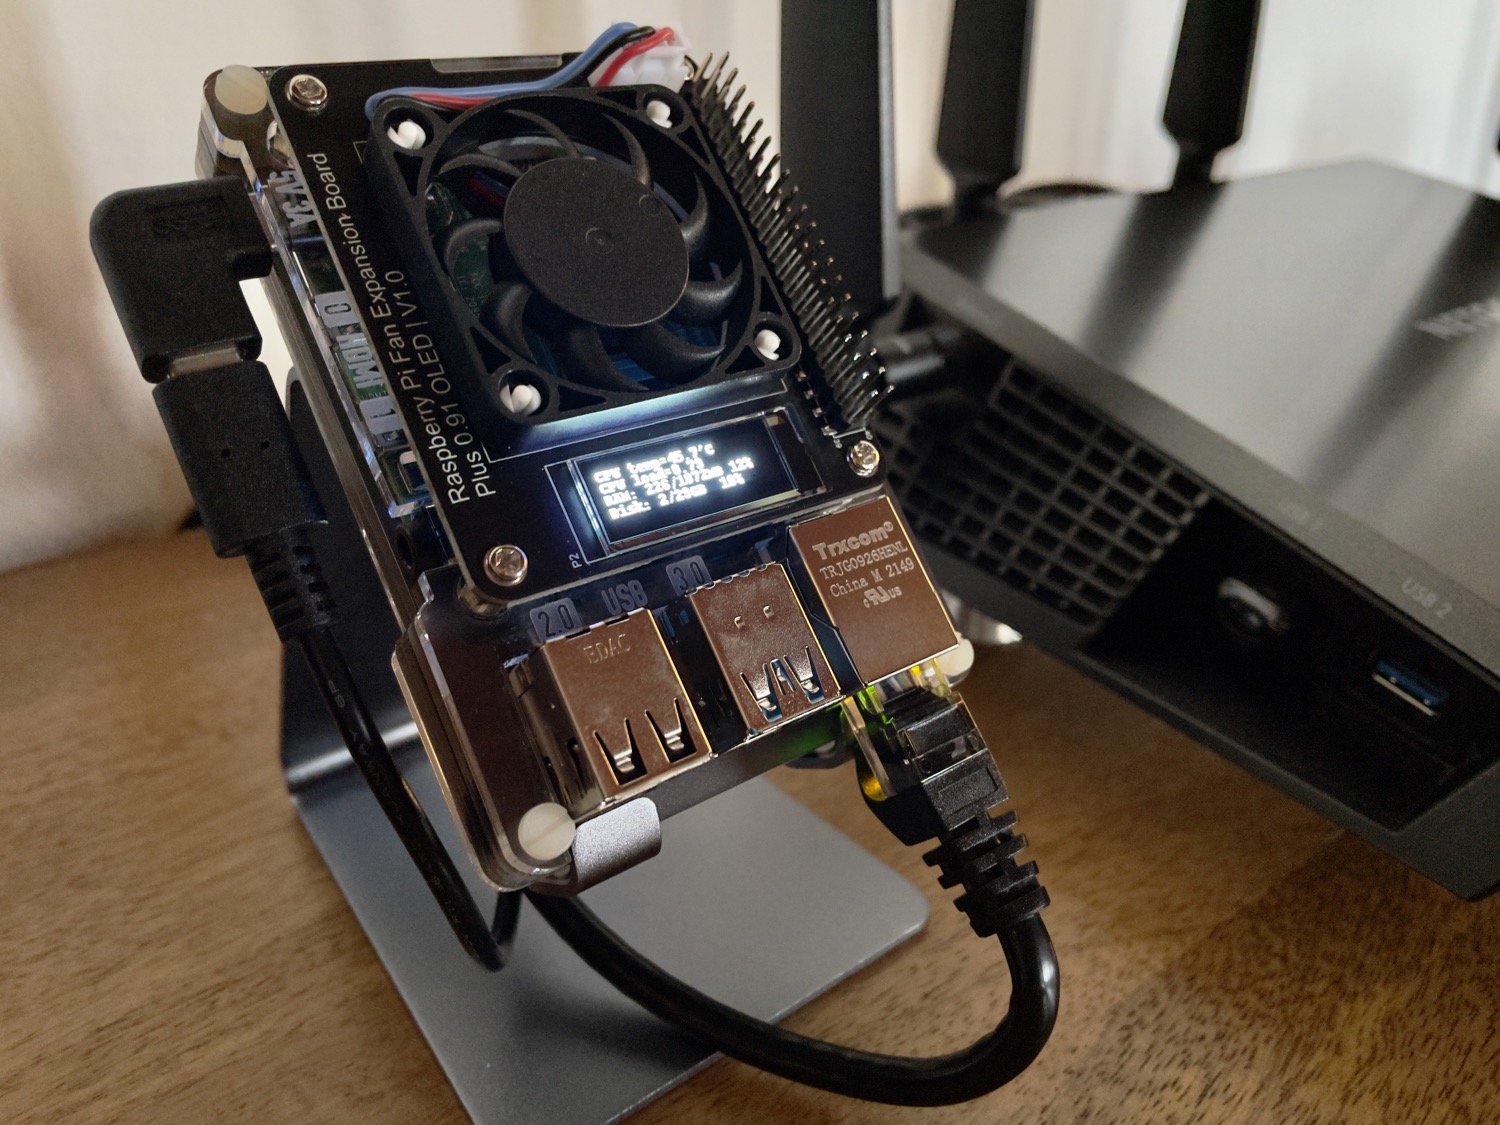
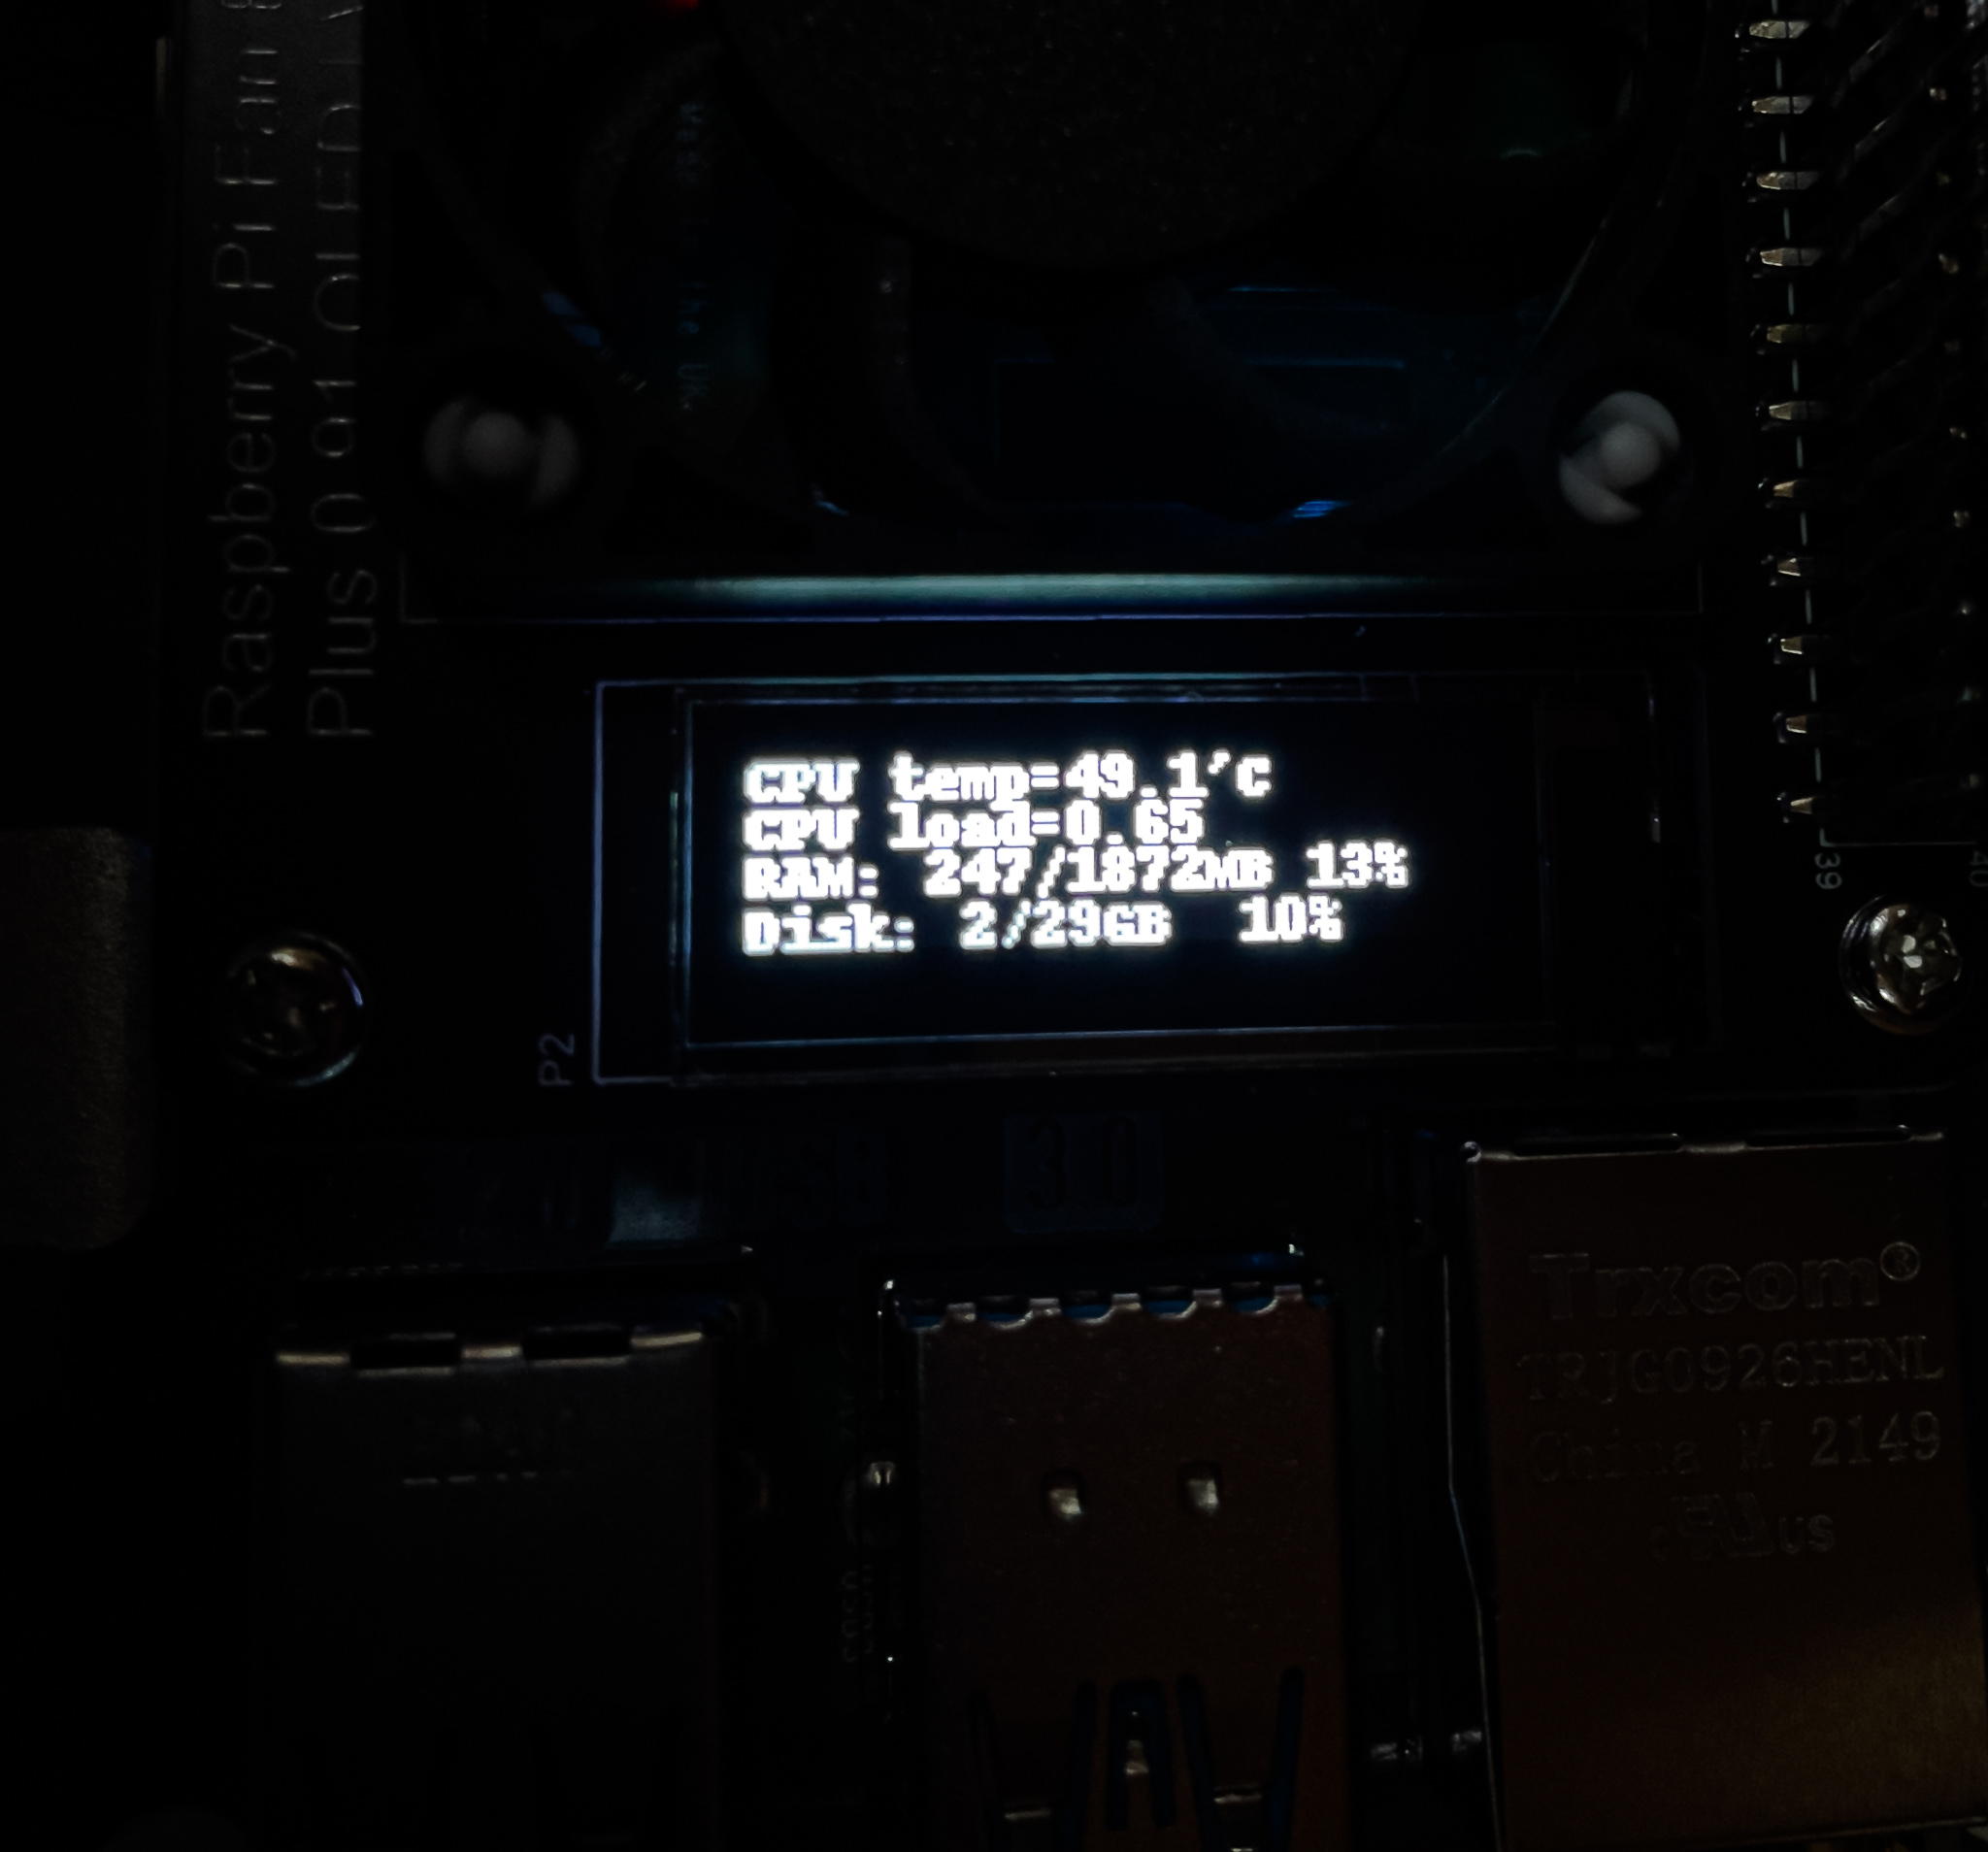
First, in order to install all the things follow the new Adafruit tutorial here: Adafruit PiOLED - 128x32 Mini OLED for Raspberry Pi, if you encounter an error when you launch the stats.py script try to install the libopenjp2-7 library via sudo apt install libopenjp2-7.
Then, in order to fix the limit of the RAM and pixel (it will cut the last number of “ram usage %”) and to have the temperature instead of the IP, replace the original script with the one I tuned a little and I modified the refresh time to 5 secs, in order to use way less CPU (from 15% to 1%):
# SPDX-FileCopyrightText: 2017 Tony DiCola for Adafruit Industries
# SPDX-FileCopyrightText: 2017 James DeVito for Adafruit Industries
# SPDX-License-Identifier: MIT

# This example is for use on (Linux) computers that are using CPython with
# Adafruit Blinka to support CircuitPython libraries. CircuitPython does
# not support PIL/pillow (python imaging library)!

import time
import subprocess

from board import SCL, SDA
import busio
from PIL import Image, ImageDraw, ImageFont
import adafruit_ssd1306


# Create the I2C interface.
i2c = busio.I2C(SCL, SDA)

# Create the SSD1306 OLED class.
# The first two parameters are the pixel width and pixel height.  Change these
# to the right size for your display!
disp = adafruit_ssd1306.SSD1306_I2C(128, 32, i2c)

# Clear display.
disp.fill(0)
disp.show()

# Create blank image for drawing.
# Make sure to create image with mode '1' for 1-bit color.
width = disp.width
height = disp.height
image = Image.new("1", (width, height))

# Get drawing object to draw on image.
draw = ImageDraw.Draw(image)

# Draw a black filled box to clear the image.
draw.rectangle((0, 0, width, height), outline=0, fill=0)

# Draw some shapes.
# First define some constants to allow easy resizing of shapes.
padding = -2
top = padding
bottom = height - padding
# Move left to right keeping track of the current x position for drawing shapes.
x = 0


# Load default font.
font = ImageFont.load_default()

# Alternatively load a TTF font.  Make sure the .ttf font file is in the
# same directory as the python script!
# Some other nice fonts to try: http://www.dafont.com/bitmap.php
# font = ImageFont.truetype('/usr/share/fonts/truetype/dejavu/DejaVuSans.ttf', 9)

while True:

    # Draw a black filled box to clear the image.
    draw.rectangle((0, 0, width, height), outline=0, fill=0)

    # Shell scripts for system monitoring from here:
    # https://unix.stackexchange.com/questions/119126/command-to-display-memory-usage-disk-usage-and-cpu-load
    #cmd = "hostname -I | cut -d' ' -f1"
    #IP = subprocess.check_output(cmd, shell=True).decode("utf-8")

    cmd = '/usr/bin/vcgencmd measure_temp'
    IP = subprocess.check_output(cmd, shell=True).decode("utf-8")
    cmd = 'cut -f 1 -d " " /proc/loadavg'
    CPU = subprocess.check_output(cmd, shell=True).decode("utf-8")
    cmd = "free -m | awk 'NR==2{printf \"RAM: %s/%sMB %.0f%%\", $3,$2,$3*100/$2 }'"
    MemUsage = subprocess.check_output(cmd, shell=True).decode("utf-8")
    cmd = 'df -h | awk \'$NF=="/"{printf "Disk: %d/%dGB  %s", $3,$2,$5}\''
    Disk = subprocess.check_output(cmd, shell=True).decode("utf-8")

    # Write four lines of text.

    draw.text((x, top + 0), "CPU " + IP, font=font, fill=255)
    draw.text((x, top + 8), "CPU load= " + CPU, font=font, fill=255)
    draw.text((x, top + 16), MemUsage, font=font, fill=255)
    draw.text((x, top + 25), Disk, font=font, fill=255)

    # Display image.
    disp.image(image)
    disp.show()
    time.sleep(5.0)